Route guide
Use this page for safe loops, landmark reading, and stopping rules before deeper scouting turns into a bad trip.
Route planning tool
This is the route and safety page of the site. Use it to decide where to scout, which landmark matters, when to turn back, and whether a deeper loop is still worth repeating.
Open Map when navigation, landmark reading, danger edges, or turn-back timing are blocking progress. If the material is already named, move to the resource hub. If a patch may have changed route trust, review the latest news before relying on older paths.
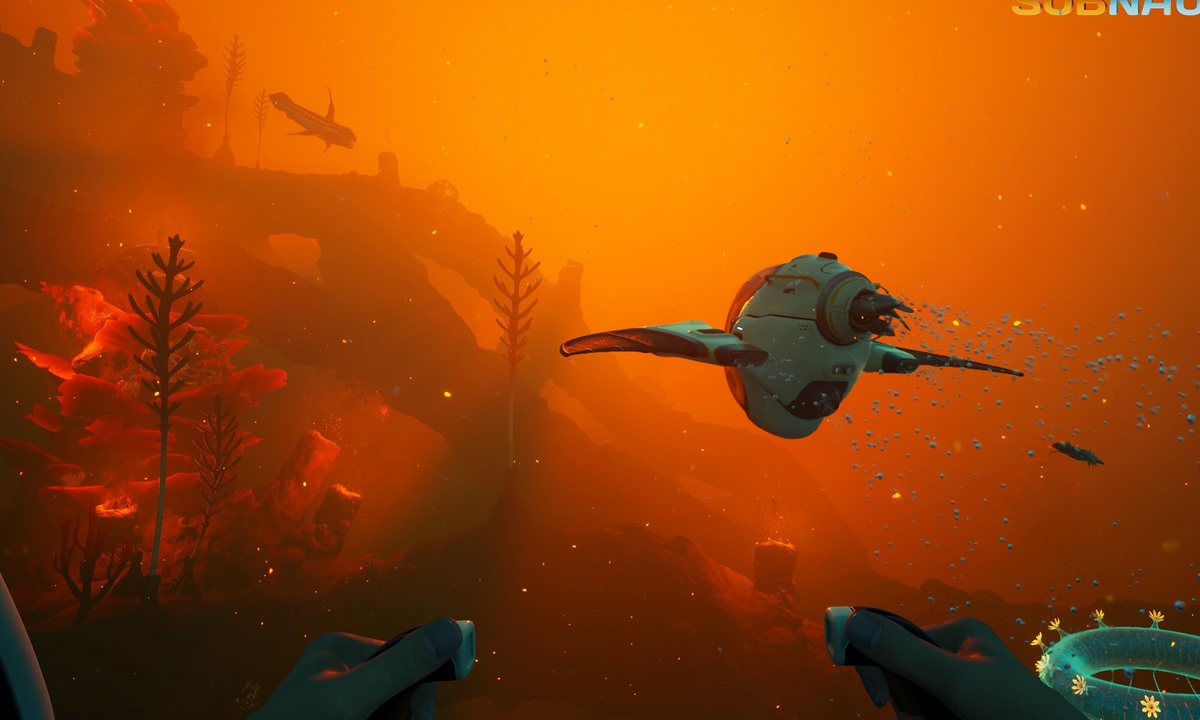
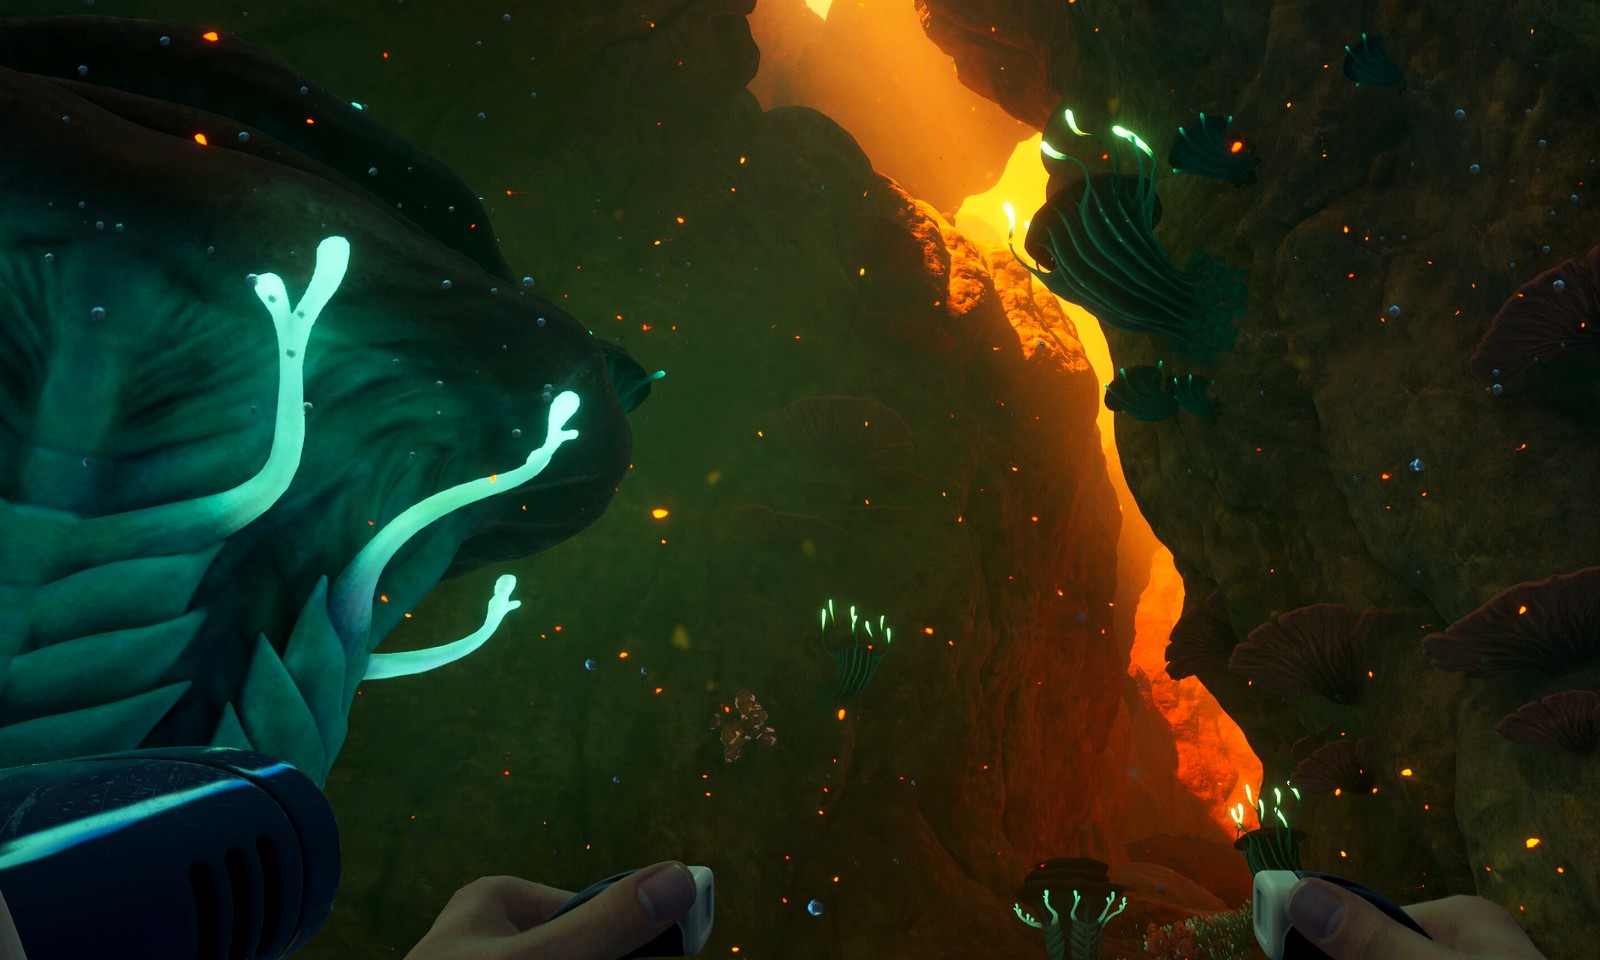

Use this page for safe loops, landmark reading, and stopping rules before deeper scouting turns into a bad trip.
A route is only useful if the return path stays readable, repeatable, and worth the risk.
When the map changes after a patch, keep the route logic but re-check landmarks and danger edges first.
Use This Map
This page works best when players are getting lost, pushing too deep too early, or repeating routes with weak return plans.
Once you know where to go and how to return, use the resource hub to decide what to farm and what unlock it should support.
Route logic can still help before exact coordinates are proven. That trust boundary is part of what makes a map page useful.
Route Channels
Use these when you need a calmer route shape, a safer biome edge, or a first loop that can actually be repeated.
Use these when the problem is not bravery or gear, but bad orientation and weak turn-back discipline.
Use these when the route feels changed, landmarks no longer read the same way, or older danger assumptions feel off.
Map workbench
Filter the map by safe loops, materials, danger, landmarks, or depth before opening a wider route page.
Choose the trip goal, name the route pressure, and get the safest next map or guide page first.
Use this when the route only feels bad because the way home never becomes obvious enough.
Use this when the route is fine in theory but the hostile edge keeps changing the real outcome.
Real route cues
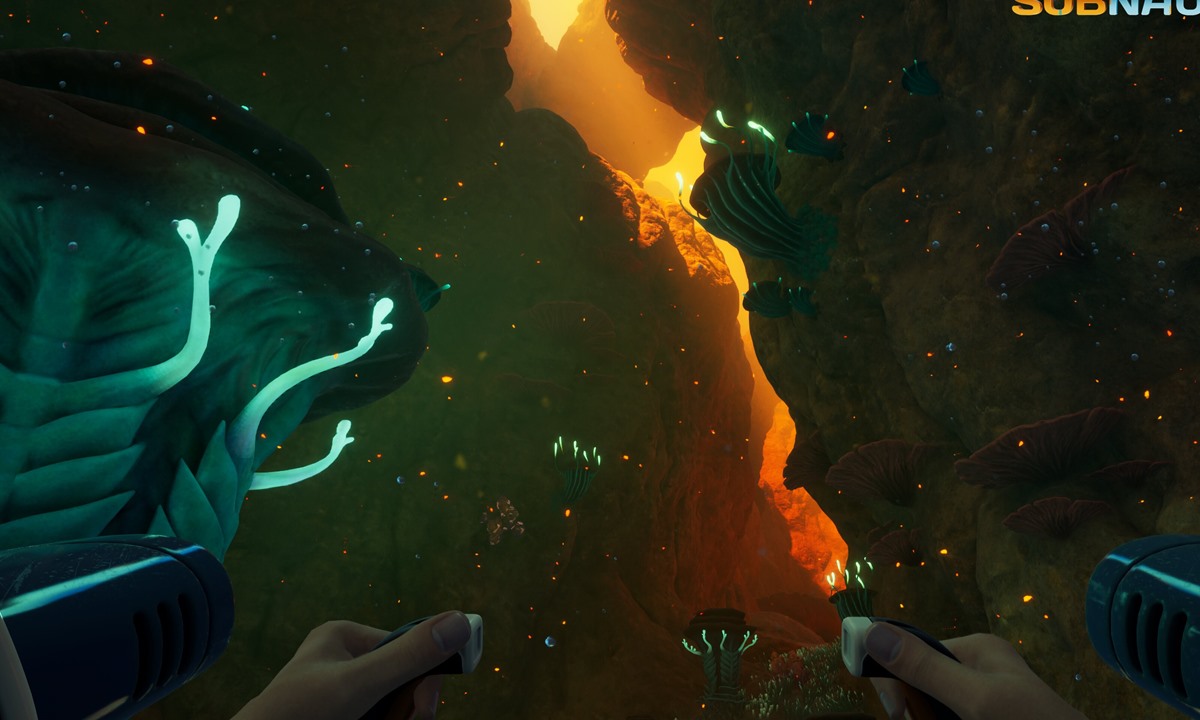
Compare diagrams with in-game scenes before trusting a landmark, danger edge, or return path. Visibility and creature pressure often matter as much as the route line itself.
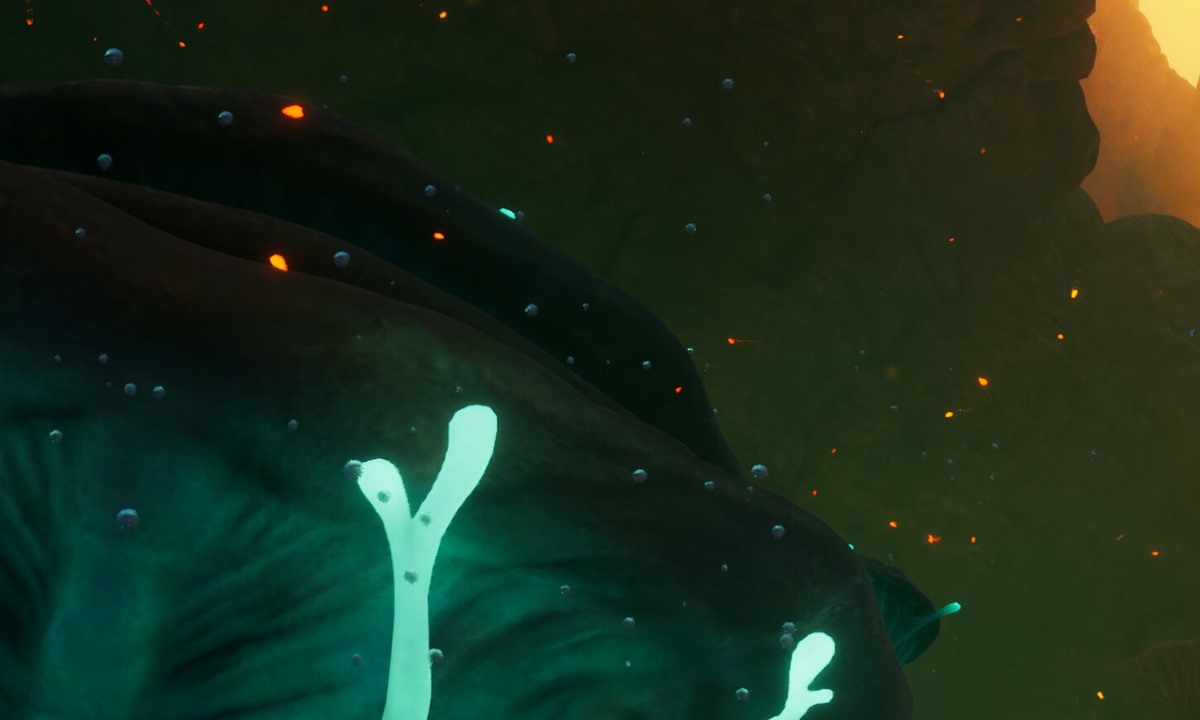
Use this kind of scene next to safe-biome and landmark pages so players know what a calmer route actually looks like.
Open safe biomes
This pairs naturally with danger-zone and turn-back guides instead of asking readers to infer the whole risk from text alone.
Review danger cues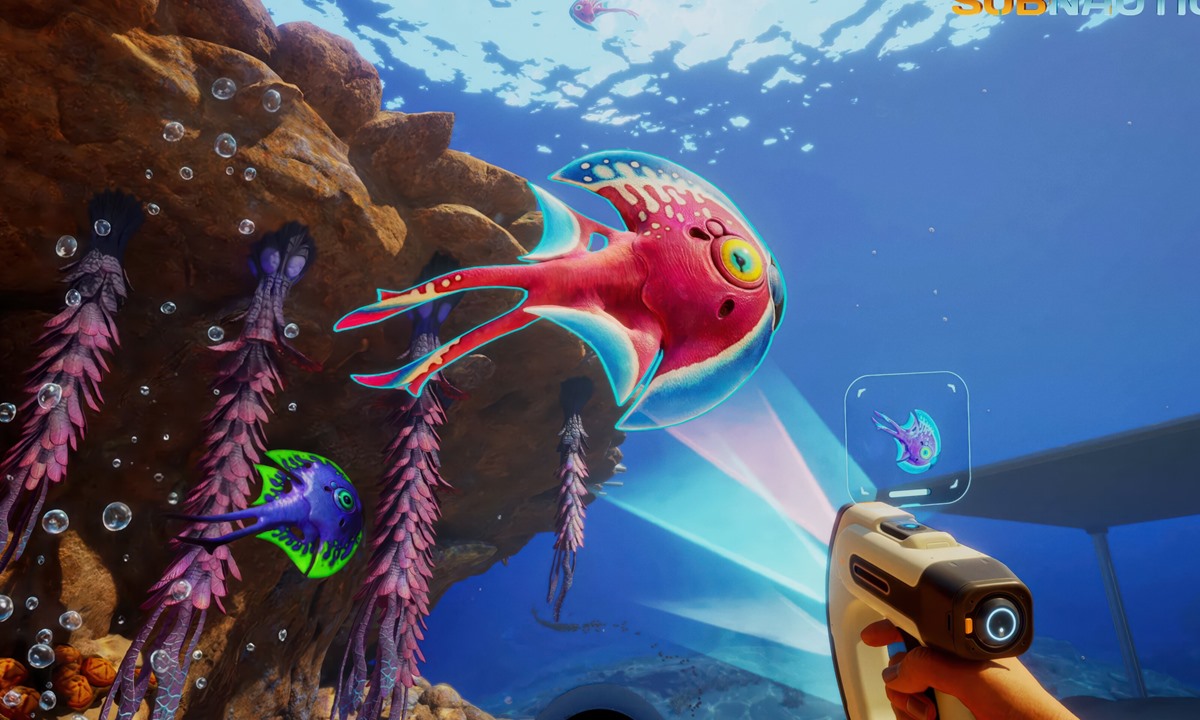
Use a real hostile scene near threat guides so readers can compare warning patterns before committing to a deeper loop.
Check creature threatsStart with routes you can repeat. A good map plan should tell you where to turn back, which landmark marks safety, and what material or scan makes the trip worth taking.
Trust guide
Use this panel when you want the shortest answer before opening filters or marker cards. It separates the safest live guidance from the parts that still need proof.
This is the safest thing to trust right now. Use route shape, landmarks, and a clear turn-back rule before exact coordinates.
Open route planning visualThese are useful for visual navigation, especially when paired with biome edges and return anchors instead of exact coordinates.
Open landmark guideUse this map now
This panel translates the current trust state into a practical next move, so players know whether to follow a marker, compare an older route, or stay with safer visual guidance first.
Start with a short repeatable loop, a visible landmark, and a clean return point before going deeper.
Open safe biomesUse the map to plan one useful farming loop that supports the next craft instead of random wandering.
Open resource routesIf a route feels risky, compare it with the danger and oxygen guides before treating it as repeatable.
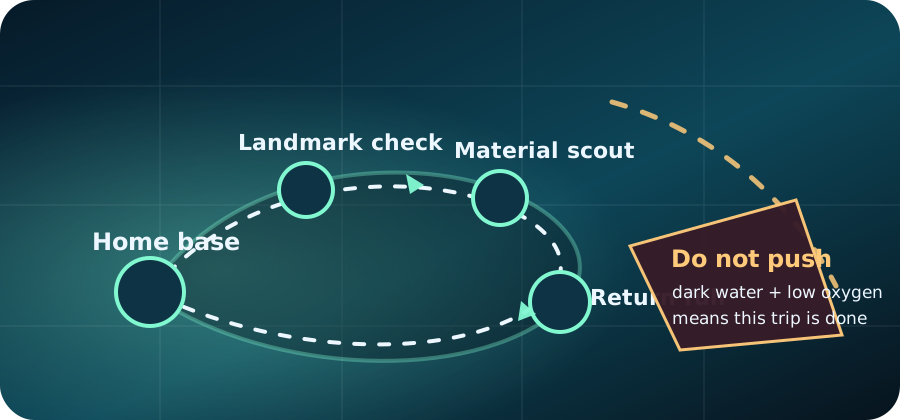
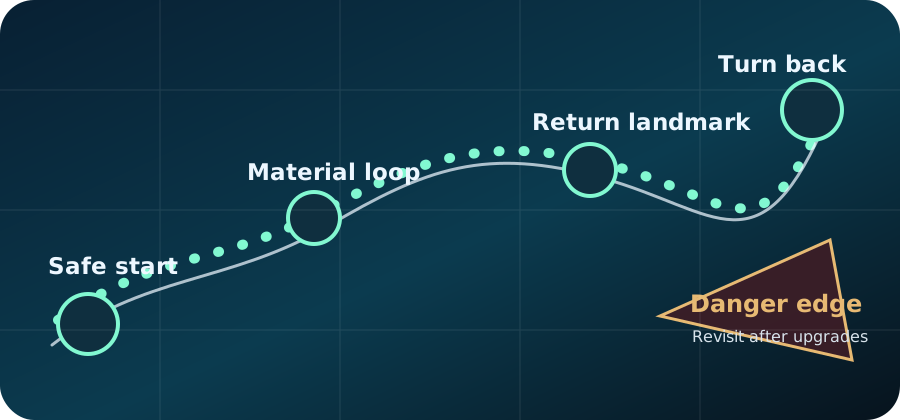
Review danger cuesUse this simplified route diagram as the baseline: leave from a safe start, gather on a repeatable loop, identify a return landmark, and turn back before the danger edge.
Field route cues
The best route graphics reduce panic because they tell the player what to watch for while moving, not just where to go on paper.
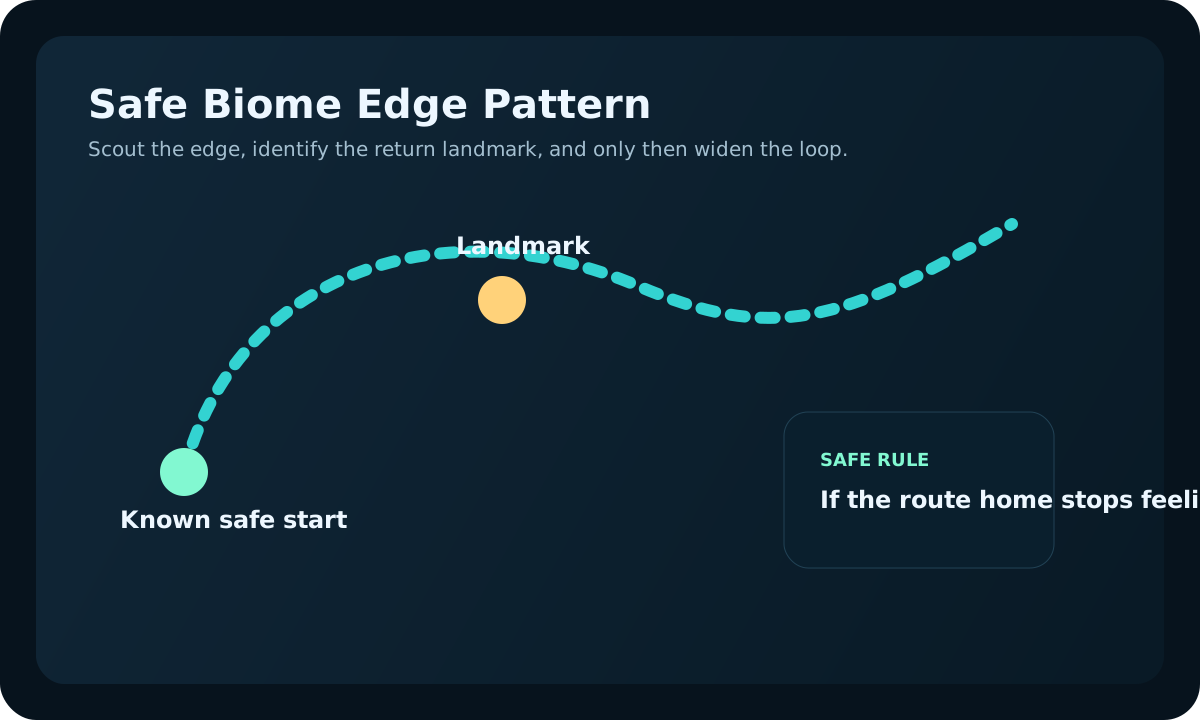
Edges give better retreat options than pushing straight into unknown interior water.
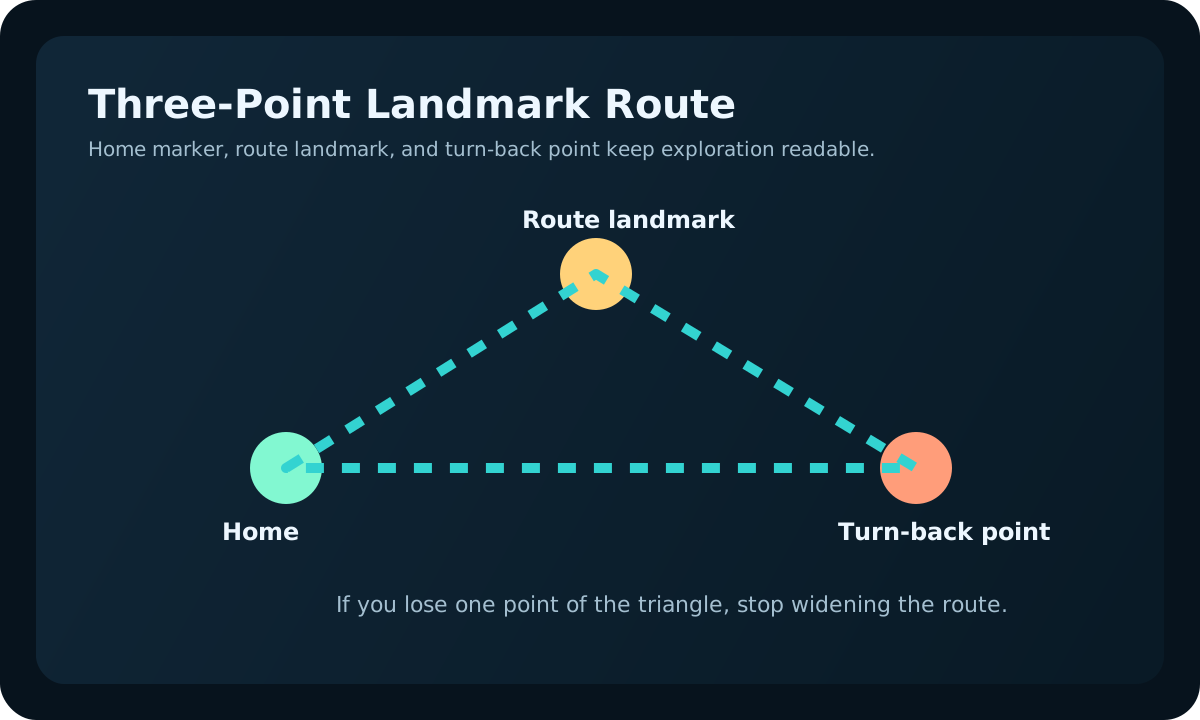
If you cannot point to the landmark that gets you home, the route is already too loose.
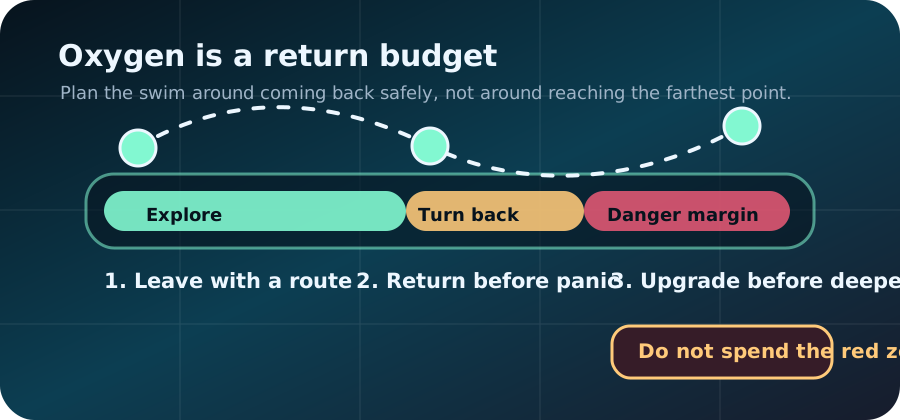
Good route reading means leaving with oxygen still in reserve, not after the warning starts.
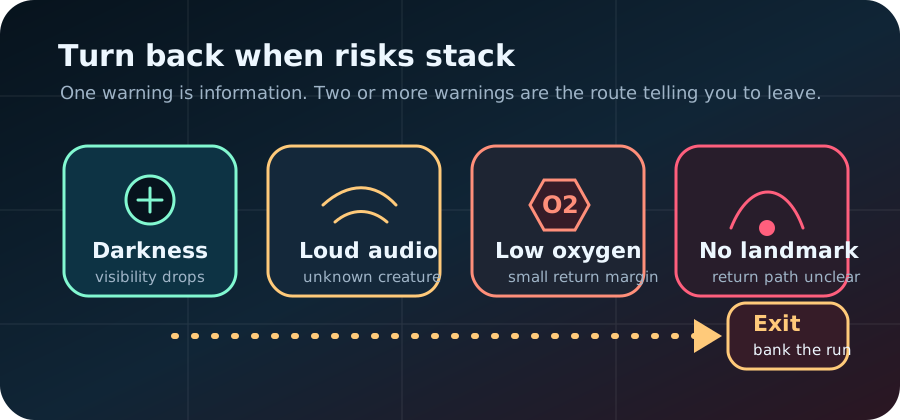
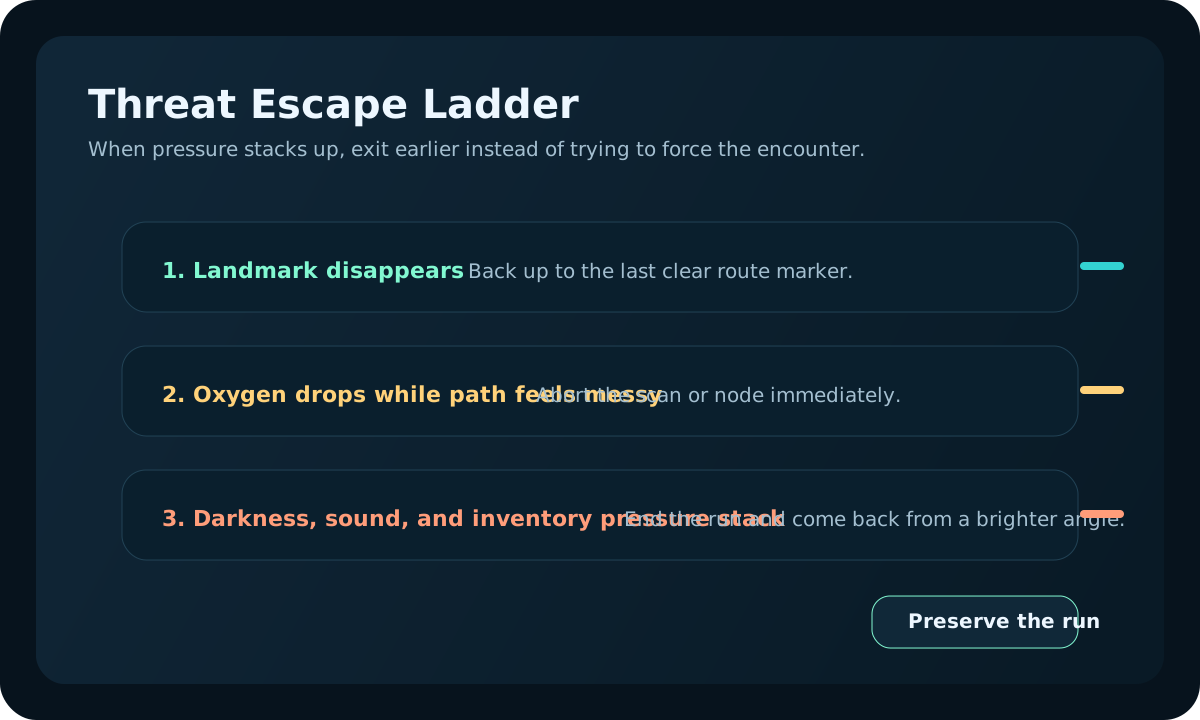
Low visibility, creature pressure, and low oxygen together should end the route immediately.
More visual help
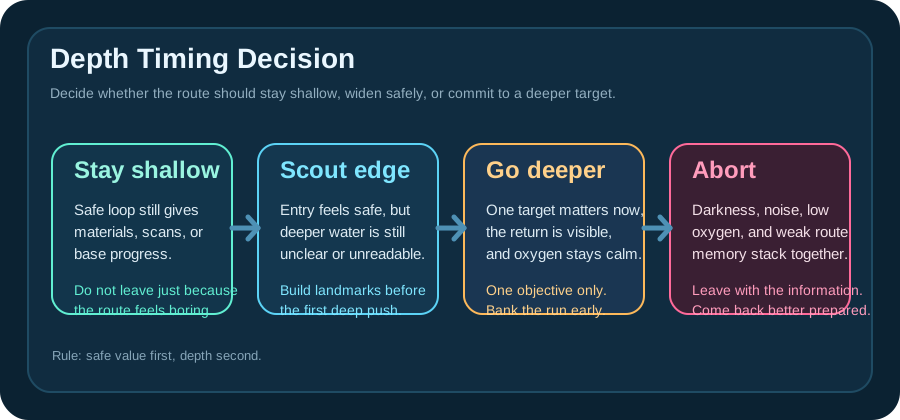
If you are still deciding where to swim next, compare the route hub with landmark, danger, and oxygen diagrams before committing to a deeper loop.
Visual route sequence
Route planning gets easier when players know which visual to open first. Use this sequence as a quick map-side learning path.
If the route feels unclear, compare it with the official gameplay and update videos before trusting a deeper push.
Showing all route cards.
Use this first if the player needs low-risk scouting and calmer early movement.
Build a repeatable loop from oxygen discipline into useful materials and return points.
Use terrain, lighting, and resource clusters to make routes easier to repeat.
Learn the warning signs that mean a route is too risky before upgrades improve.
Treat danger zones as boundaries, not destinations. If the route loses its return landmark or starts stacking warning signs, turn back before the avoid zone.
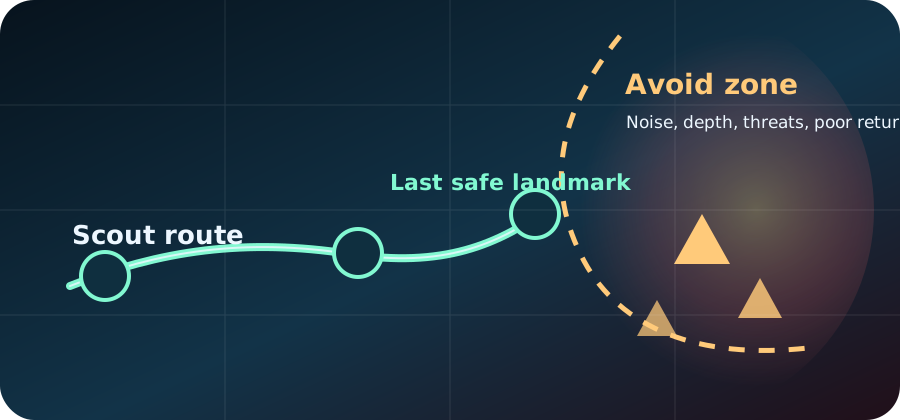
Exact coordinates should only be published after in-game verification. Until then, this board keeps the map page organized by player need: safe starts, material loops, navigation anchors, and avoid zones.
Every marker needs one clear player job first, like safe return practice, one early material loop, one landmark anchor, or one avoid edge.
Do not publish only one coordinate. Capture x, y, z, depth, update version, and the screenshots that prove the route from the same run.
Ask whether the marker still solves a real route problem. If the coordinate is interesting but not useful, it should not outrank core survival routes.
Safe loops, material clusters, landmarks, and avoid edges should move to recheck status whenever map, spawns, or creature pressure changes.
A map card is strongest when it includes the coordinate triple, one route-purpose note, one version stamp, and at least the screenshots listed on the card itself.
Showing all map markers.
Found a reliable coordinate after launch? Send a map proof report with the route, biome, x/y/z values, and update version.
This list ranks the next map items by player usefulness. It keeps the site focused on coordinates that answer real route problems, not just map trivia.
Keep the first proof set focused on one loop so the route is easy to compare later.
One clear landmark is more useful than a long list of vague direction notes.
That keeps the page honest when the route changes after an update.
The capture export should now be filled with coordinate, depth, screenshot file names, proof notes, and update version from the same verification run before a marker is upgraded.
Use these scout cards to batch the next real coordinate checks. Each run groups markers by player value, prep needs, and the proof you should bring back from one session.
Use the current build to group routes by value, then capture the shortest proof set that explains why the route matters.
Start with a calm return loop before adding deeper or more fragile routes.
Use the next run for a repeatable farming lane that supports a real craft.
Capture the landmark that keeps the player from losing the way home.
Capture the point where the route should turn back, not push deeper.
This hub should answer the player's route problem before sending them into a longer article. Use the table below when the reader is deciding whether the next click should be a map layer, a guide, or a different hub entirely.
| Player problem | Map answer | Proof needed | Next link |
|---|---|---|---|
| The route home keeps disappearing. | Use landmark-first routing before any deeper marker. | One return anchor that is visible from the actual swim path. | Landmarks navigation |
| The route is safe but not productive. | Switch from map planning to material payoff planning. | One named batch and the craft or storage job it funds. | Resources hub |
| The route becomes scary at the same edge. | Treat the edge as a stop point until the warning stack is understood. | One danger cue, one retreat point, and one prep change. | Dangerous zones |
| The player needs a filtered tool, not another article. | Send them to the planner only after the route type is named. | A route goal such as safe loop, material run, base site, or deep scout. | Route Planner |
If players want to help improve the map, these are the highest-value proof requests right now. Each card explains what kind of screenshot or route evidence would make the page more trustworthy.
Send one screenshot that shows the return anchor clearly from the actual route.
Send one shot that shows the pressure or hazard edge before the route turns unsafe.
Include the current build or patch note so the marker can be reviewed correctly.