You want one reliable farming and scanning loop, not another stressful guess about where to go next.
Biomes guide
Best safe biomes for early exploration in Subnautica 2
Safe biomes matter because they let new players build confidence and materials at the same time. The right early biome should produce calm returns, not surprise danger disguised as progress.
Last reviewed August 17, 2026
Patch sensitivity High
Safe biome advice depends on route layout, creature pressure, and material distribution, so revisit it after map or balance changes.
Edge routes, easy return landmarks, and one reason to enter the biome beyond curiosity.
Quick answer
The best early biomes are the ones that let players gather basic materials, scan safely, and return to oxygen quickly. Route planning matters more than covering a huge map at the beginning.
Page media
Use these if you want the map choice to feel concrete before the swim begins.
This group keeps the page practical: one early-route follow-up, one oxygen support page, and one landmark guide when the biome itself is not the only thing causing mistakes.
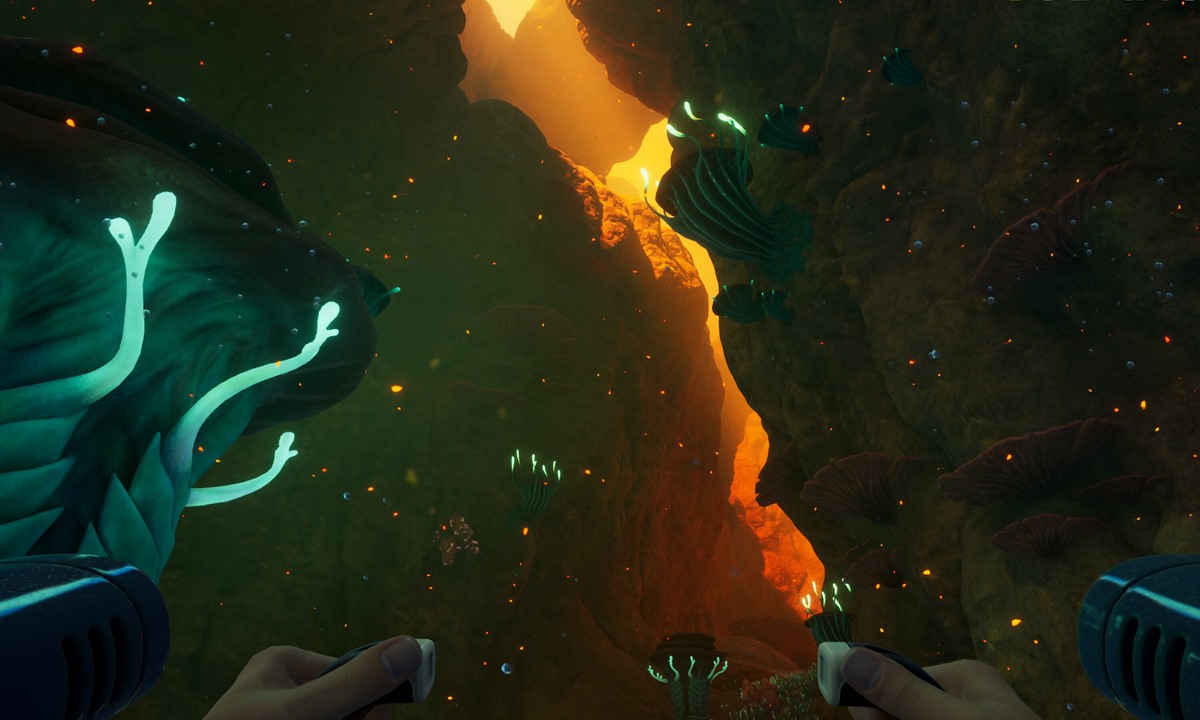
Route plan
Best early biome route
Open this when the safe area is chosen and the next job is turning it into one route you can repeat.

Survival fix
How to get more oxygen early
Open this next if the biome looks correct already, but your return timing still is too thin to call it safe.

Route memory
How to use landmarks for navigation
If the biome edge feels workable but the way home is circles, add landmark memory first.
Safe biome scouting routine
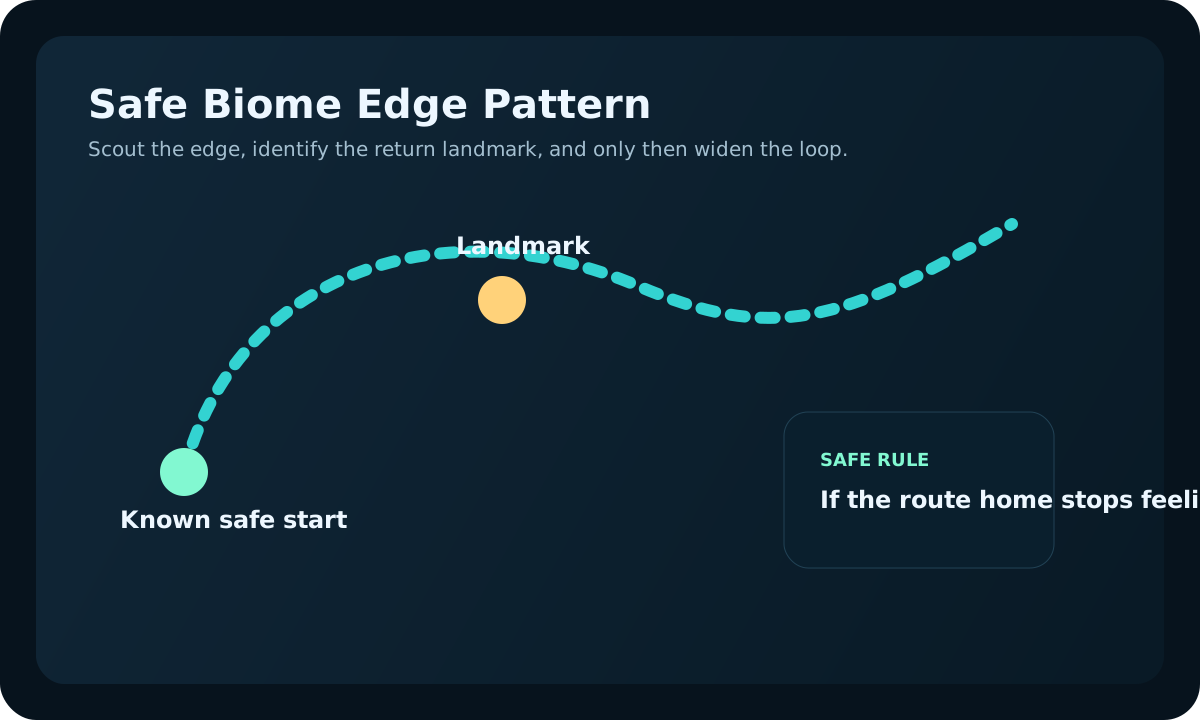
- Enter from a known return point and look back before you swim forward. If the return view is not obvious, the route is not safe yet.
- Make the first pass along the biome edge, not through the center. Edges are easier to leave and easier to repeat.
- Collect only the materials or scans tied to your current craft goal, then return before hunger, water, or oxygen starts stacking pressure.
- Re-enter from the same landmark if the first loop worked. Only widen the route after the return path feels boring.
What makes a biome safe enough
- You can name the return landmark without turning in circles.
- Oxygen recovery is close enough that you are not racing home.
- Creature pressure is low or easy to avoid with open movement.
- The route gives materials, scans, or base value before it adds risk.
Use this first safe-route test
A biome is not safe because it looks calm once. It is safe when the same short loop keeps working without surprise pressure.

| Test pass | Do this | Leave when | Good result |
|---|---|---|---|
| First pass | Swim the edge only and identify one return landmark before gathering much. | The return view already feels harder to read than the outward view. | You can explain the route back in one sentence. |
| Second pass | Repeat the same loop with one small branch for materials or a scan. | The branch starts feeling like a second route instead of a small extension. | The same path still feels calmer on the second run than the first. |
| Third pass | Treat the loop like a real farming or scan route and bank one useful result. | You are staying out only because the biome still feels comfortable. | The biome now supports a real next craft or route decision. |
Real gameplay checkpoints
These are the three safe-biome situations players usually confuse with each other.
One looks like a calm resource route, one looks calm but pays badly, and one only looks safe because the danger has not shown up yet.
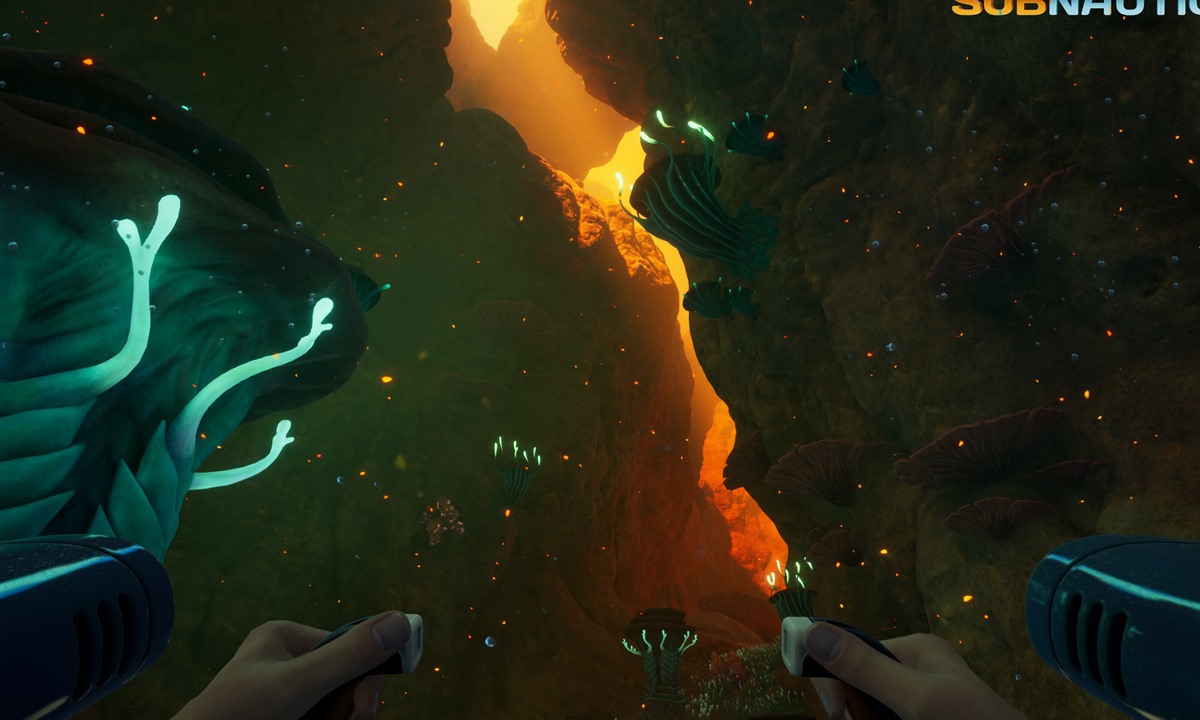
This is what a real early keeper route looks like.
The loop gives materials, the edge stays readable, and leaving early still feels like a win instead of a waste.
Open Titanium guide
The area feels calm, but it is not producing useful next progress.
Leave sooner and reconnect the route to one craft goal when you keep exploring safely but still come home directionless.
Open first-hour guide
You are calling a route safe only because the bad moment has not happened yet.
If sound, darkness, and depth start stacking fast, back out and treat the next push like a different route entirely.
Open early oxygen guideVisit a safe biome for
- Basic materials you can bring home without a panic swim.
- Fragments or scans that improve the next route immediately.
- Landmark practice before moving into darker or louder zones.
Leave the biome when
- The return landmark is no longer obvious.
- Oxygen, food, or water starts controlling your decisions.
- The next useful item would require pushing past the safe edge.
First 20-minute safe biome plan
- Start with one short loop from a visible landmark and gather only the materials needed for the next survival or storage craft. Do not turn this first loop into a full map survey.
- On the second loop, swim the same route again and add one new branch only if you can still point back to the return marker without checking every direction.
- Bank materials after each useful scan or full inventory pocket. Safe biome progress comes from repeatable returns, not from staying out until every meter feels risky.
- End the session by writing down the next blocker: Titanium, Copper, oxygen, food, or a missing scan. That blocker decides the next guide to read.
If the route starts going wrong
- If oxygen is the failure, stop widening the route and improve the oxygen plan first.
- If inventory fills too early, add storage before exploring a new branch.
- If you keep losing the return path, use a shallower edge route until the landmark is automatic.
- If the safe biome no longer gives useful materials, move to a planned deeper run instead of wandering.
After three safe-biome passes
Decide whether the biome is truly useful before you turn it into a main route. A calm area still needs to produce progress.
| Three-pass result | Meaning | Next move | Do not |
|---|---|---|---|
| Route stayed readable and paid out materials | This is a keeper loop. | Use it for Titanium, Copper, or scanner support. | Overextend it into deeper terrain immediately. |
| Route stayed calm but did not solve a blocker | It is safe practice, not progression yet. | Name a craft or scan before repeating it. | Keep swimming there because it feels comfortable. |
| Second or third pass became stressful | The biome edge is not stable enough. | Shorten the loop and improve landmarks or oxygen. | Call the whole biome safe from the first pass. |
| Useful result is banked and route is boring | You can widen by one branch. | Open early-biome-route or landmarks next. | Add multiple branches before one repeats cleanly. |
August 16 update: decide whether a safe biome should become your main loop.
A safe biome is only valuable if it supports the next practical step. After a few calm returns, judge whether the area should become a farming loop, a training route, or a route you leave behind.
| Safe-biome result | What it means | Next move | Stop repeating if |
|---|---|---|---|
| The loop is calm and funds one clear craft. | It is a real early-game route. | Repeat it until the craft, storage, or tool goal is complete. | The next blocker shifts to Copper, Quartz, scans, or base placement. |
| The loop is calm but pays weakly. | It is practice, not progress. | Use it to learn landmarks, then move to a stronger material route. | You are only staying because it feels comfortable. |
| The loop pays well but still creates panic. | The reward is right, but the route is not safe enough yet. | Shorten the path and rebuild oxygen or landmark margin. | The second or third return still depends on luck. |
| The loop is easy enough for co-op roles. | It can become a shared starter lane. | Assign one gatherer and one base support role before widening. | Players start splitting into unrelated errands. |
What players usually get wrong about safe biomes
- They call a route safe after one lucky run instead of after two or three repeatable returns.
- They drift into the center because the edge feels too easy, even though the edge is what makes the biome valuable.
- They gather anything they see instead of tying the loop to one useful craft or scan target.
- They stay out until oxygen or pressure decides for them instead of leaving when the route already succeeded.
July 31 safe-route review note
This page was rechecked around a reader-first rule: "safe" does not mean quiet, pretty, or familiar. A safe biome earns the name only when the player can repeat the route, bank one useful result, and leave before pressure starts making decisions.
- If the route is calm but does not fund a craft, scan, or base step, treat it as practice rather than progress.
- If the return cue fails on the second or third pass, shorten the edge route before calling the biome safe.
- If the loop works, widen by one branch only after the previous route feels boring enough to repeat.
Next route map
Choose the next page by the thing your safe biome still is not solving.

If the whole opening still feels messy
What to do in your first hour
If even a safe biome is not helping, the save still needs basic order and priorities.

If building is the next blocker
Where to find Titanium early
Once the safe route exists, turn the next gain into storage, base basics, or cleaner build flow.
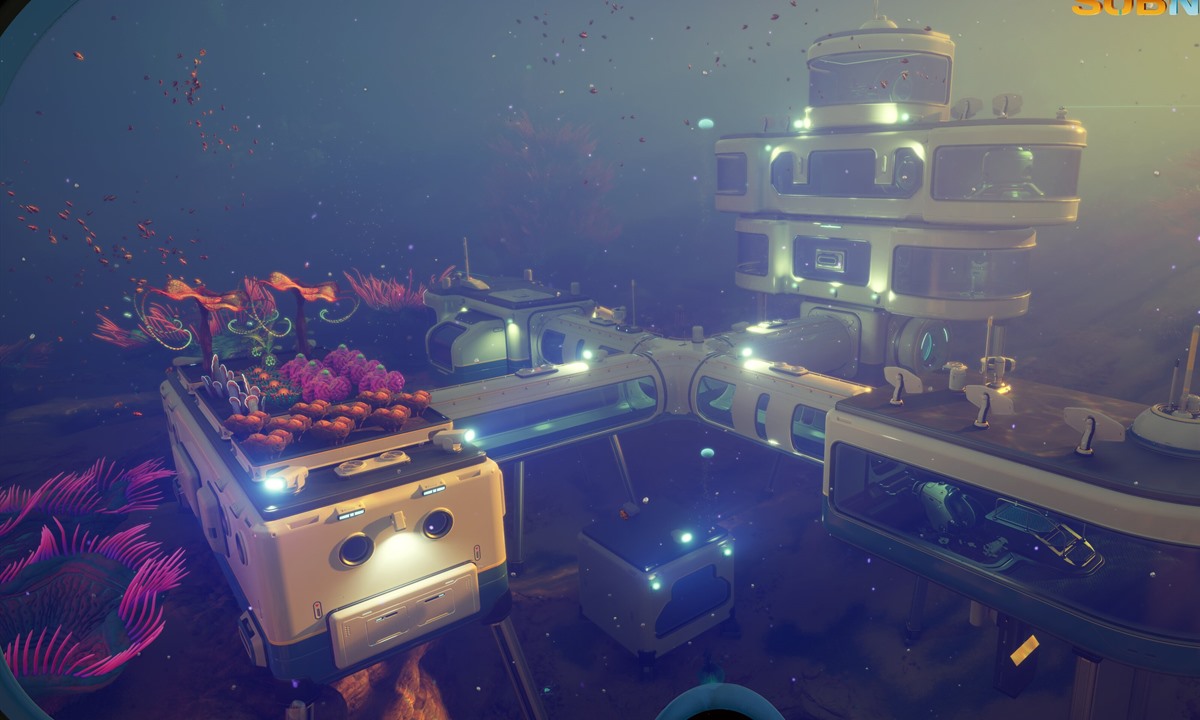
If oxygen is still the failure
How to get more oxygen early
If the map choice is better but the way back is still thin, improve return margin next.