Safe-biome routes first, landmarks second, and deeper timing only after the current shallow loop stops paying off.

Safer scouting lines, trusted landmarks, and clear turn-back cues.
- Safe routes
- Landmarks
- Danger zones
Players often mistake route confusion for courage problems when the real fix still is safer scouting and a stronger return line.
Quick route starters
Open the route page that matches how the map is failing right now.
Route pages work best when the player can tell whether the problem is safe-loop setup, getting lost, pushing too deep, or ending trips too late.
I need one calmer route first
If the map feels wider than your survival margin, lock in one calmer route first.
I can explore, but I keep losing the return line
Use landmarks and route-memory pages when the trip out is fine but the way home is not.
I do not know if this is the time to push deeper
Check depth timing before you treat a risky route like a normal scouting loop.
I keep staying out too long
Use stop-rule pages when oxygen, inventory, and route greed are the real problem.
Quick problem matcher
Pick the map guide by what breaks the trip, not by how scary the biome looks.
Strong route pages help players decide whether they need safer water, better landmarks, a deeper push, or a cleaner stop rule.
| If this is the blocker | Open first | Why this helps |
|---|---|---|
| The map feels too wide and you need one calm loop. | Safe biomes | It proves a route with low pressure before the save chases deeper rewards. |
| You can leave base, but returning still depends on luck. | Landmark navigation | It turns scenery into repeatable route memory and cleaner home lines. |
| The shallow loop is stable, but deeper rewards are tempting. | Go deeper or stay shallow | It gives the yes-or-no timing check before a risky route becomes the plan. |
| Trips keep failing because you stay out too long. | Keep exploring or go home | It creates a stop rule around oxygen, inventory, route value, and return safety. |
How To Use This Lane
Use the biome archive like a route decision guide.
This category is most useful when the map itself is the blocker. If you are still trying to survive the first session, start in the beginner lane first. If you already know the problem is a specific material or upgrade, the resources or vehicles lanes may be better. Biomes and map pages should answer the question "where is the safe path?" before they answer "what should I gather there?"
| Map situation | Best lane behavior | Leave this lane when |
|---|---|---|
| The route is still calm and repeatable. | Use safe biomes and landmarks to make one stable loop boring. | You already know the route well enough to stop thinking about it. |
| The route is readable, but the return line is weak. | Open landmarks and stop-rule pages before committing to deeper water. | The map problem is no longer route memory, but material or base payoff. |
| Depth is tempting, but the run is not ready. | Use go-deeper checks and deep-run prep before risking a long push. | You can explain the deeper route without sounding uncertain. |
Lane jump cards
Open the route answer that matches whether the map still needs safety, memory, or better depth timing.
These entry cards turn broad exploration anxiety into one sharper first click, so the next route decision is easier to make.
Safety
Best safe biomes for early exploration
Use this to secure one dependable route before widening the map or chasing deeper rewards.
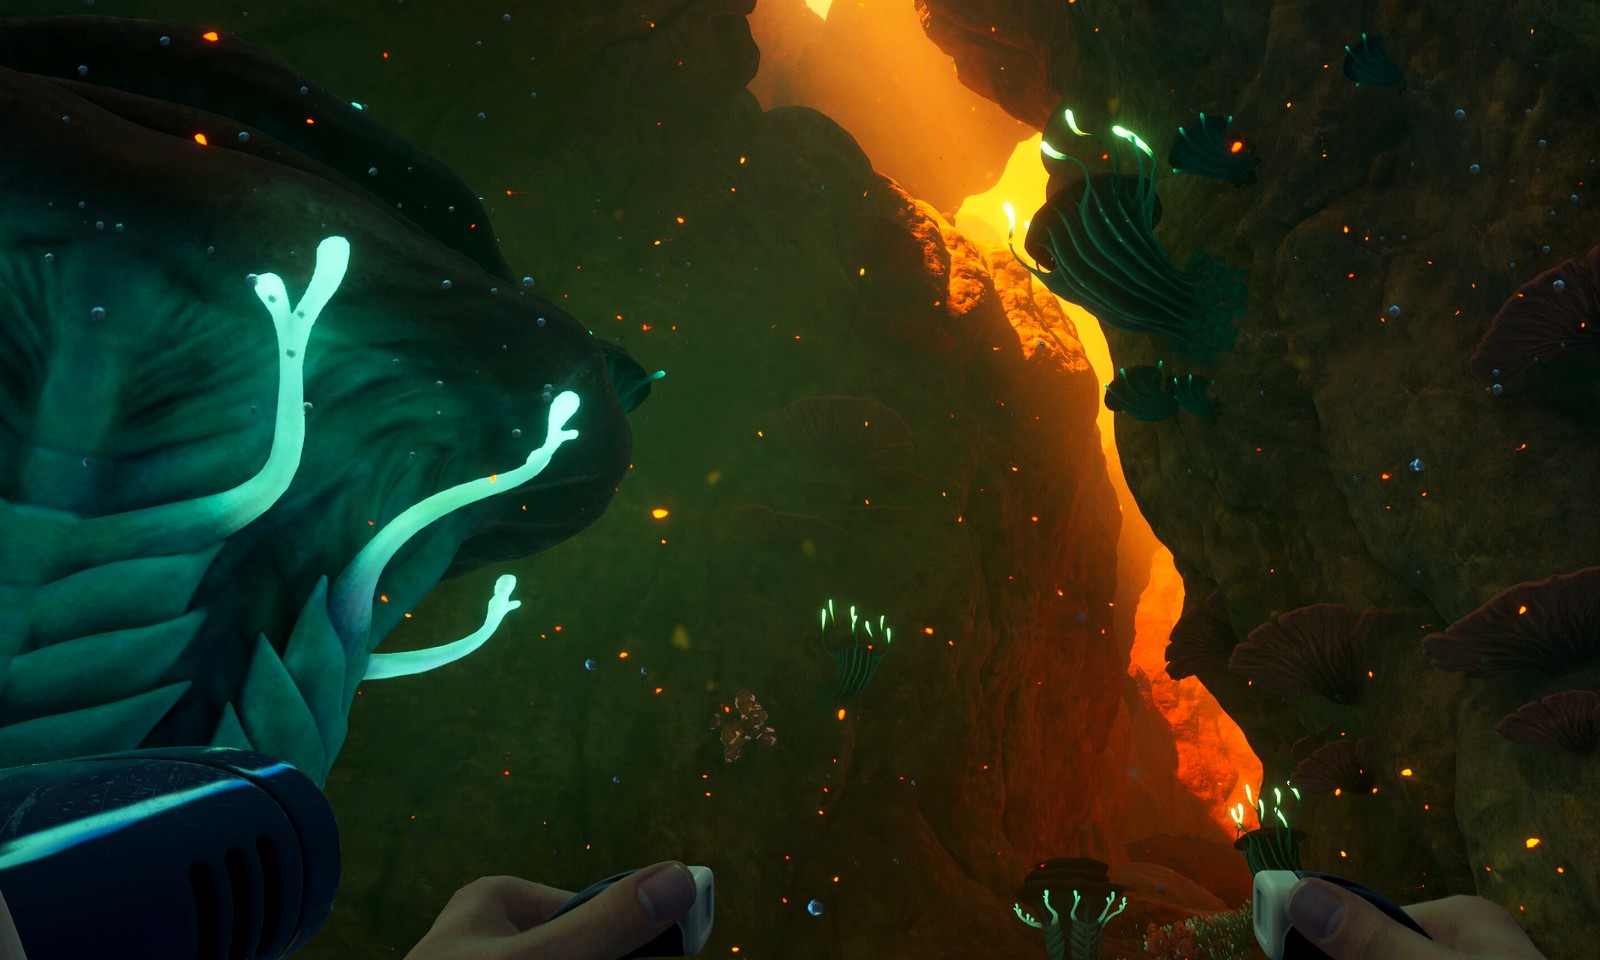
Memory
How to use landmarks for navigation
If trips out are fine but the way home depends on memory or luck, build landmark habits here.

Timing
When should you go deeper?
When a deeper route looks valuable, use this yes-or-no rule before committing.
Why this guidance matters
Why map pages get reviewed often during Early Access.
Route advice changes faster than broad beginner advice because the value of a route depends on map feel, creature pressure, and how much return margin the current build gives you. That is why this route guidance is checked often. If an update changes route edges, creature behavior, or visibility, these pages need another verification before older route assumptions are trusted.
A good map page should still be useful even if the exact path changes. It should help a player decide whether to scout, retreat, or widen the loop, not just memorize a single exact line through the water.
Core picks
Use these route pages when the map itself is what keeps breaking the run.
This shelf is the shorter practical version of the lane: safer biomes first, cleaner route memory second, deeper timing only after the current loop stops paying off.
Best safe biomes for early exploration
Low-risk route planning for players who want safer scouting before pushing deeper.
Best early biome route
A practical route from first survival stability into useful materials and calmer exploration.
How to use landmarks for navigation
Map literacy advice for repeatable routes, easier returns, and fewer panic detours.
Dangerous zones to avoid early
A threat-aware map guide for recognizing when a route is not worth the risk yet.
When should you leave safe biomes and go deeper?
A decision-first route page for choosing whether to stay shallow, widen edge scouting, or commit to one deeper push.
Is this deep run worth opening yet?
A route-value guide for deciding whether a deeper push actually solves a blocker better than safer progress still can.
Should you keep exploring or go back to base?
A stop-rule page for deciding when oxygen, landmarks, and inventory value say the route should end.
What should you check before your first deep run?
A practical checklist page for target choice, route memory, oxygen margin, and retreat rules before the first serious deeper route.
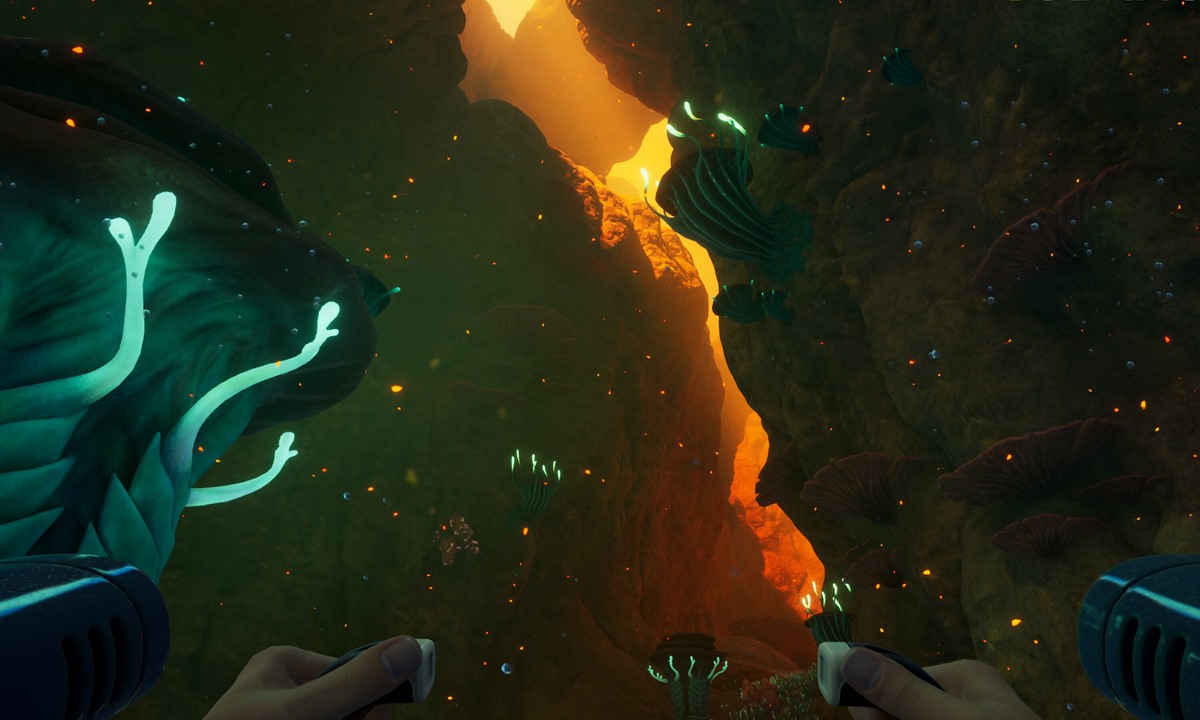
Real gameplay reference
These are the exploration scenes that should trigger a route decision.
Map pages are most useful when you react to the moment the run changes, not after you already are lost, deep, and low on oxygen.
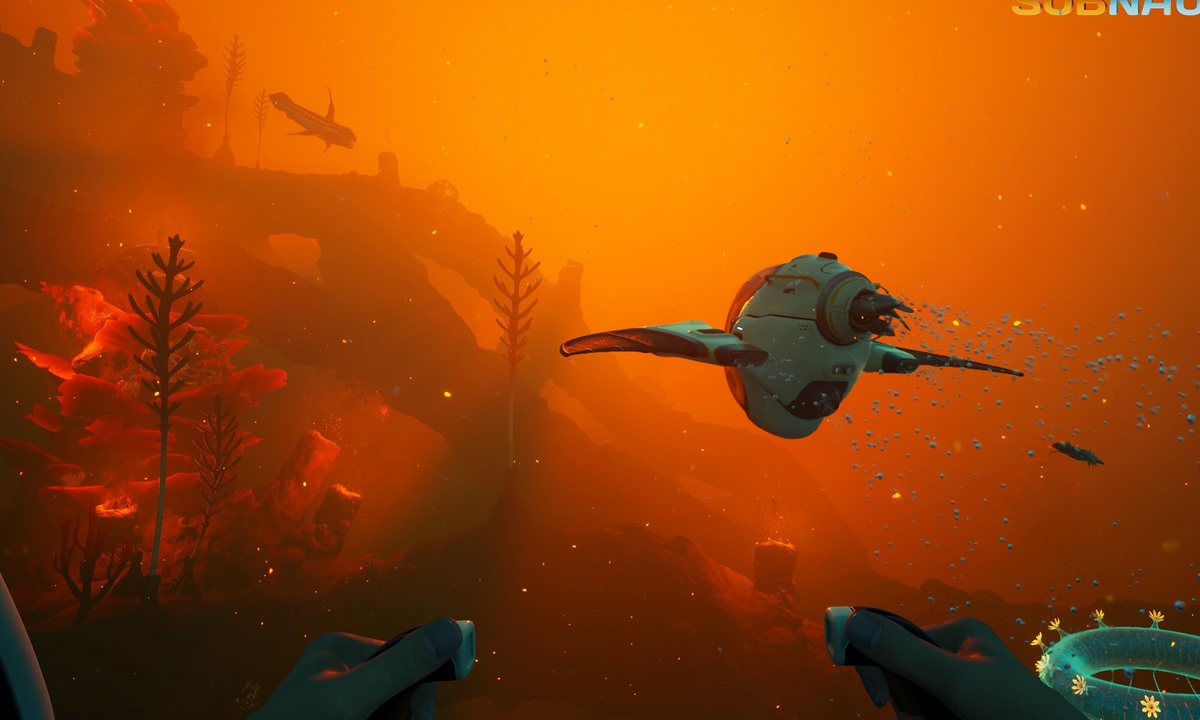
The route still is calm enough to build a repeatable safe loop.
Use safe-biome pages when you want to turn easy water into a dependable scouting habit.
Open safe biomes guide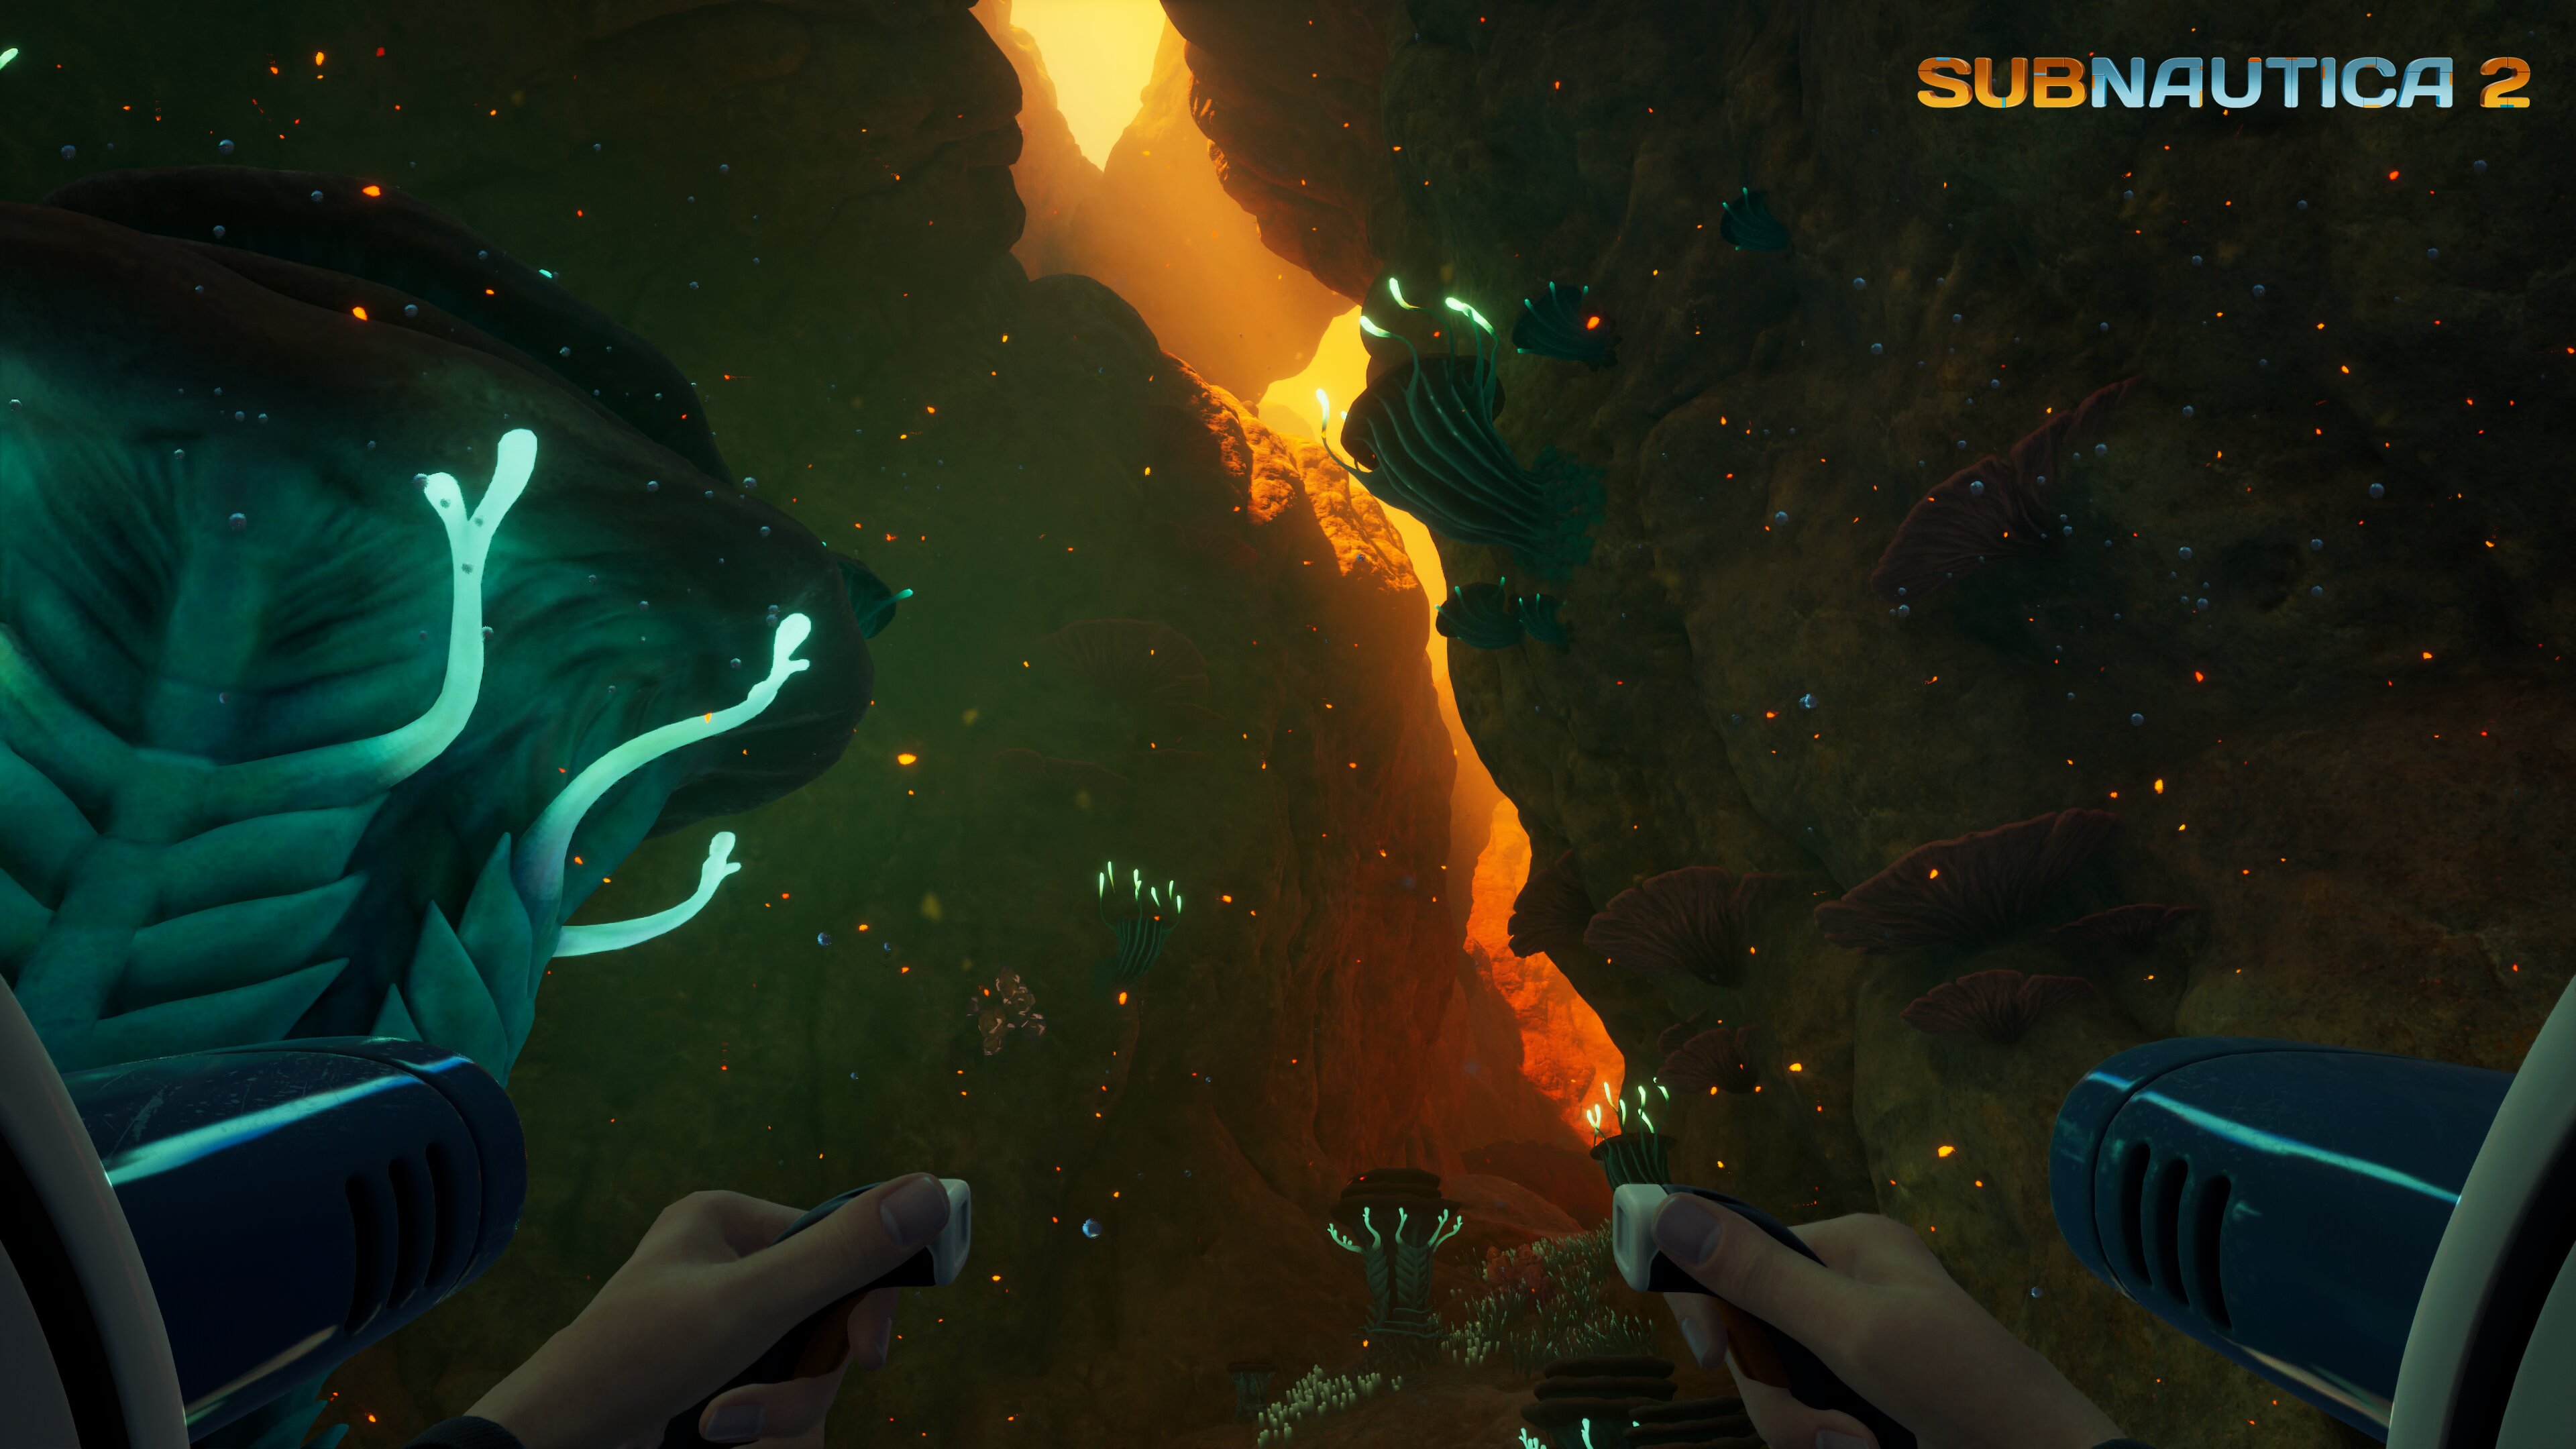
The water darkens and the route no longer feels cheap to test.
Switch to depth timing and danger pages before you treat a risky push like a normal scouting trip.
Open depth timing guide
Wildlife pressure is deciding your route more than landmarks are.
Open danger-zone and retreat-rule guides when creature pressure is the real map problem you are trying to solve.
Open dangerous zones guideNeed visual help?
Use the route diagrams before choosing a direction.
Map advice works best when players can see safe edges, turn-back points, and danger boundaries. Use these visual shortcuts before committing to a longer exploration route.



Video-to-guide path
Use official exploration context, then read the right route pages.
Official trailer -> safer exploration path
Safe biomes
Depth timing
Deep run value
Deep run checklist
Go-home rule