Column success test
The Vehicles Center has worked when travel failure is separated from base, route, and storage failure.
Topic center
Use this center when the real blocker is travel range, depth support, or the moment when a vehicle becomes more useful than another base upgrade.
Open this page when the route is already known and the next question is whether a vehicle will solve the problem better than a base or storage upgrade.

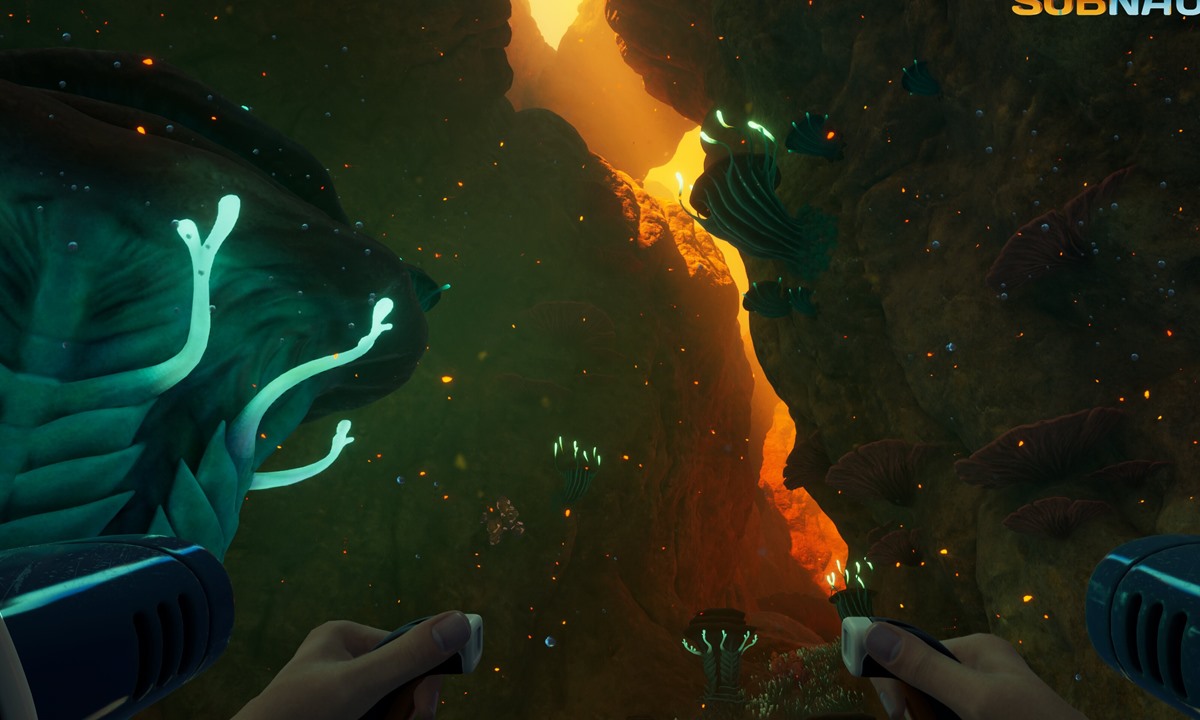

Column triage
Vehicle guidance becomes low value when it treats every upgrade as progress. This center should decide whether the next session needs base support, route clarity, vehicle range, or depth readiness.
| Travel symptom | Open first | Do not continue here if |
|---|---|---|
| You are choosing between home flow and travel range. | Base or Vehicle First | The base still cannot process normal returns. |
| The vehicle exists but one failure repeats. | Vehicle Upgrades | The route itself is still unnamed. |
| The next route is deeper than the current setup. | Depth Upgrade Check | Oxygen, storage, or return landmarks are still weak. |
| Travel feels bad because the route is confusing. | Map Hub | The problem is direction, not vehicle power. |
The Vehicles Center has worked when travel failure is separated from base, route, and storage failure.
Unclear routes or messy home support. A vehicle cannot fix a destination the player still cannot repeat.
Open a vehicle page only after the route, base support, and exact travel blocker are known.
Exit rule
A vehicle decision is useful only after the player can name what is actually failing: distance, storage, depth, safety, or route memory. If the answer is still "travel feels bad", this center should split that feeling into one test before sending the player deeper.
Move to Map when landmarks are the problem. Move to Base Building when storage, power, or return processing is weak. Move to a vehicle guide only when the trip already has a destination and the upgrade clearly removes the repeated failure. That prevents buying range when the real issue is planning.
Use a vehicle when it makes the current route simpler, faster, or safer than the base alternative.
Use this center when the next blocker is travel range or depth, not raw survival.
If storage and power are still shaky, finish the base work before buying more travel range.
Answer-first workflow
The best vehicle decision should make one repeated trip safer, faster, or less inventory-limited. If the route is still unknown, solve the map first.
Confirm where the vehicle is going, make sure the base can support the trip, name the vehicle job, then buy only the upgrade that removes the repeated failure.
Depth rules, upgrade value, and vehicle timing can change as Early Access updates land. Check version notes before relying on older route advice.
Vehicle decision table
| Player symptom | Likely answer | Do not choose this if | Next page |
|---|---|---|---|
| Every useful route feels too far | Vehicle range or base placement is now the main blocker. | The route itself is still unnamed or hard to repeat. | Base or vehicle first |
| The vehicle exists but still feels weak | Pick the upgrade that removes the repeated failure. | The base cannot yet store, power, or process trip rewards. | Vehicle upgrades |
| The next marker is deeper than usual | Run a depth-readiness check before committing. | You do not have a safe return landmark or turn-back rule. | Depth upgrade check |
Vehicle lanes
If the base still needs work, the best answer may not be a vehicle yet.
Only spend here when the vehicle is already doing a real job and not just looking promising.
If the vehicle is only making the route louder, the map or base decision still needs work.
Vehicle map
Decide whether the next useful upgrade is home flow or travel range.
Spend on the upgrade that removes the repeated failure, not the loudest one.
Check depth support before pushing a vehicle into a route it cannot safely finish.
Sometimes the vehicle is fine and the real blocker is storage, not speed.