You can afford one real upgrade, but several systems all look equally tempting.
System priority guide
Which system should you upgrade first in Subnautica 2?
Mid-game progress usually slows down because several upgrades look useful at once. This page helps you choose the one system that removes the biggest repeat problem first.
Last reviewed August 17, 2026
Patch sensitivity Medium
This order changes most if early route pressure, storage value, Scanner Room returns, or vehicle access costs are adjusted.
Upgrade the failure you repeat most often, not the system with the biggest long-term fantasy value.
Reviewed August 17, 2026
Built for mid-game decisions
Patch-sensitive order
Failure-first logic
You want one upgrade that changes the next few runs immediately, not a broad wishlist of everything that looks useful.
The real question still is early survival, not system order. In that case, go back to first-hour or first-two-hours pacing.
Use the specific follow-up page only after this guide names whether oxygen, storage, power, scanning, or vehicle reach is the actual bottleneck.
Quick answer
Upgrade the system that fixes the failure you repeat most often: oxygen when routes end in panic, storage when returns end in clutter, base power when home tools feel unreliable, Scanner Room support when search time is the problem, and vehicle progress only when distance or depth is clearly the blocker.
How to use this page correctly
- This is not a universal tier list: the order changes with your current failure pattern, not with a fixed "best upgrade in the game" rule.
- It is safest when one problem keeps repeating: panic returns, storage clutter, weak base uptime, or long search loops are the signals that make the ranking useful.
- Stop after one clear winner: once the right system is named, switch to its dedicated guide instead of trying to justify three upgrades at once.
Page media
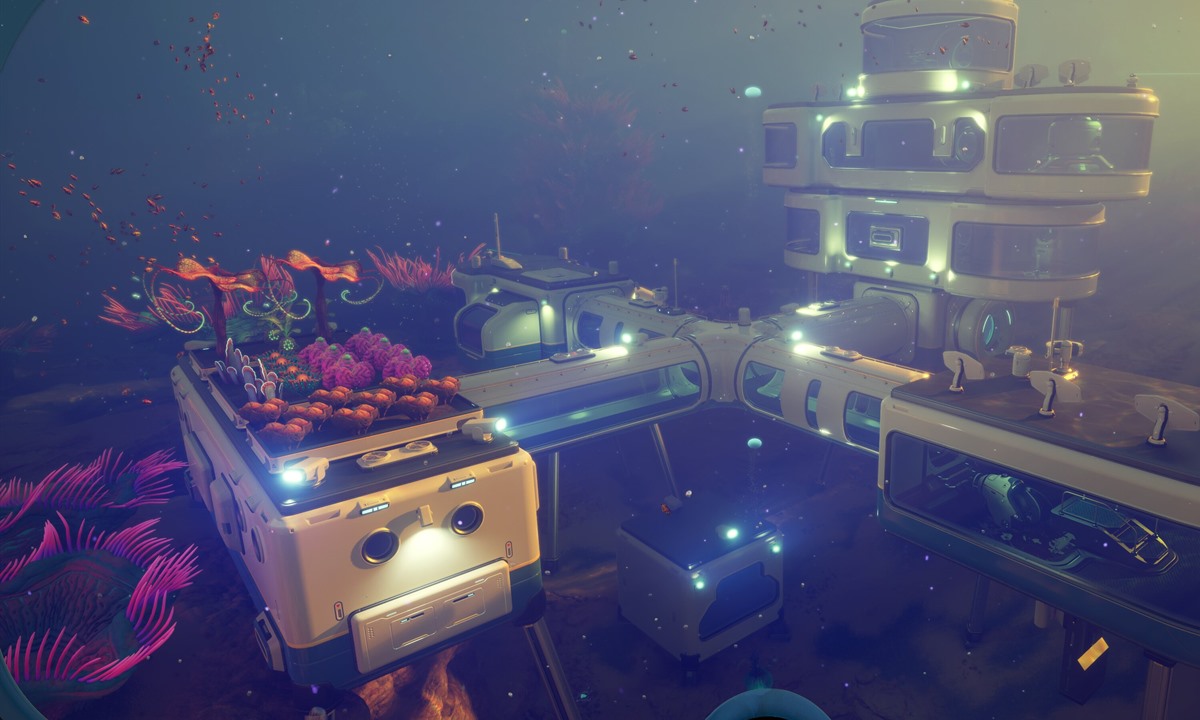
Check the route blocker before you commit the next upgrade batch.
This page is best when upgrade priority stays tied to the route failure it will actually remove: power, scanner value, storage, reach, or depth safety.
Depth check
Before going deeper
Open this when the upgrade choice is really about whether the next deeper route has enough support.

Next guide
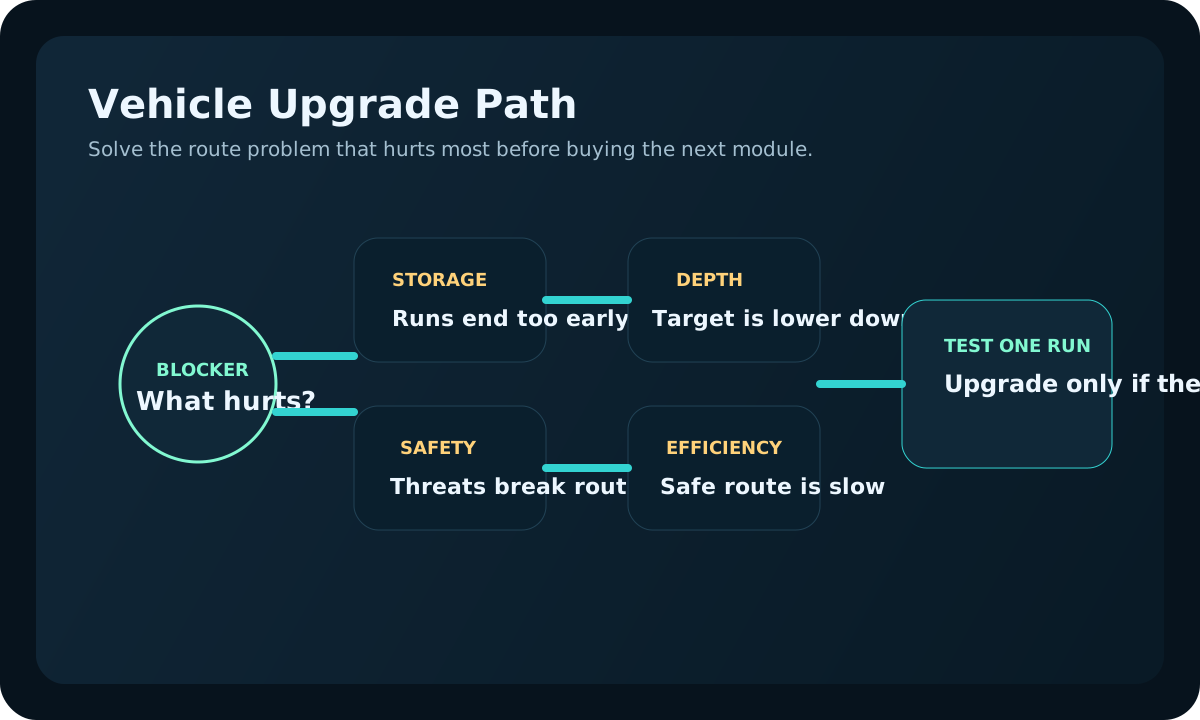
Vehicle upgrades
Open this next when the page says reach is winning and the remaining task is choosing which vehicle improvement changes the next run fastest.
Visual read
Upgrade the system that fixes the repeated failure
The right first system upgrade is the one that changes the next few runs, whether that means cleaner storage, stronger base support, better scanning, or route reach.
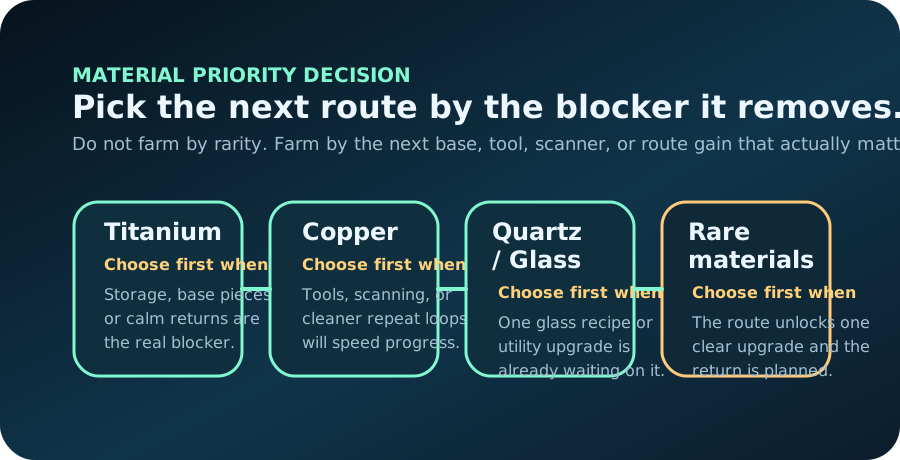
Material pressure picks the upgrade.
If one system removes repeated farming or storage friction, it should beat a flashier but less urgent branch.

Reach matters after home is stable.
Vehicle or route upgrades are strongest once the base loop is calm and the next target is genuinely farther away.
Good fit if
- You have enough materials for one meaningful upgrade, but several options all look useful at once.
- You want to remove the next repeat failure instead of spreading materials across several half-upgrades.
- Your base already exists and the problem is now system order, not pure survival.
- You need one practical way to choose between oxygen, storage, power, scanner support, and vehicle progress.
Use this upgrade priority table first
Match the repeated failure to the system that removes it. The best upgrade is the one that makes the next few runs calmer, not the one with the biggest headline value.
| Repeated problem | Best system first | Why it matters now | Do not prioritize first if |
|---|---|---|---|
| Good runs still end with thin oxygen and rushed returns | Oxygen and route margin | More depth and range are useless if you still panic on routine trips. | The real issue is route confusion, not air time. |
| Trips succeed but the base still feels chaotic after every return | Storage and base flow | Clutter hides the next craft and wastes every future run. | Your storage is fine and the blocker is clearly farther away. |
| Base crafting, scanner use, or support systems feel unreliable | Base power | Weak home systems make every other upgrade feel worse. | The base location is temporary and likely to move soon. |
| You know the target but searching for it is wasting time | Scanner Room timing or upgrades | Search efficiency matters once the route and base loop already work. | Power, storage, or route safety still fail first. |
| The base works, but the next useful target is clearly blocked by depth or distance | Vehicle path | Travel limits finally become the real blocker only after the home loop is stable. | The next target is still vague or not worth the extra route risk. |
Simple upgrade order when unsure
- Fix survival pressure first if oxygen, water, or food still end otherwise good trips.
- Fix storage and prep if the base hides the next craft after every return.
- Fix power if the base cannot support normal crafting, scanning, or route prep reliably.
- Add Scanner Room support when the route is safe but search time is now the slow part.
- Push vehicle progress only when the route value is clear and distance or depth is the actual wall.
Run this one-session priority test
Before spending, play one focused session and record the first place the run keeps breaking down. That failure usually tells you the real upgrade order.
| Moment in the run | What failure means | Best upgrade first |
|---|---|---|
| You hesitate to leave because air margin still feels thin | The route is limited before it even becomes useful. | Oxygen and route margin |
| You come home with loot, but cannot turn it into the next craft cleanly | Base flow is slowing every future run. | Storage and prep flow |
| The base supports only part of the normal loop reliably | Home systems are too weak to carry more demand. | Base power or support stability |
| You know the route and target, but searching still burns the most time | The route is safe enough, but search efficiency is poor. | Scanner support |
| The route is organized, but the target still is out of reach | Distance or depth has finally become the true wall. | Vehicle path |
Spend the next upgrade batch only after this proof lap
A proof lap keeps the upgrade choice grounded in actual play. Before spending a limited batch, repeat one normal route and watch where time, safety, or base flow fails first. That failure should choose the upgrade, not the most exciting menu option.
| Proof-lap result | Upgrade signal | Wait if |
|---|---|---|
| The route fails before the target is reached. | Survival margin or route safety should win first. | The failure came from guessing the route, not from the system itself. |
| The target is found, but the return creates clutter. | Storage, base layout, or next-craft flow should win first. | You already know exactly where the returned batch belongs. |
| The base struggles while supporting normal crafting or scanning. | Power stability should beat wider exploration. | The base is temporary and the next step is moving the hub. |
| The route is safe and organized, but the target is too far. | Vehicle reach or depth support is finally justified. | The deeper target is still vague or not tied to a useful craft. |
July 31 upgrade-priority review note
Reviewed August 17, 2026: this page was tightened around evidence-based upgrading. The best first system upgrade is the one that fixes the failure the player repeats most often, not the one that sounds most advanced in a vacuum.
- Pick oxygen or route margin when the run breaks before the target becomes useful.
- Pick storage, base power, or scanner only after the home loop can absorb the result cleanly.
- Pick vehicle progress only when the route is organized and distance or depth is truly blocking progress.
If this is your blocker, read this next
| Current blocker | Fix this now | Next guide |
|---|---|---|
| Oxygen still decides every route | Increase margin before adding expensive systems | How to get more oxygen early |
| Home returns still feel messy | Clean storage and base flow before range upgrades | Best early storage upgrades |
| Base support feels unreliable | Stabilize power before adding more demand | How base power works |
| The real bottleneck is search time | Decide whether scanner support is finally worth it | Is the Scanner Room worth building early? |
| The base works but the route still ends at distance or depth | Compare home friction against vehicle value | Base or vehicle first? |
Common upgrade mistakes
- Buying the biggest-looking upgrade instead of the one that fixes the failure you repeat most often.
- Splitting one material batch across two systems, which leaves both upgrades too weak to change the run.
- Choosing vehicle progress before storage, power, or prep flow can support longer routes.
- Choosing scanner support before the base loop is organized enough to turn scan results into fast progress.
- Calling everything a "mid-game problem" when the real issue still is oxygen margin or basic survival discipline.