Storage, power, crafting flow, or home reset time still are draining good routes before they pay off.
Decision guide
Should you improve your base or unlock a vehicle first in Subnautica 2?
This page answers a common mid-early progression problem: players have enough momentum to branch out, but not enough materials to improve both the base and vehicle path at the same time.
Last reviewed August 17, 2026
Patch sensitivity Medium
This choice shifts most when early vehicle access, base utility value, or route distance pressure changes.
The base already works and the next named target truly is farther, deeper, or too awkward without new travel reach.
Reviewed August 17, 2026
Built for one-upgrade decisions
Route-friction focused
Mid-early branch page
You can only fund one real progression branch and want the one that improves the next few sessions, not just the most exciting unlock.
Your survival basics and first material loops still are unstable. In that case, neither branch deserves the batch yet.
Open vehicle upgrades if reach wins, or go back into base build order if this page shows your real bottleneck still starts at home.
Quick answer
Improve the base first when storage, power, or crafting flow are still interrupting good routes. Unlock the vehicle first only when the base already works, the next target is clearly farther or deeper, and the vehicle would solve a real route limit instead of just feeling exciting.
How to use this comparison well
- This page is about bottlenecks, not fantasy value: the better branch is the one that removes the next repeat problem from your route immediately.
- It works best when one batch cannot cover both paths: if you can improve both cleanly, you do not need this comparison as much.
- Stop once the winner is obvious: move into vehicle upgrades or base build order instead of reopening the same comparison later.
Page media
Check the real blocker before you spend the bigger batch.
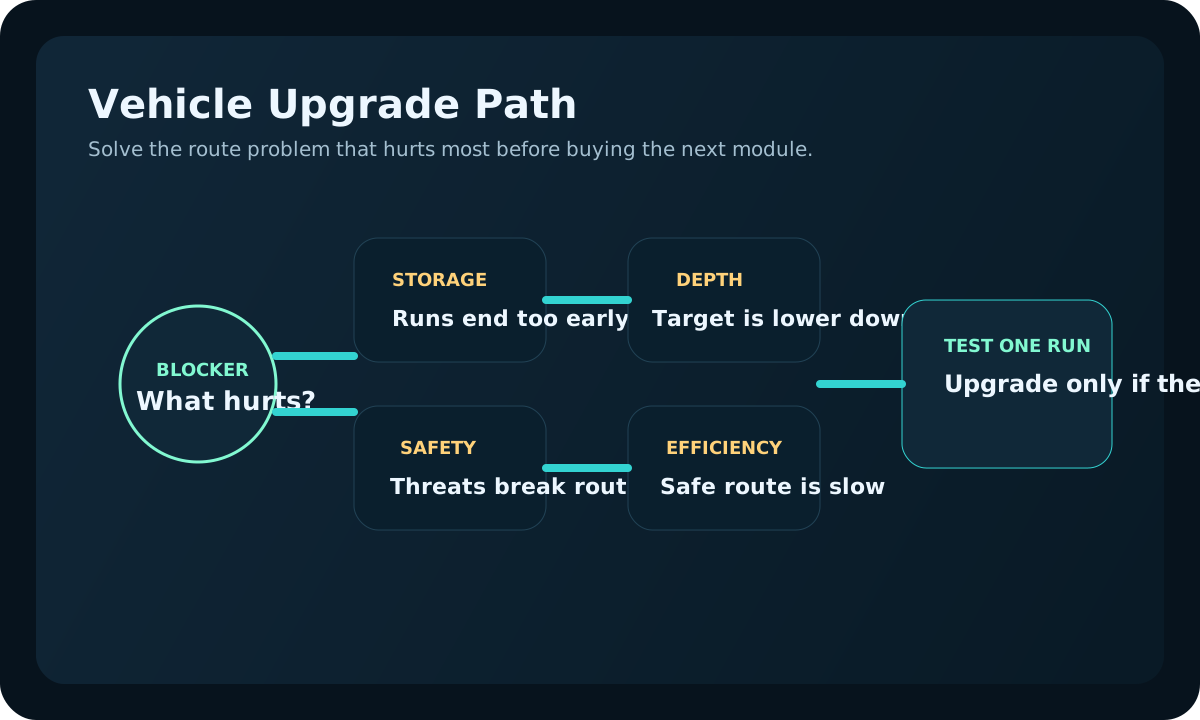
This choice is strongest when you compare your current friction against route support, storage, depth safety, and travel reach.

Depth support
Before going deeper
Open this when the base-or-vehicle choice is really about whether the next deeper route has enough support.
Next guide
Vehicle upgrade timing
Open this next if the comparison shows travel reach really is the blocker and the next batch should go into longer or safer trips.
Visual read
Compare home friction against route reach
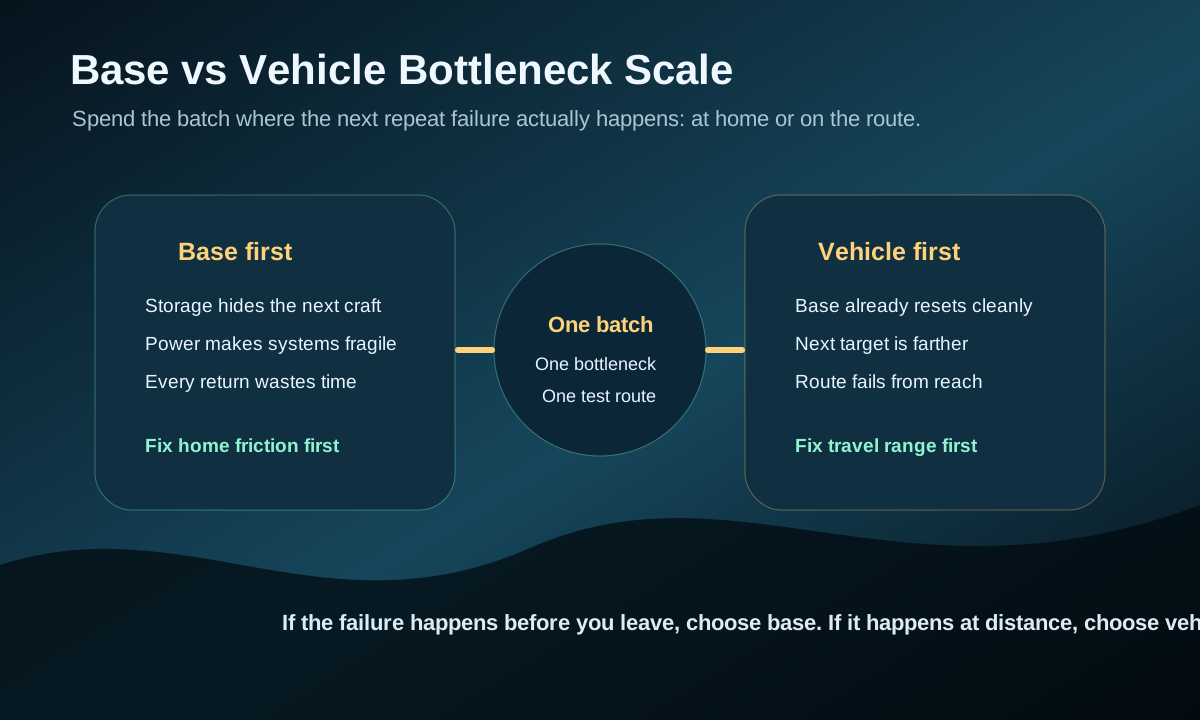
The decision should feel practical: improve the base if returns and prep are messy, or push vehicle timing only when the next target is clearly farther than your current routes can support.
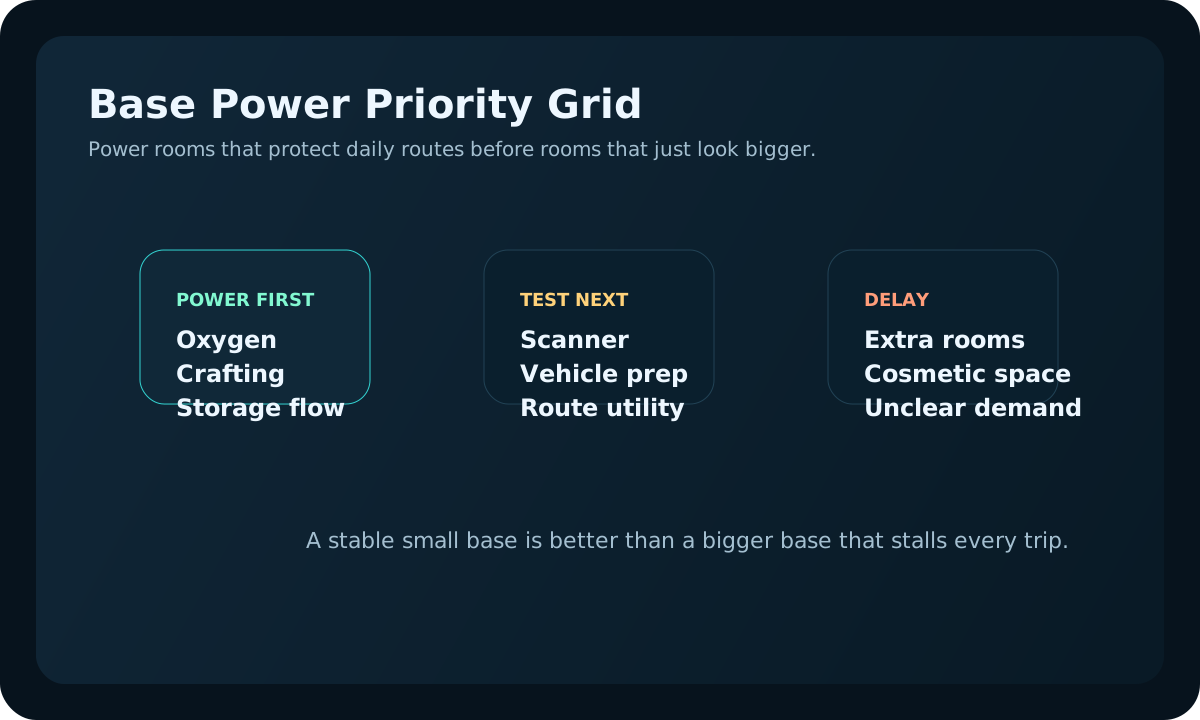
Base first when home still slows you down.
If storage, power, or crafting flow wastes every return, a vehicle will not fix the real bottleneck yet.
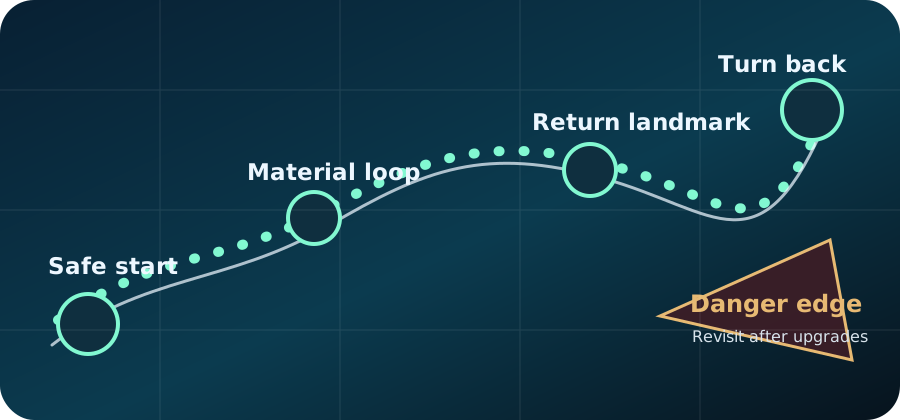
Vehicle first when reach is the blocker.
Travel upgrades matter once the base works and the next named target is genuinely farther, deeper, or awkward on foot.
Good fit if
- You can afford only one meaningful upgrade batch and do not want to split it poorly.
- Your first base exists, but you cannot tell whether home friction or route reach is the bigger problem.
- The next target looks deeper or farther, but you are not sure that range is the real blocker yet.
- You want one practical test before committing materials to either path.
Fast decision card
| Main pain | Choose | Next action |
|---|---|---|
| Materials are scattered, crafting is slow, or power is unreliable. | Base first | Fix storage, power, and crafting flow before chasing distance. |
| The base works, but the next target is too far, deep, or risky. | Vehicle first | Unlock the vehicle only for a named route problem. |
| Survival basics and material loops are still unstable. | Delay both | Stabilize oxygen, food, water, and one repeatable route first. |
Base or vehicle decision table
Use this before spending a large material batch. The best path depends on what is actually slowing progress right now.
| Current blocker | Choose base first | Choose vehicle first | Delay both if |
|---|---|---|---|
| Inventory and storage pressure | Yes, if good routes end because materials have nowhere useful to go. | No, unless the vehicle adds storage that clearly solves the route. | You still do not have one repeatable material loop. |
| Power or scanner reliability | Yes, if base systems already hesitate during normal use. | No, because a vehicle will not fix a weak home loop. | The base location is still likely to move. |
| Depth or long travel limit | Only if base support is the real reason the route fails. | Yes, when the next useful target is clearly farther or deeper. | You do not know what the deeper trip is supposed to unlock. |
| General progression feels slow | Choose base if every trip starts or ends messily. | Choose vehicle if the route itself is already safe and organized. | Survival basics are still unstable. |
Choose base first when
- Storage is unclear and the next craft is hard to identify after each run.
- Power, scanner use, or crafting flow still feel unreliable.
- You are building out of a temporary shelter that still does not shorten routes.
- The same route problem comes from poor drop-off and prep, not lack of range.
Choose vehicle first when
- The base already has storage, power, and a clean next-craft flow.
- The next fragment, material, or scan is clearly blocked by distance or depth.
- You already know the route and the vehicle would make it safer or less repetitive.
- The vehicle unlock would solve a real exploration limit immediately.
Simple progression path
- Stabilize the first base enough that materials, crafting, and power are not the chaos point anymore.
- Check whether the next useful unlock is blocked by home friction or route distance.
- If the blocker is home friction, build storage, power, or scanner timing first.
- If the blocker is route range, target one vehicle unlock or one practical vehicle upgrade.
- After one upgrade, test a single useful route before stacking more systems.
Use this one-session test before spending
Run one short session with a strict goal before you spend the batch. The point is to find out whether the next failure happens at home or out on the route.
| Test step | What to watch | Choose base first if | Choose vehicle first if |
|---|---|---|---|
| Prep for one target run | How long it takes to sort inventory, craft, charge, and leave. | You lose time before even starting the route. | Prep is clean and the route itself is still the wall. |
| Run one useful route | Whether the failure comes from range, depth, or bad home support. | The route would have worked if storage, power, or prep were cleaner. | The route clearly ends because the target is too far or too deep for current travel. |
| Return and convert loot | Whether the haul turns into immediate progress or more clutter. | The return becomes messy and hides the next craft again. | The return is smooth, but the next target still needs more range. |
Solo and co-op difference
| Mode | Best rule | Main mistake | Best follow-up |
|---|---|---|---|
| Solo | Choose the upgrade that makes the next two runs calmer. | Chasing a vehicle before the base can support the new route. | Vehicle upgrade order |
| Co-op | Let one player protect base flow before the team widens route range. | Everyone chasing fragments while shared storage and power are still weak. | Solo vs co-op route |
What a bad pick usually looks like
- Bad base-first pick: you build more rooms or support pieces, but the real blocker was still route range and the next target stays unreachable.
- Bad vehicle-first pick: you unlock travel range, but every return still ends in weak power, messy storage, or no clear next craft.
- Bad split decision: you spend half the batch on both paths and neither upgrade becomes strong enough to remove the repeat problem.
- Bad timing sign: survival basics still wobble, which means both options were probably premature and one calmer route should have come first.
After spending the batch
The choice is not finished when the upgrade is built. Test one route immediately so the next spend follows evidence instead of the same old debate.
| You chose | Proof run | Success looks like | If it fails |
|---|---|---|---|
| Base first | Run one normal material loop through the base. | Return, unload, craft, and leave again faster. | Fix layout, storage, or power before adding rooms. |
| Vehicle first | Use it on the named distance or depth blocker. | The target becomes safer or reachable immediately. | Stop vehicle spending and repair the home loop. |
| Delayed both | Repeat one short survival and material route. | The real bottleneck becomes obvious by the next return. | Do not split materials until one path has a clear job. |
Second-batch rule after the first choice
The first base-versus-vehicle decision should make the second one easier. Do not immediately double down. Let the proof run show whether the next spend belongs in the same lane or in the system that the first choice exposed as the new blocker.
| After the proof run | Spend the next batch on | Why |
|---|---|---|
| The route is smoother, but home returns still waste time. | Base support. | The first choice exposed home friction as the lasting problem. |
| The base is cleaner, but the next useful target is still clearly out of reach. | Vehicle progress. | The home loop did its job and route range is now the real wall. |
| Neither option changed the next run much. | Delay both and fix the weaker support layer first. | The save still needs a clearer blocker before another big spend. |
| The first upgrade solved the original problem completely. | Only then compare the other lane. | The second spend should answer the new blocker, not old indecision. |
August 17 base-vs-vehicle review note
This comparison was rechecked for the common player trap: spending one material batch on two good ideas and ending with neither a better home loop nor a better route. The page now pushes the reader to prove one path before splitting resources.
- Choose base first if every return is still slowed by storage, power, or craft flow.
- Choose vehicle first only when the next target is named and distance or depth is the actual wall.
- Delay both if the proof run shows survival basics or material routing are still too unstable.
If this is your blocker, open this next
| Current blocker | Fix this now | Next guide |
|---|---|---|
| Base storage and prep are messy | Fix the home loop before widening routes. | First base build order |
| Base systems feel unreliable | Stabilize power and support systems first. | How base power works |
| The route is safe but too shallow or short | Target one practical vehicle path. | Vehicle upgrade order |
| You are not sure if scanner support would be better | Decide whether the route needs search help or more travel range. | Is the Scanner Room worth it? |