You already know what is missing and need the fastest way to turn one recurring shortage into a repeatable loop.
Systems guide
How to use the Scanner Room efficiently in Subnautica 2
The Scanner Room works best when it shortens one known farming problem. It gets messy when players build it too early, scan too many things, or leave without a clear return rule.
Last reviewed August 17, 2026
Patch sensitivity Medium
Scanner advice changes most if range, upgrade pacing, or early material pressure shifts in a major patch.
The Scanner Room will not fix weak oxygen, weak storage, or a base that still is in the wrong place.
Quick answer
Use the Scanner Room for one target at a time, collect the closest reliable markers first, and stop the run as soon as oxygen, storage, or danger starts shaping the route more than the target does. The room is efficient only when it solves a named bottleneck faster than manual searching.
Page media
Open these first if you are trying to turn the scanner into a real route tool instead of a clutter machine.
One card helps you decide if it is worth building, one improves the home hub behind it, and one fixes the material bottleneck that often sends players into the scanner in the first place.
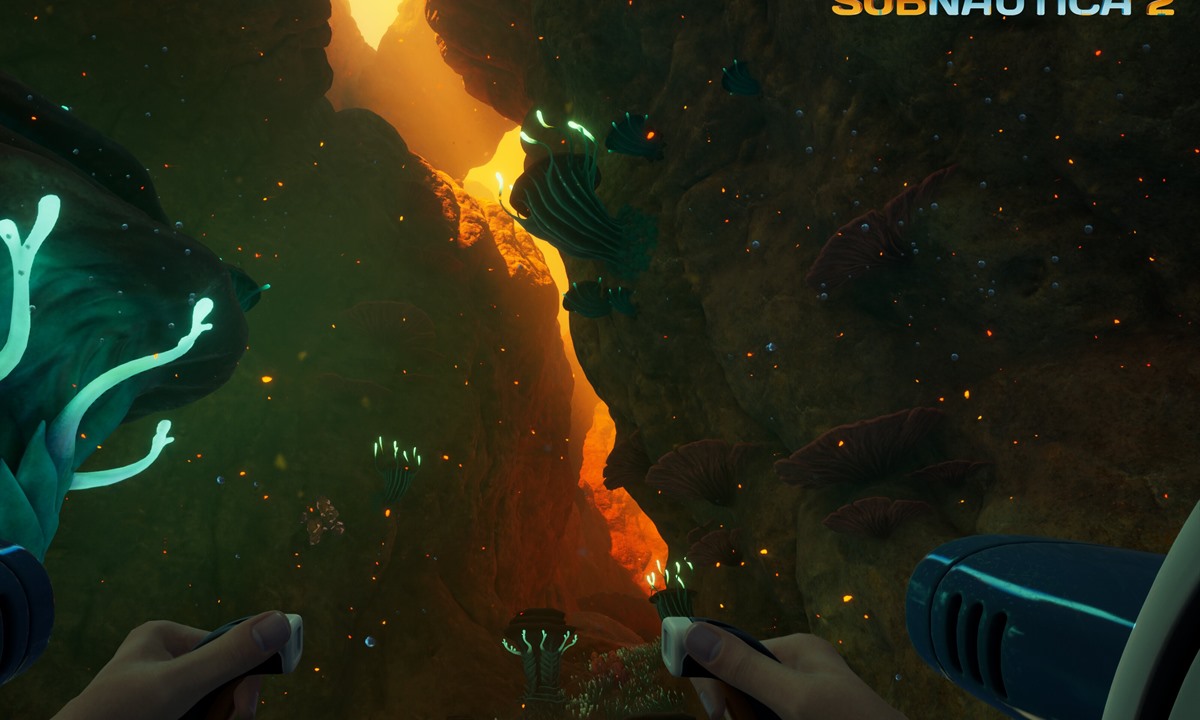
Timing
Is the Scanner Room worth it early?
Open this first if the room sounds useful but you still are not sure the current base is ready for it.

Hub
Best first base location
If the scanner feels weak because every route starts too far away, rethink the base position.
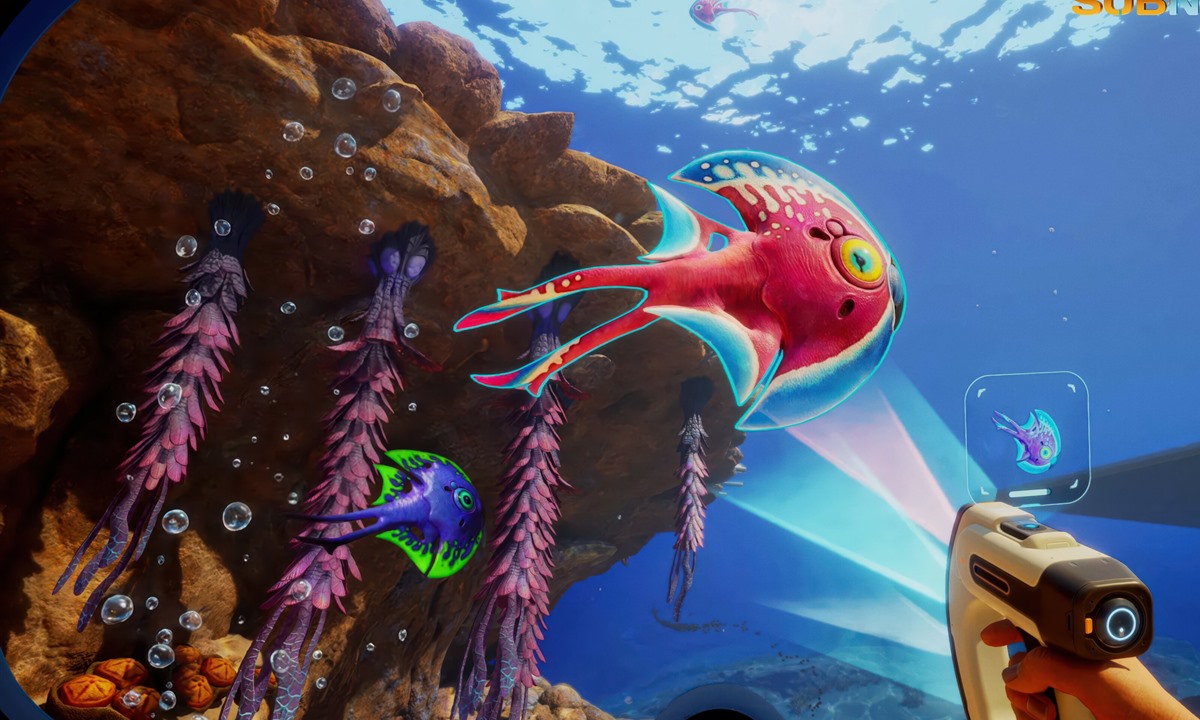
Target
Where to find Titanium early
Jump here if your next scanner question really is about one specific material bottleneck instead of scanner habits.
Good fit if
- You already built the Scanner Room or are about to build it for one repeated shortage.
- Manual searching still works, but one material or fragment keeps slowing the same upgrade chain.
- You want cleaner scanner loops, not another broad feature explanation.
- In co-op, the team needs one shared target instead of everyone wandering toward different markers.
August 17 scanner-use audit
This page was simplified so the scanner advice starts from one useful target instead of multiple media blocks. The room should feel like a farming shortcut, not another screen full of choices.
- Open one scan target, run one marker chain, then bank the result before switching targets.
- Pause scanner upgrades if power, storage, or base location is making every marker slower than manual routing.
- In co-op, let one teammate call the target and one teammate handle deposits so markers do not split the group into noise.
Scanner Room workflow
This is the cleanest early structure: build for one problem, scan for one problem, and bank one result before expanding.
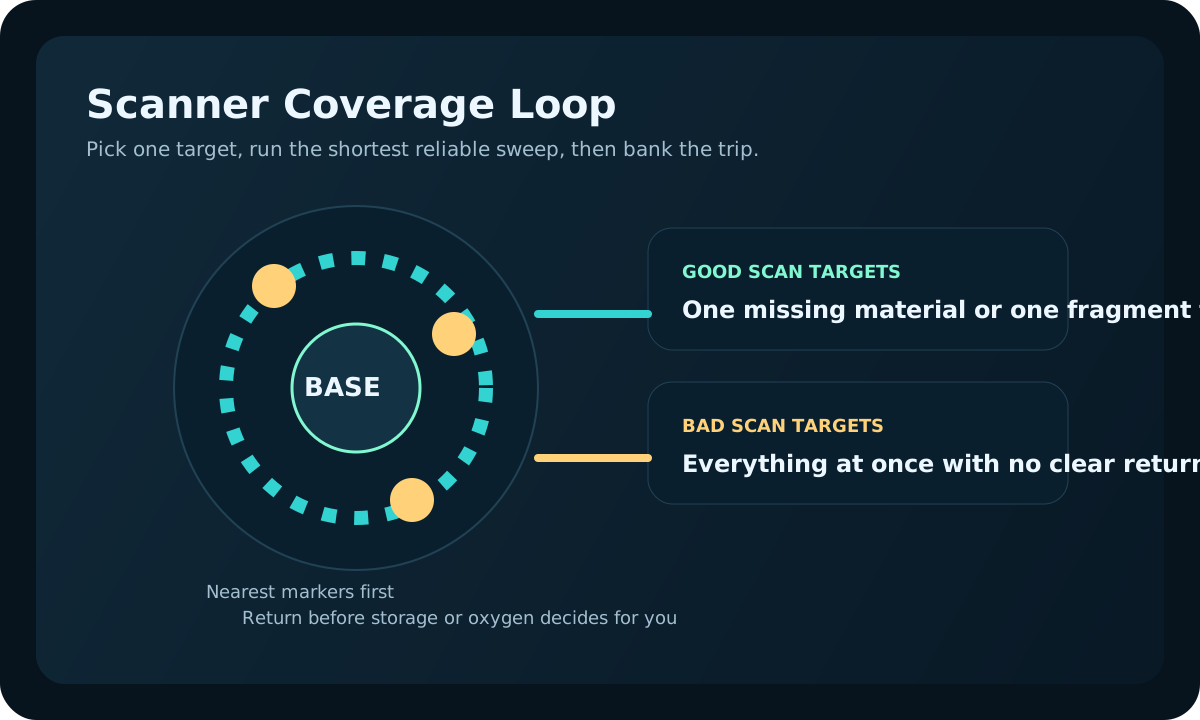
| Scanner step | Do this | Stop when | Good result |
|---|---|---|---|
| Before scanning | Name one exact target and clear inventory for that target only. | You are opening the room just to see what is nearby. | The scan already has one job before the markers appear. |
| First route out | Take the nearest calm marker chain and ignore side temptations. | The loop starts turning into a wide scavenger trip. | You bank one useful batch without panic or clutter. |
| After returning | Craft, build, or store the result before scanning again. | You are collecting more markers than the base can use. | The next scan solves a new blocker instead of repeating confusion. |
Marker-chain test before a second scan target
The scanner starts paying off only when one marker chain becomes a real route. Before switching targets, make sure the first scan already created a cleaner return, a better craft, or a clearer next decision.
| After the first scan | Switch targets only if | Stay on the same target if |
|---|---|---|
| You banked one useful material batch. | The blocker moved to a different named material or fragment. | The same target still funds the next craft or route improvement. |
| The markers were readable, but the return was messy. | Never switch yet. | Fix storage, drop-off flow, or power before scanning again. |
| The scan exposed a dangerous or unclear route. | Only after the route itself becomes safer. | Treat the same target as a route problem, not a scanner problem. |
| The base could not use the result quickly. | Wait until the hub is organized enough to absorb another batch. | Keep the scanner paused instead of collecting more unresolved markers. |
August 17 update: decide whether the next scan is worth running.
The Scanner Room is strongest when it removes one repeated search problem. If the scan creates more markers than the base can use, pause and fix the support problem first.
| Before pressing scan | Green light | Pause if | Better next action |
|---|---|---|---|
| Target clarity | You can name the one material, fragment, or ingredient blocking the next craft. | You are scanning because you are bored or unsure what to do next. | Pick the material priority first |
| Route readiness | The nearest marker chain has a safe return path and enough inventory space. | The marker pulls you through a dark, loud, or unfamiliar route. | Treat it as a danger route |
| Base support | Power, storage, and drop-off flow can absorb the result quickly. | Every return turns into locker sorting or power trouble. | Fix base power or storage flow |
| Co-op clarity | One player owns the scan target while another handles deposits or crafting. | Several players chase different markers with no shared craft target. | Split base roles first |
Real gameplay checkpoints
These are the three scanner situations that decide whether the room feels powerful or pointless.
One pattern turns the room into a farming shortcut, one exposes a weak base loop, and one shows the moment you should stop chasing every marker on screen.
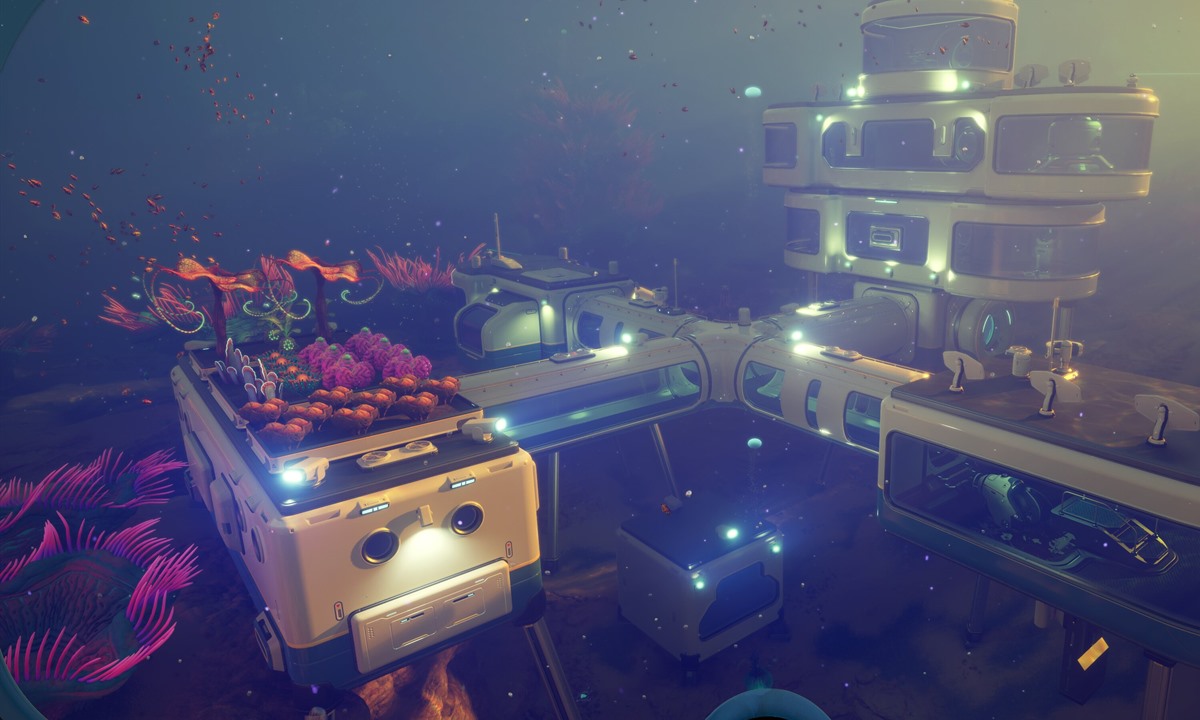
This is the ideal first scanner use: one missing material, one short route, one fast payoff.
Keep the room here when a named blocker is slowing tools, rooms, or vehicle progress more than the scanner costs.
Open material-priority guide
The scanner found the target, but the base still cannot absorb the result cleanly.
When deposits, power, or storage waste time after every run, fix the home loop before upgrading the room itself.
Open storage-upgrades guide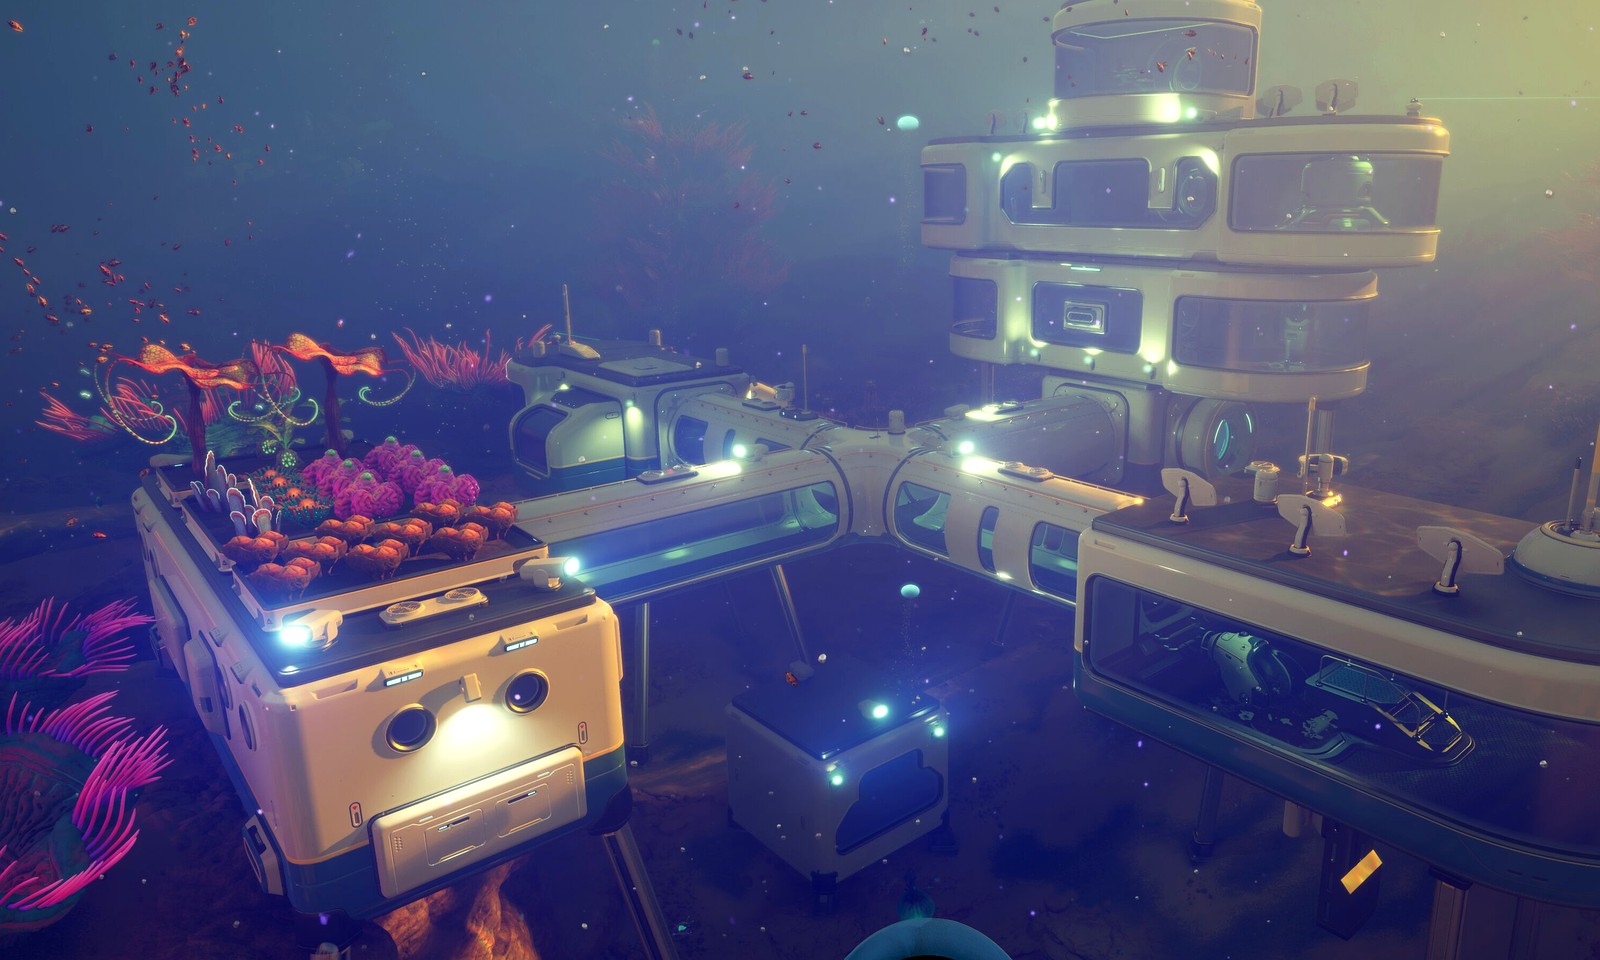
The markers are winning and the route is losing.
If the scan keeps dragging you away from the first target, bank the run and reopen the room only after spending the first haul.
Open landmarks-navigation guideBest early scan targets
- One common base material that keeps blocking several small upgrades in a row.
- One fragment family that changes route safety or unlock efficiency.
- One bottleneck ingredient needed for glass, wiring, power, or storage flow.
- Not everything at once. Mixed scans usually create worse routes than manual gathering.
Build or keep the room when
- The same shortage keeps returning even after you already know the local biome fairly well.
- Your base has enough power and storage that returns feel fast instead of annoying.
- The room shortens a route you understand instead of replacing route knowledge entirely.
- In co-op, the team needs one visible material target to stop overlapping jobs.
Move or pause the scanner when
- The current scan circle no longer covers the materials that matter most.
- The room sits in a base that is clearly not your long-term route hub.
- You are spending more time managing markers than converting them into upgrades.
- The real blocker now is base power, storage, oxygen, or safer travel instead of target discovery.
What usually makes scanner trips fail
- Scanning three different goals at once and expecting the route to stay simple.
- Building the room before the base can sort, store, or power what it finds.
- Leaving with half-full inventory and weak oxygen margin, then blaming the room for a bad return.
- Keeping the scanner in a location that no longer matches your best farming routes.
Next route map
Choose the next page by the reason your scanner still is not paying off.
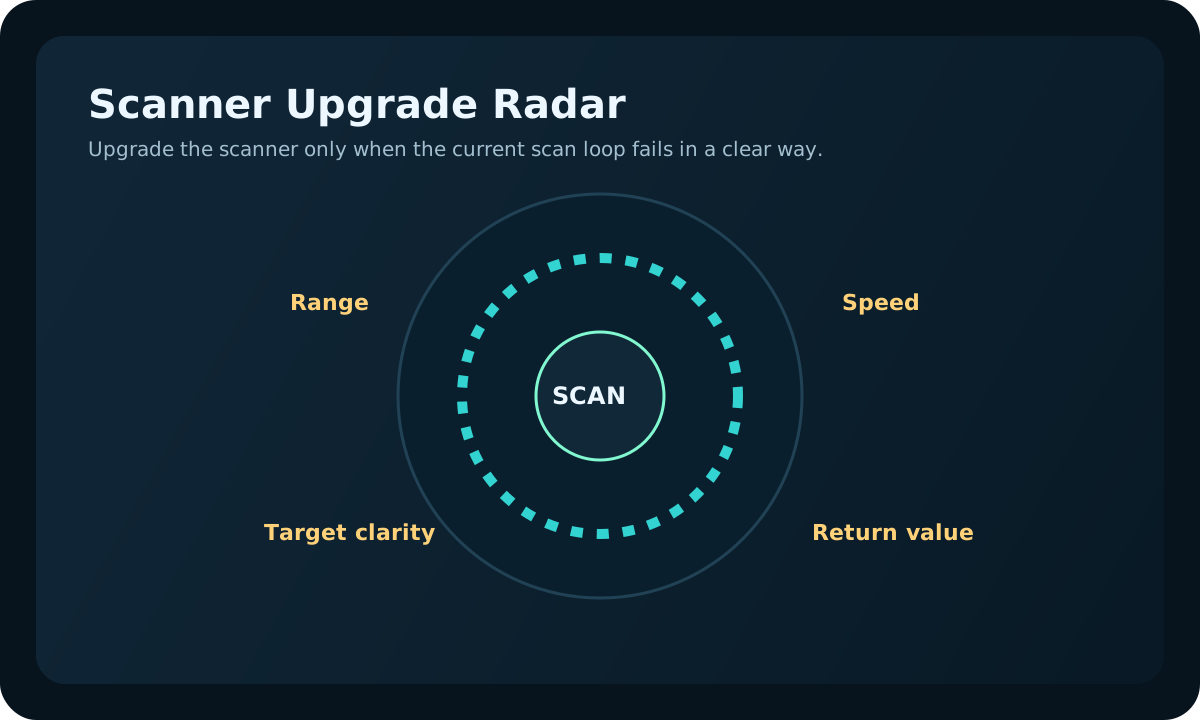
If you still are not sure it should exist yet
Is the Scanner Room worth it early?
If the route logic sounds right but timing is unclear, decide whether the room belongs at this stage.

If your hub is the real weakness
Best first base location
If every scan begins too far away, move the value closer before adding more scan targets.
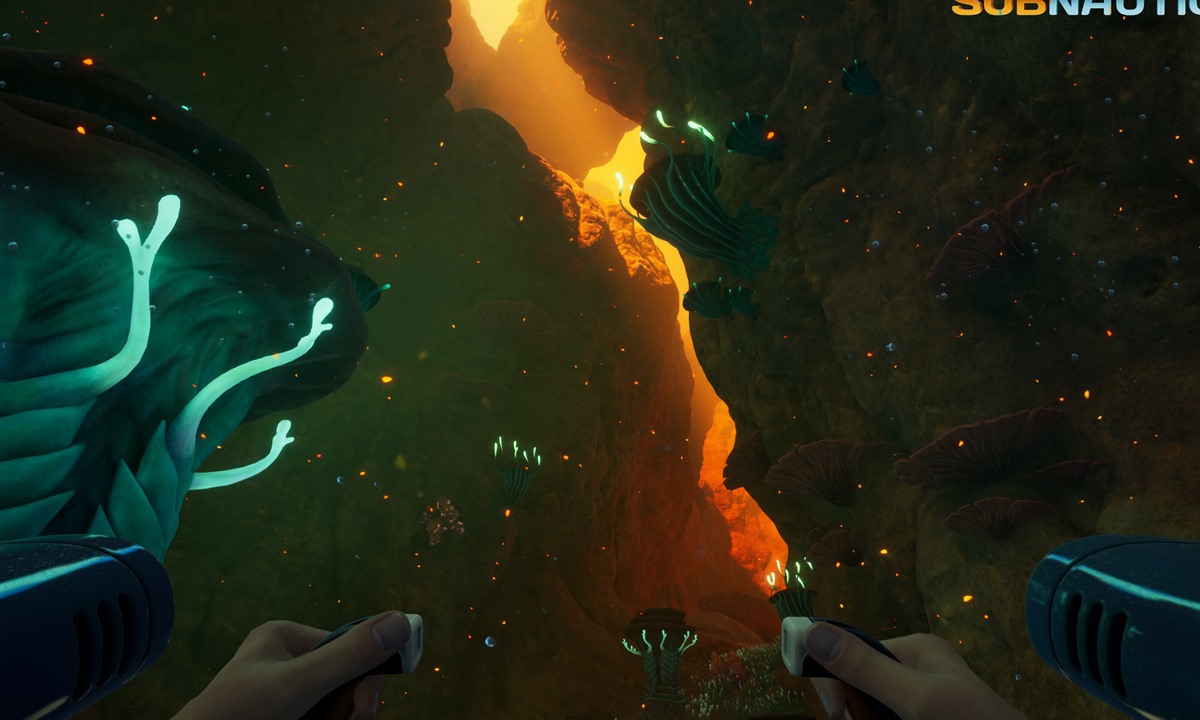
If the room works but now needs better reach
Best Scanner Room upgrades
Once the room solves a real problem, focus on getting more value from each scan.