The first hour is over, but the save still has no clean plan or useful rhythm.
Practical flow guide
What should you do in your first two hours in Subnautica 2?
The first hour keeps you alive. The second hour should turn that survival into momentum: cleaner material loops, scanner progress, the first base direction, and one calm route that is actually worth repeating.
Last reviewed August 17, 2026
Patch sensitivity Medium
This flow depends on opening-hour pacing, safe route density, and early crafting priorities, so recheck it after major progression or map updates.
One route, one named upgrade chain, and one believable base direction.
Quick answer
In your first two hours, stabilize survival first, then pick one useful progression chain: safe material loops, scanner and fragment progress, first base direction, and one route that supports the next meaningful craft. Do not try to build every system at once.
Page media
Open these before you widen the second-hour plan.
This set keeps the second hour practical: one session cleanup page, one material decision page, and one base-direction follow-up.
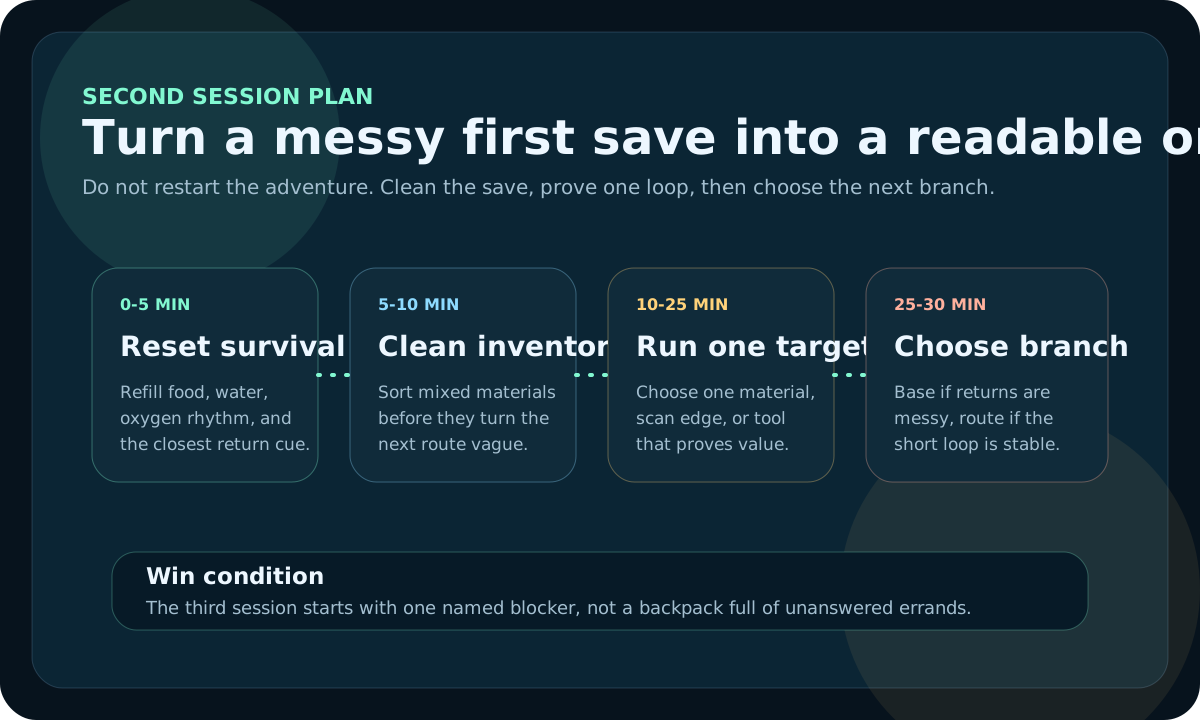
Session cleanup
Second-session plan
Open this when the first two hours need a calmer handoff into the next save session.

Next decision
Material priority guide
If the second hour is alive but the next batch is unclear, choose the safest useful trip first.
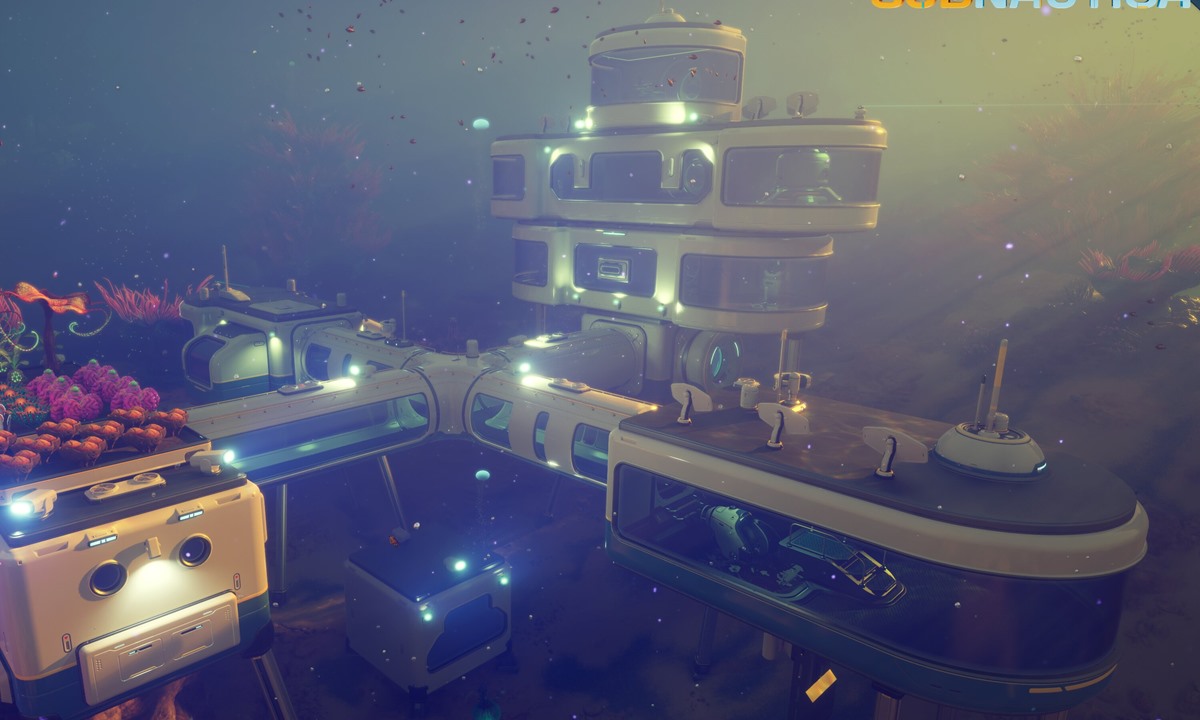
Base direction
Best first base location
When survival is no longer the question, decide where the first base will actually shorten future routes.
Good fit if
- You are no longer dying constantly, but the save still feels messy and directionless.
- You can gather materials, yet you still do not know which next upgrade matters most.
- You need one realistic second-hour plan instead of five open progression branches.
- You want the session to end with a safe loop, a named craft, and a believable base direction.
First two hours timeline
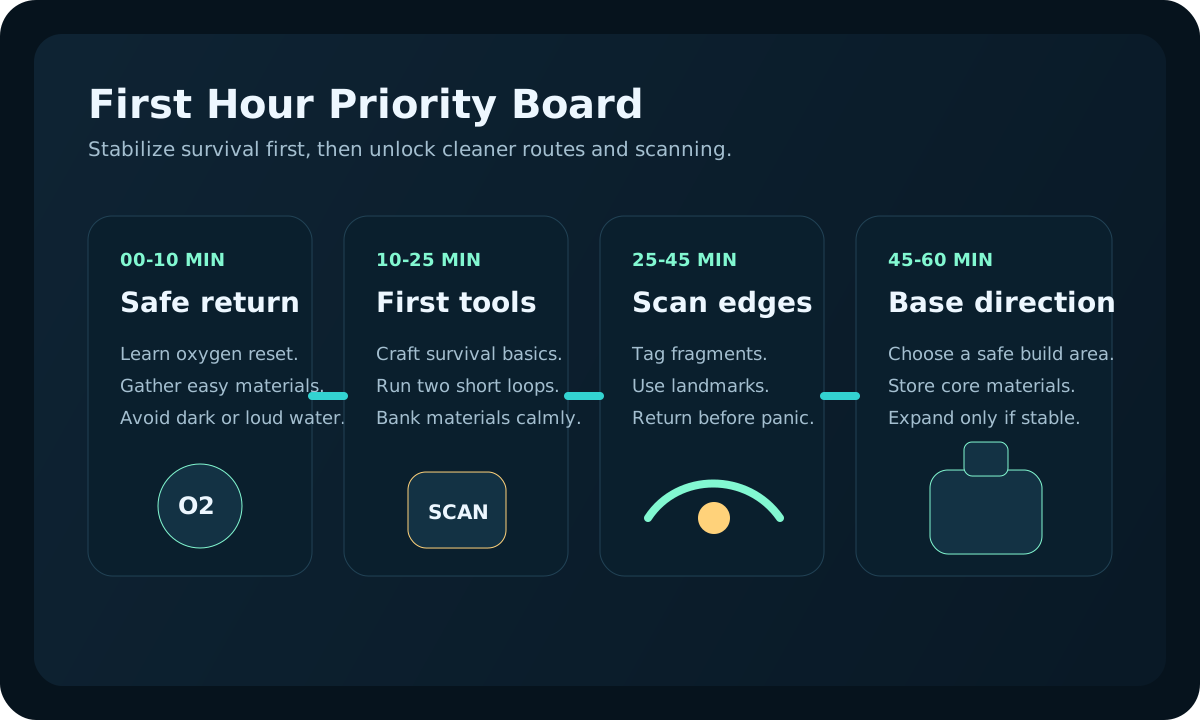
Use this as a practical sequence when you want to stop improvising and follow a stable early-game plan.
| Time | Main goal | Do this now | Do not do this yet |
|---|---|---|---|
| 0-20 min | Stabilize survival | Learn the oxygen return, gather easy materials, and stop emergency food or water pressure. | Push into dark, loud, or unfamiliar water. |
| 20-45 min | Lock in repeatable loops | Craft the first useful tools and repeat short safe material runs. | Gather random materials with no next craft in mind. |
| 45-75 min | Build scanner and route knowledge | Scan important fragments, mark safe biome edges, and bank useful unlock progress. | Chase one more fragment beyond your return margin. |
| 75-120 min | Choose first base direction | Decide where the first real base should support your next loops, then stock materials for it. | Commit to a flashy base or deeper route you cannot repeat safely. |
Real gameplay checkpoints
These are the second-hour moments that decide whether a save gains momentum.
The second hour works best when you can tell whether the save still needs cleaner setup, one named material answer, or the first believable base direction.
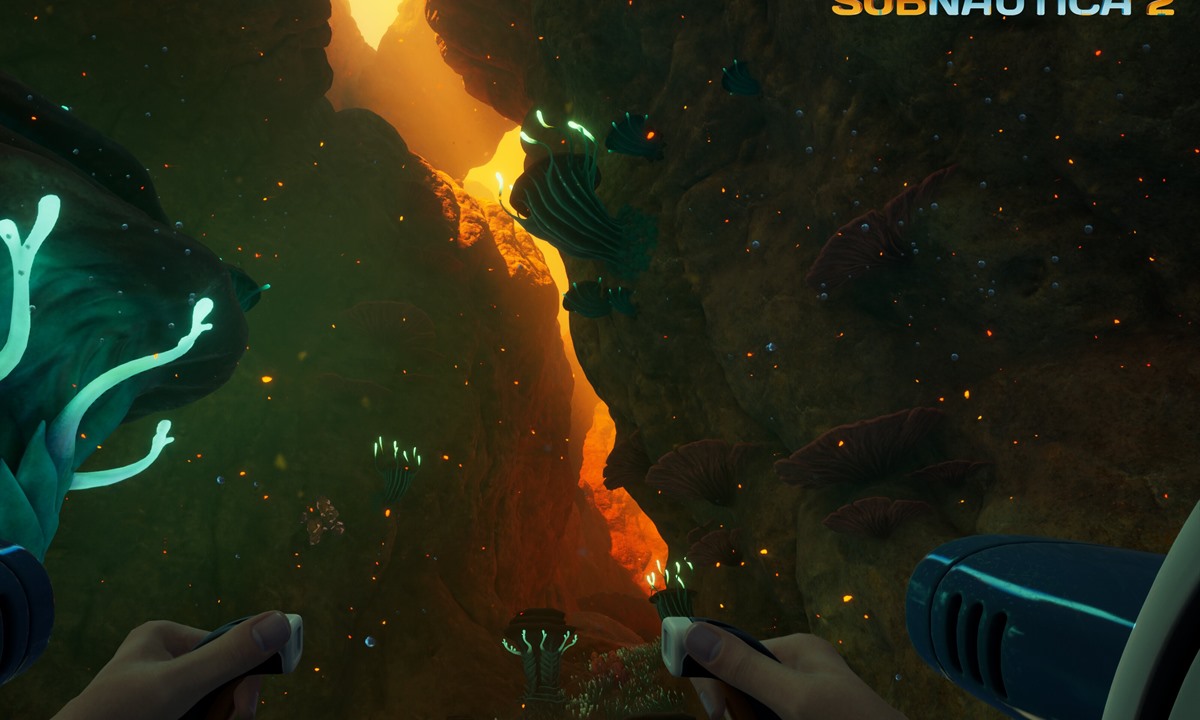
You survived the opening, but the save still is in setup mode.
Name the next step clearly before widening the route or starting another branch.
Open what-to-do-next guide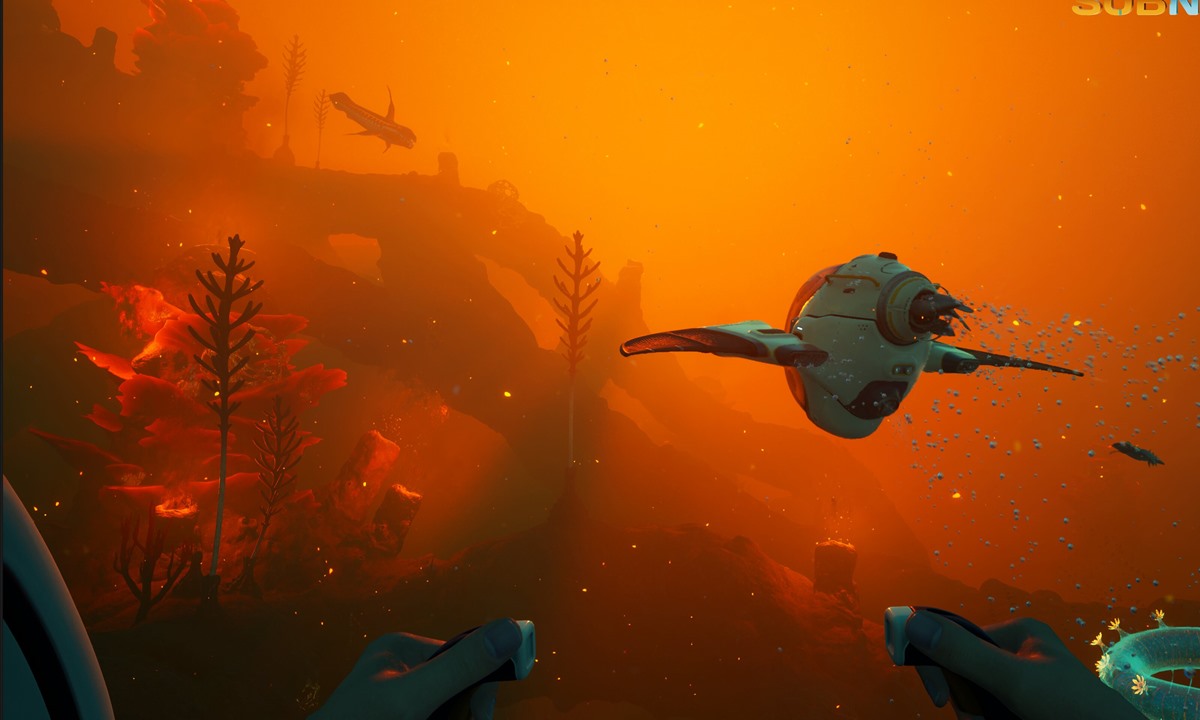
You have useful loot, but not a clear idea of which batch matters most.
Open the material decision page when the session is alive but the next run still does not have one exact purpose.
Open material priority guide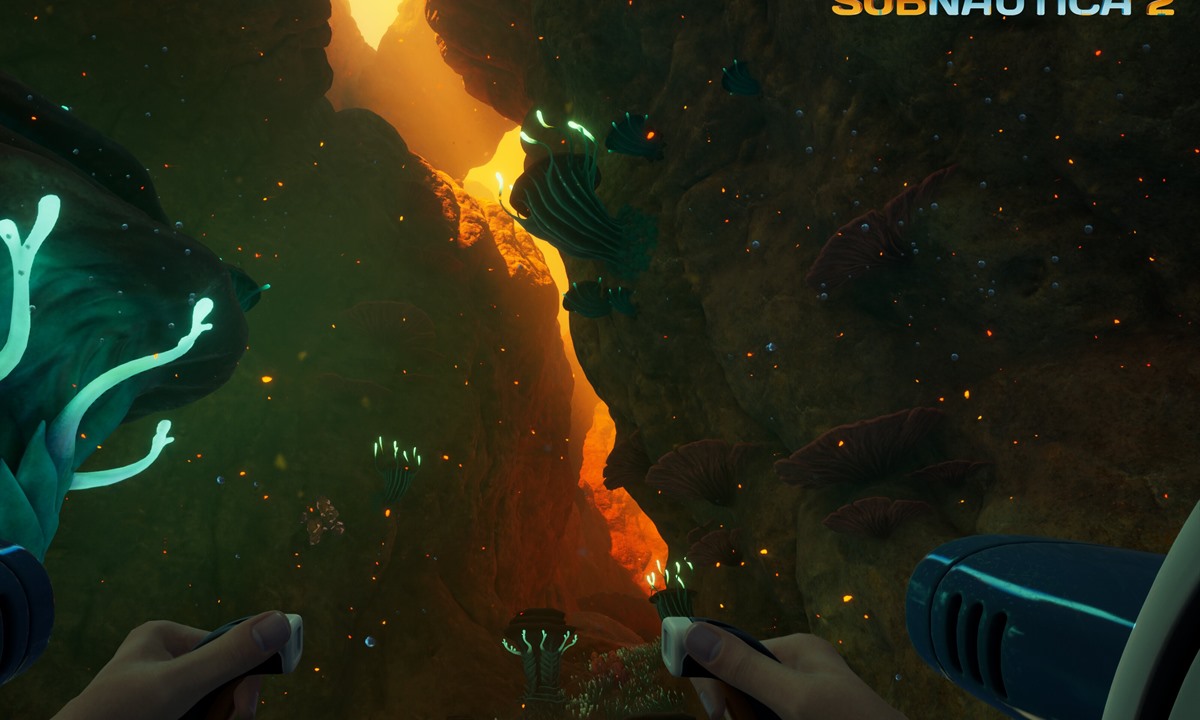
The route is widening enough that support systems now would save real time.
Move into first-base planning when the current loop clearly would feel better with storage, power, or a cleaner home anchor.
Open first-base-location guidePractical first two hours checklist
If these are not done yet, the opening session is still not stable enough for deeper or more expensive plans.
One clean second-hour run plan
If the first hour is no longer chaotic, use the second hour to solve one route, one upgrade chain, and one base-direction question instead of opening several at once.
| Second-hour phase | Do this | Go home when | Good result |
|---|---|---|---|
| 60-80 min | Leave with one named goal: one material batch, one scan target, or one safer route note. | The named goal is already done or the return margin starts feeling thinner. | You come back with one solved blocker instead of a mixed inventory. |
| 80-100 min | Convert the run into progress immediately by crafting, storing, and naming the next exact need. | You catch yourself opening two progression chains at once. | The next run has one exact purpose before you leave again. |
| 100-120 min | Test whether a first base direction or cleaner route hub now deserves support. | Building would only spend materials without shortening the next trips. | You end the session with one safe loop and one obvious next upgrade path. |
Hour-by-hour flow
- 0-20 minutes: stay close to the starting zone, solve oxygen return, and gather only easy materials you can bank safely.
- 20-45 minutes: craft the tools that make the next run calmer, then repeat two or three short loops instead of one risky long swim.
- 45-75 minutes: start scanning seriously, map safe edges, and convert materials into one practical unlock instead of hoarding everything.
- 75-120 minutes: choose the first base direction, prepare for storage and power support, and widen the route only if the current loop feels solved.
What should your second hour actually produce?
- One safe route that you could repeat again without stress.
- Enough material clarity to know the next upgrade target.
- Meaningful fragment or scanner progress instead of random scans.
- A clear reason for the first base location or the next deeper route.
What usually ruins the second hour
- Trying to do scanner progress, a base setup, and a deeper scouting run in the same trip.
- Coming home with useful loot but no decision about what it should unlock next.
- Calling the route "safe enough" before the return landmark feels boring and repeatable.
- Starting a first base because materials are available, not because the current loop needs support.
One-session second-hour test
- Leave base with one exact goal only: one material batch, one scan target, or one base-support decision.
- Come home as soon as that goal is finished and convert it into progress before opening another branch.
- Check whether the next trip is now clearer than the last one. If it is not, the session is still too wide.
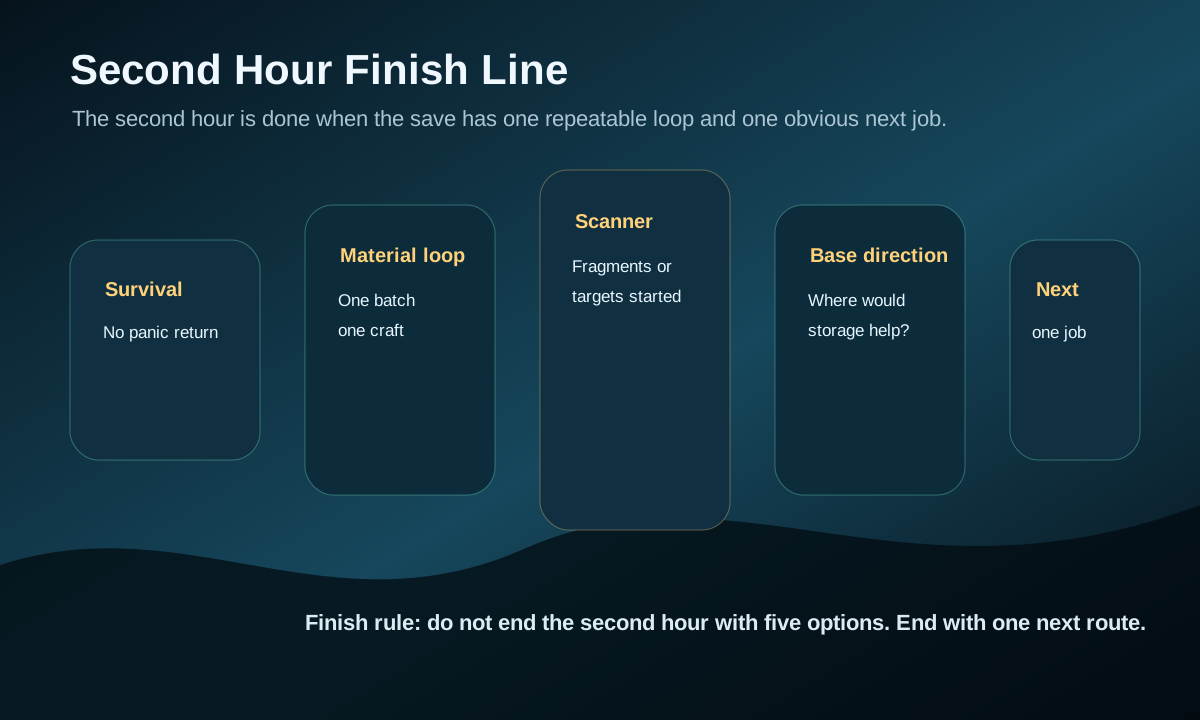
- If the session ends with one repeatable route and one obvious next craft, the second hour did its job.
Second-hour checkpoint: what should be true before you chase a bigger goal?
The second hour should create momentum, not just activity. Use this checkpoint before turning the save into a base project, a rare route, or a deeper gamble.
| Checkpoint | Healthy sign | Pause and fix first if |
|---|---|---|
| Survival rhythm | Food, water, and oxygen are calm enough to support one focused run. | Every trip still begins with emergency refills or panic prep. |
| Material clarity | You can name the one batch the next run should bring home. | The plan still is "grab whatever seems useful." |
| Route confidence | You can describe one safe loop and one turn-back rule. | The return depends on guesswork or luck. |
| Next system choice | Base, tools, scanner, or route depth has one clear winner. | Several upgrades still look equally urgent. |
Second-hour finish audit
The second hour is complete only if the next login starts with less confusion than this one. Use this before opening deeper or more expensive plans.
| Finish signal | Good result | If missing | Read next |
|---|---|---|---|
| One repeatable route | You can run it again without panic or guessing. | Fix landmarks, oxygen, or safe-biome choice. | Safe biomes |
| One named craft | The next material batch has a clear use. | Use material-priority before farming again. | Material priority |
| One base direction | You know whether storage, power, or location is next. | Delay building until the route hub is clearer. | Base location |
| One next-session task | The next login starts with action, not browsing. | Open what-to-do-next and diagnose the blocker. | What to do next |
Solo and co-op difference
| Mode | Best second-hour rule | Main mistake | Best follow-up |
|---|---|---|---|
| Solo | Make the next two runs calmer, not bigger. | Trying to unlock base, vehicle, deeper routes, and scanner progress all at once. | First base location |
| Co-op | Split survival support and exploration so one player protects momentum while the other pushes progress. | Everyone leaves base for the same job and comes back with mixed, low-value materials. | Co-op progression |
If this is your blocker, read this next
| Current blocker | Fix this now | Next guide |
|---|---|---|
| You are alive, but still feel disorganized | Choose the next craft by material priority instead of gathering randomly. | What material should you farm first? |
| You need a safer repeat route | Stay in calmer edges until the loop is predictable. | Best safe biomes |
| You are ready to stop drifting and build | Choose a base spot that supports your current loops. | Best first base location |
| You want to know what the base should contain first | Turn direction into a clean build order. | What should you build first? |
| You think the next route needs more depth | Check whether the safe loop is really finished before going deeper. | Go deeper or stay shallow |
Good signs your opening session is complete
- You know what the next meaningful craft is before you leave base.
- You can explain your safe material route in one sentence.
- The first base is becoming a decision, not a vague future idea.
- Your next route expands one system on purpose instead of chasing whatever appears first.
Next route map
Use the next page that matches what the second hour is actually turning into.
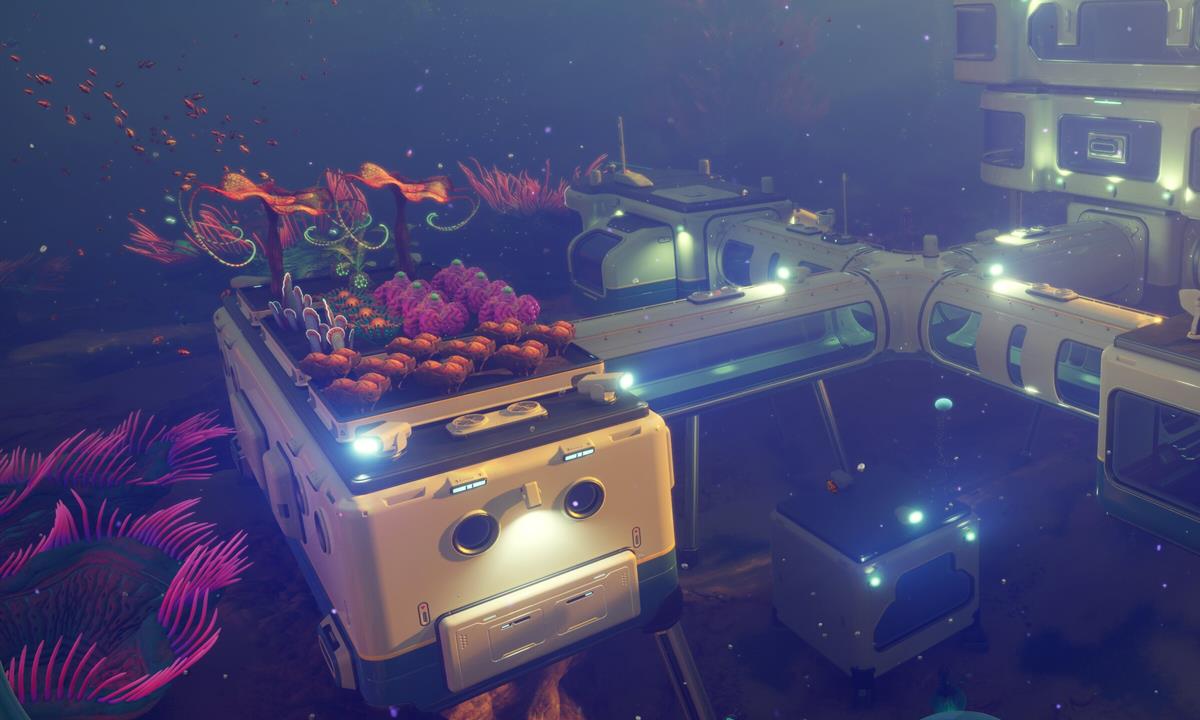
If the next batch is unclear
What material should you farm first?
If the save is alive but the next material run is unclear, choose the batch before leaving again.
If home direction is forming
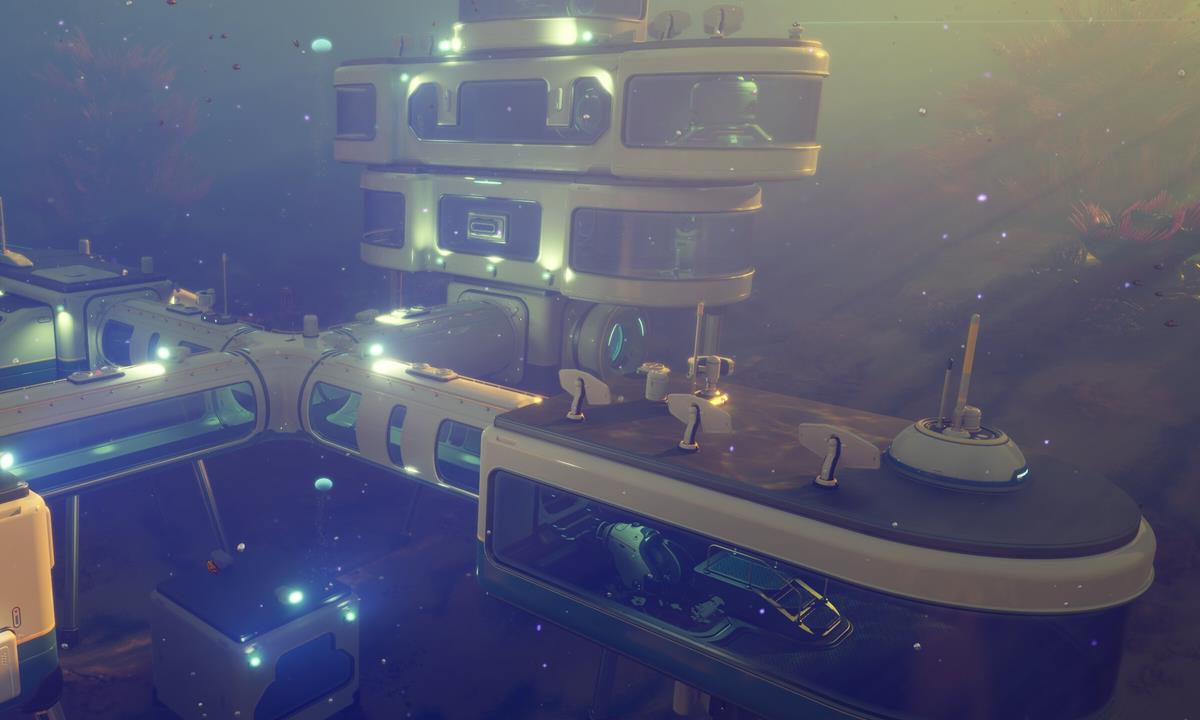
Best first base location
When the second hour needs one base anchor, pick the spot that shortens repeated routes.
If building is starting now
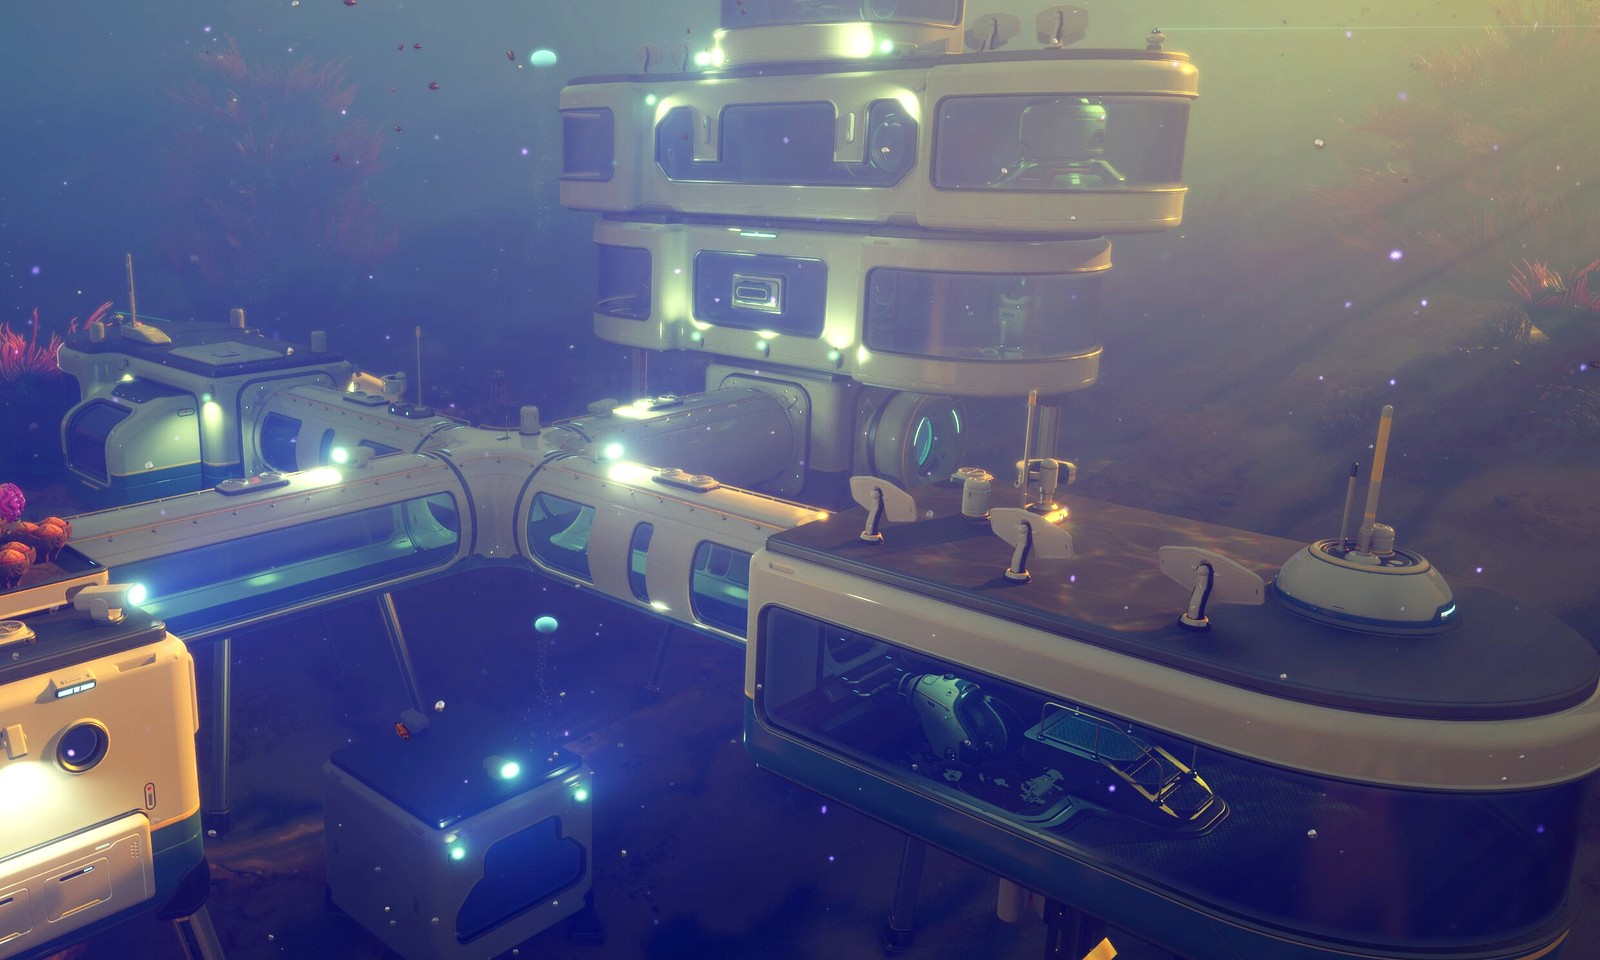
What should you build first in your base?
If the base is already happening, solve room order instead of debating whether to build.