You have the footprint already, but still are one bad room decision away from a base that looks bigger than it feels useful.
Decision guide
What should you build first in your Subnautica 2 base?
This page answers the first-base ordering problem: players know they need a base, but they are not sure whether storage, power, layout, or Scanner Room support should come first.
Last reviewed August 17, 2026
Patch sensitivity Medium
Build order advice changes when early base recipes, room value, or scanner utility timing shifts in updates.
Entry, storage, power, and one compact crafting loop before you let expansion or scanner dreams spend the budget.
Quick answer
Build the first base in this order: safe hatch access, quick drop storage, reliable power, compact crafting flow, then Scanner Room or expansion only when the base is already saving time. Do not start with a large layout or scanner if storage and power are still messy.
Page media
Open these before you spend materials on rooms that feel impressive but do not help the next run.
This set gives one base cleanup check, one base-location refresher, and one scanner timing follow-up for the moment the base loop finally starts holding together.
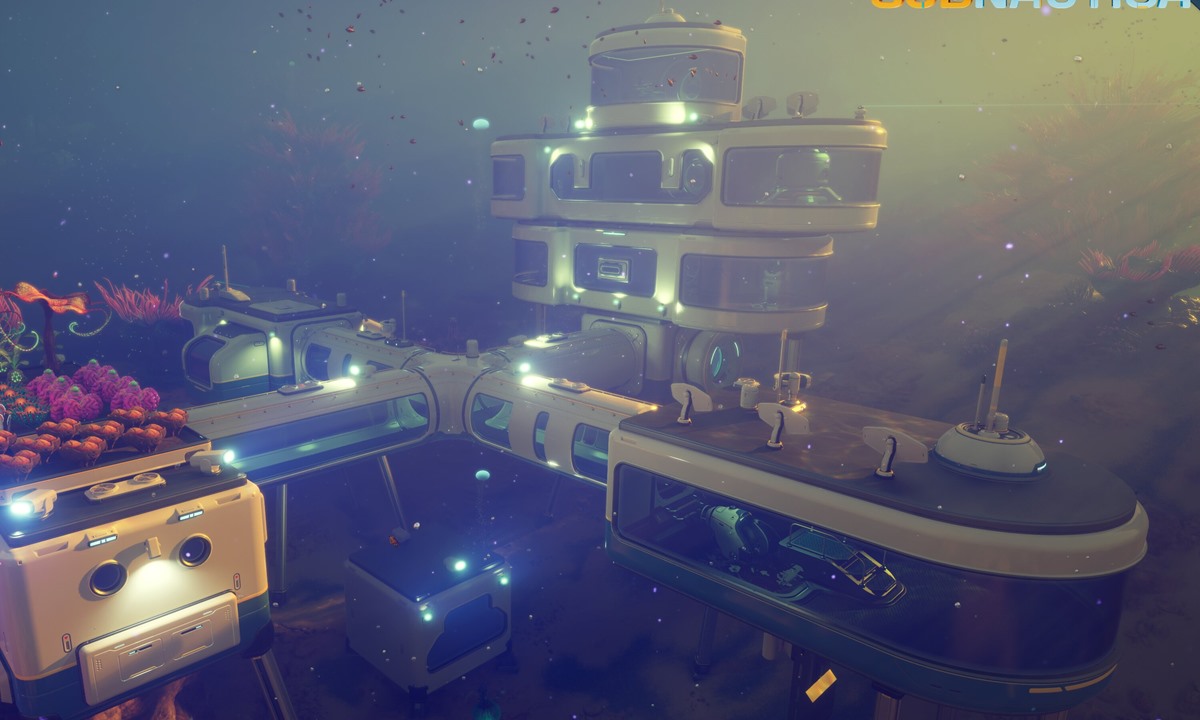
Flow check
Messy first base fix
Open this when the build order is being distorted by storage clutter, weak room purpose, or slow returns.

Location
Best first base location
Open this next if your room order would be fine, but the site itself still is what makes every return feel awkward.

Utility timing
Is the Scanner Room worth it?
If the base shell works, compare scanner value against setup cost before adding the room.
First base build order table
Use this table before spending a big material batch. The first base should remove daily friction before it becomes a full headquarters.
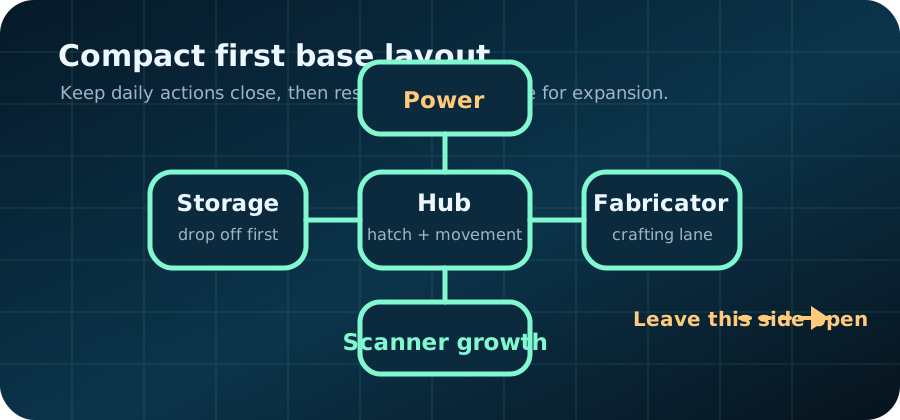
| Build order | Build this first | Why it matters | Delay if |
|---|---|---|---|
| 1 | Safe hatch and compact entry | Every route needs a calm return and fast drop-off point. | The location still fails the safety or oxygen return test. |
| 2 | Quick-drop storage | Storage makes material needs visible and prevents random gathering. | You do not have a repeatable Titanium loop yet. |
| 3 | Reliable power | Power protects crafting, storage flow, and later Scanner Room use. | The base is temporary and likely to move soon. |
| 4 | Crafting and route prep zone | The base starts saving time when tools, materials, and exits are close together. | Storage is still too unclear to know what craft is blocked. |
| 5 | Scanner Room or expansion side | Utility rooms are strongest after the base loop is already stable. | Power, storage, or material targets are still undefined. |
Real gameplay checkpoints
These are the three build-order situations that usually decide whether a first base feels practical or bloated.
One base earns its materials quickly, one is fixable with better order, and one already is warning you that the player built shape before function.

This is the healthy pattern: compact shell, quick drop, and obvious next-room value.
The base starts paying back instantly because each added piece clearly saves time on the next one or two routes.
Open storage upgrades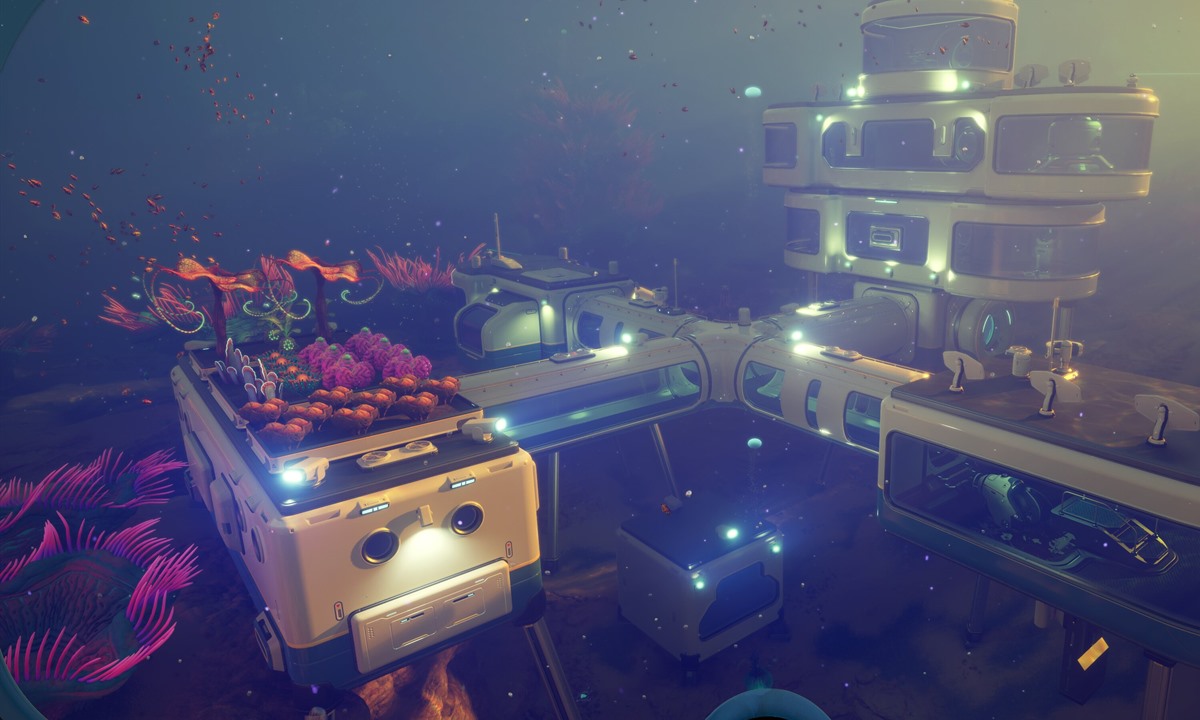
The base is not wrong yet, but it still is missing the room order that turns returns into momentum.
Stay with the footprint and fix the sequence first when the home spot is fine, but storage, power, and crafting still feel disconnected.
Open base-power guide
The base already is expanding faster than it is helping.
Stop adding nice-looking rooms when ordinary returns still are slow, cluttered, or power-starved. Function has not caught up yet.
Open first-base-location guideBuild storage before expansion when
- You return from good routes but cannot tell what material is blocking the next craft.
- Co-op teammates keep duplicating runs because deposits are unclear.
- Your base has rooms, but every craft still starts with searching through mixed items.
- Inventory pressure is forcing early returns more than route danger is.
Build power before Scanner Room when
- Crafting or storage flow already feels unreliable.
- You are avoiding base systems because you are worried about drain.
- The scanner would create repeated trips that the base cannot support yet.
- You cannot name one scan target that will repay the setup cost.
Add layout only after the loop works
- Place storage where routes end, not where the base looks symmetrical.
- Keep crafting near the materials that feed it most often.
- Leave one clean side for Scanner Room, vehicle support, or future storage.
- Expand only when the next room solves a real route, power, or storage problem.
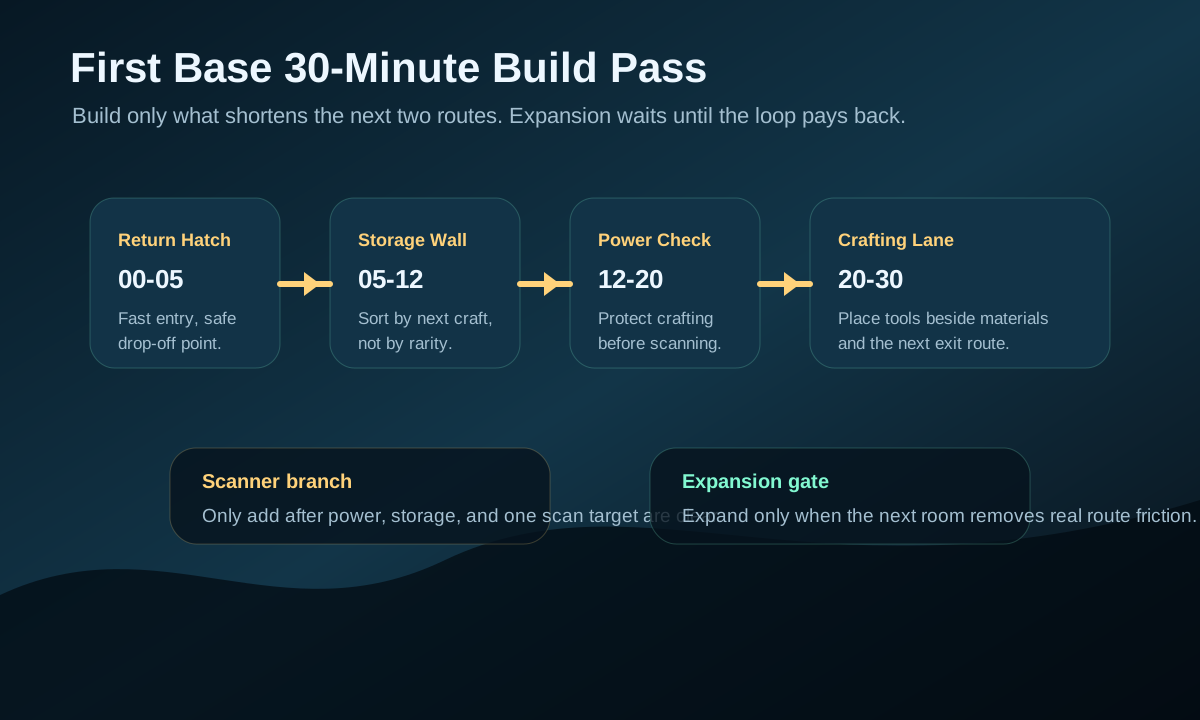
| 30-minute pass | Player action | Do not add yet |
|---|---|---|
| 00-05 | Confirm the hatch faces the return route and drop materials immediately. | Decorative side rooms. |
| 05-12 | Put storage beside the route return and label it by next craft. | Extra lockers with mixed contents. |
| 12-20 | Make power stable enough that crafting and future scanning are not stressful. | Scanner Room without a named scan target. |
| 20-30 | Set one crafting lane: stored materials, fabricator, exit, and next trip all close. | Expansion that does not shorten the next route. |
Solo vs co-op base order
| Mode | Best first-base rule | Main mistake to avoid | Best follow-up |
|---|---|---|---|
| Solo | Build only what shortens your next two routes. | Overbuilding rooms before storage and power remove friction. | Storage upgrades |
| Co-op | Build storage and role clarity before expanding the footprint. | Letting everyone craft from shared materials before deposits are sorted. | Co-op progression |
August 16 update: choose the next base piece by the return that feels worst.
The first base should remove friction from normal returns. If you are not sure what to build next, look at the last return and fix the base step that would have saved the most time.
| Worst part of the return | Build first | Why | Wait on |
|---|---|---|---|
| Inventory unload took longer than the swim home. | Drop-off storage beside the main entry. | Storage is the first base feature that turns a trip into progress. | Extra rooms, decoration, and far-side lockers. |
| Crafting was possible but awkward. | A short crafting lane between storage, fabricator, and exit. | The base should make the next craft obvious before expansion. | Scanner Room until one target is named. |
| Power anxiety changed what you used. | Stable essential power before new demand. | A small reliable base beats a larger fragile one. | Utilities that make the base feel impressive but unreliable. |
| Co-op players returned with mixed materials and no plan. | Shared drop-off storage plus one visible next-craft spot. | The base must communicate progress to the next player who enters. | Personal storage walls before shared flow is clear. |
July 31 first-base build pass
The build-order recommendation was checked against the most common player failure: building a larger base before the first base saves any time. Use this pass after placing the shell and before spending on expansion.
- If the entry is slow, fix hatch access and drop storage before adding rooms.
- If the base loses flow after every route, storage and crafting distance matter more than footprint size.
- If Scanner Room value is tempting, build it only after power, storage, and one repeated target already make sense.
Next route map
Choose the next page by the thing your first base still is not fixing.
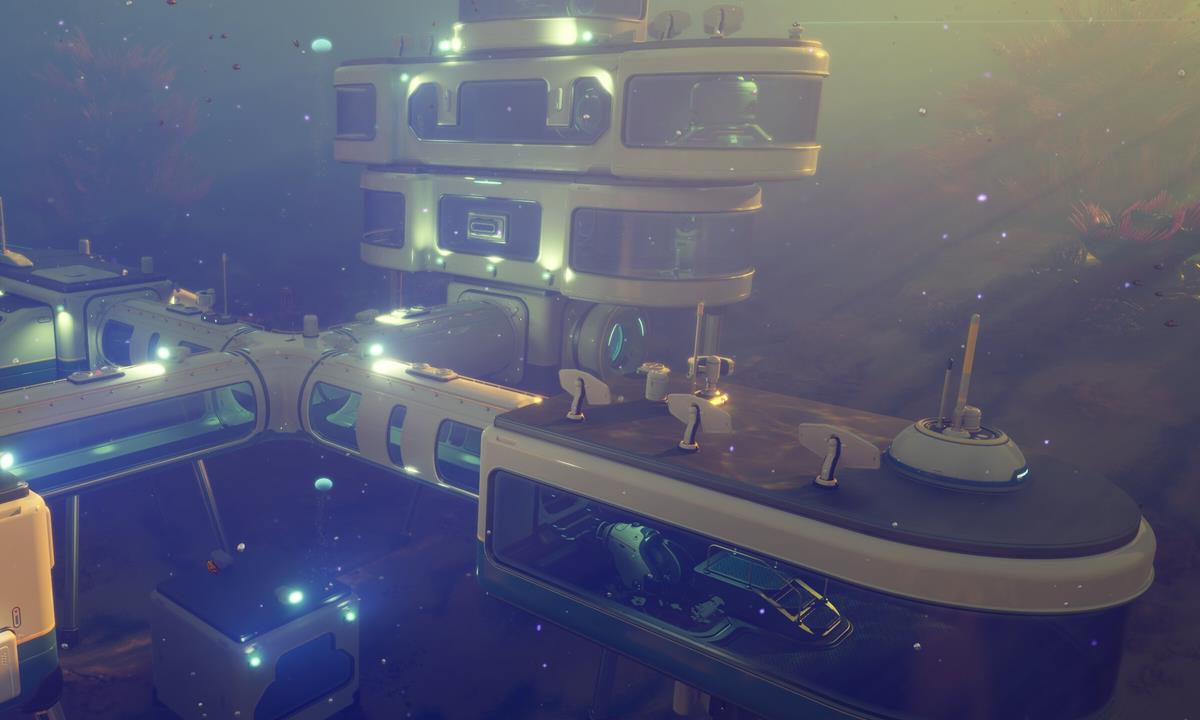
If the footprint itself is wrong
Best first base location
If room order is fine but every drop-off is slow, the site may still be the problem.

If utility timing is the question
Is the Scanner Room worth it?
Once entry, storage, and power are stable, decide whether scanner value beats the setup cost.
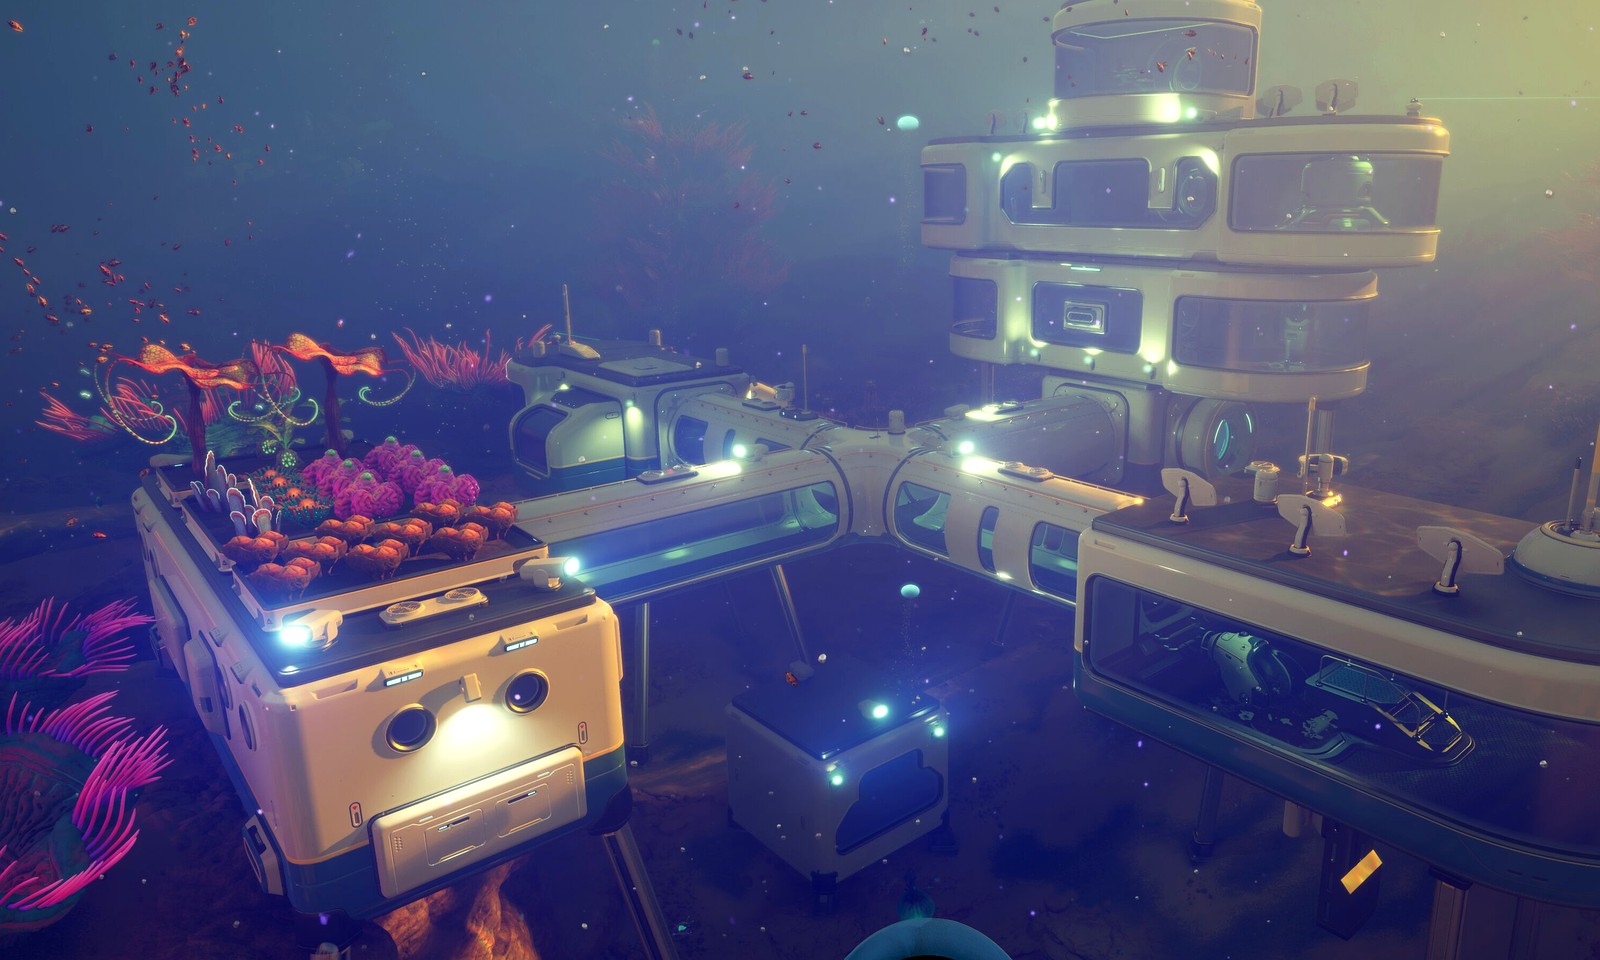
If materials still disappear into clutter
Best early storage upgrades
If the base shell exists but material handling still drags, fix finding, sorting, and protection next.