What should you do after building your first base in Subnautica 2?
The first base is not the finish line. It is the point where early
survival should turn into cleaner storage, stable power, smarter
material runs, scanner timing, and a safer decision about when to
push farther.
Base progressionStep-by-step flowBuilt for next actions
Last reviewed August 17, 2026Patch sensitivity Medium
This guide is most sensitive to changes in early base utility,
material loops, and Scanner Room timing.
Quick answer
After building your first base, clean up storage first, make
power reliable second, choose one material or scanner goal
third, and only then widen routes or add bigger rooms. The
base should start saving time immediately instead of becoming
another unfinished project.
Page media
Open one base-flow check before you expand this loop.
This page works better when the next base step is grounded in
route value, storage flow, and visible build payoff.
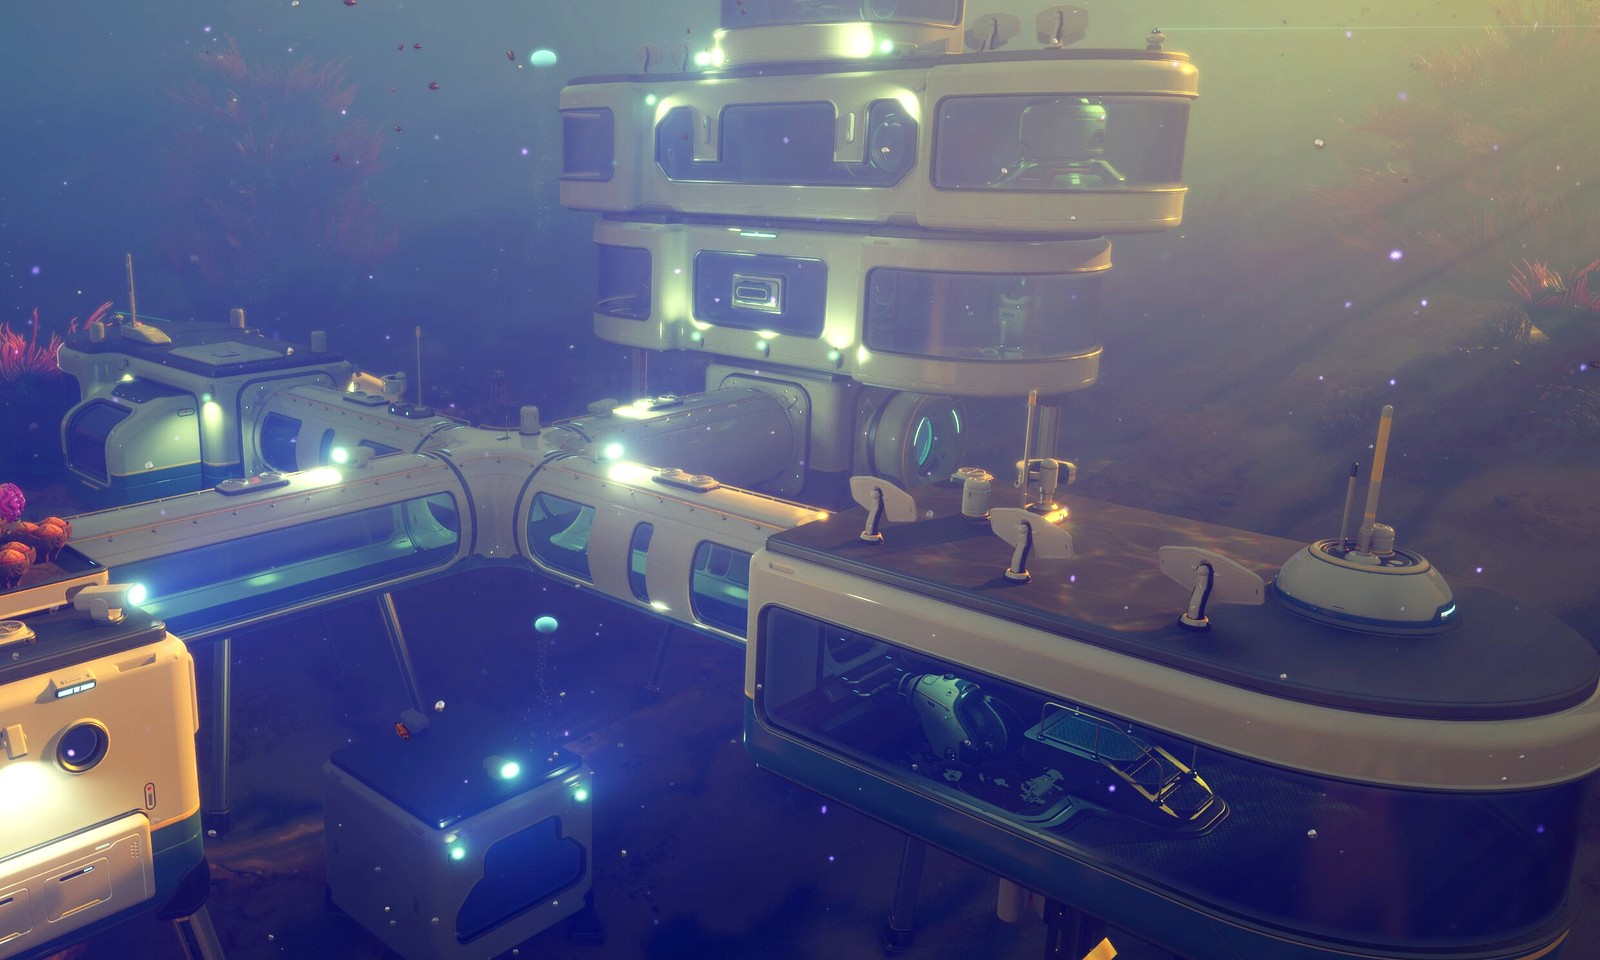
After the base goes down, the real test is whether it makes
returns, storage, power, and the next route calmer. Use these
reference shots to keep expansion tied to practical movement.
Clean up before growing.
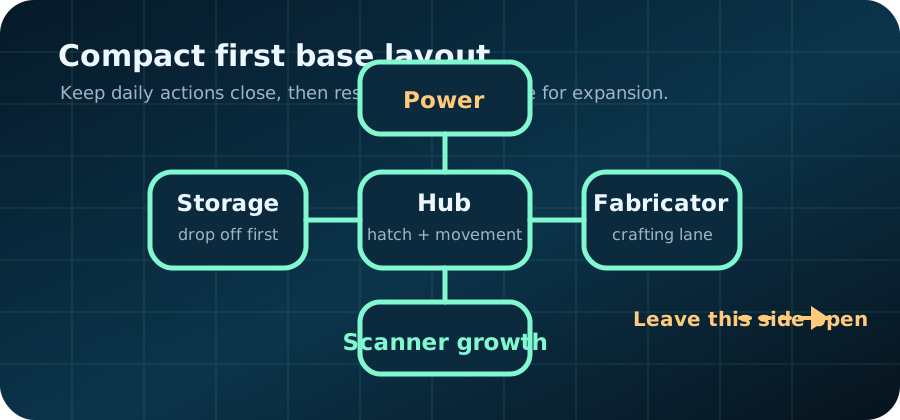
Storage, crafting, and power should sit close enough that every return trip immediately answers what to do next.
Add scanner support only with a target.
Scanner timing is strongest once the base already has one repeatable route and one material question to solve.
What comes after the first base?
Use this order when the base exists, but you are unsure whether
to organize, expand, scan, farm, or explore deeper next.
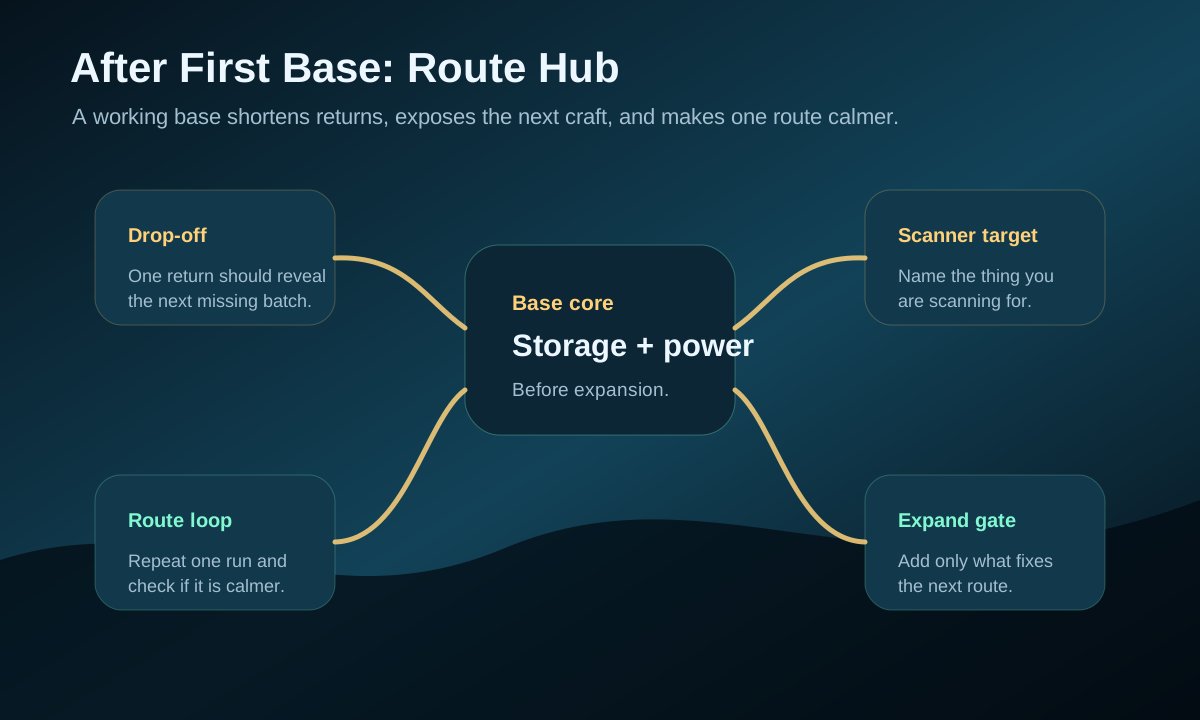
After placement, judge the base by whether it shortens returns, exposes the next craft, and makes one route easier to repeat.The first base should become a route engine: easier returns, faster prep, clearer material choices, then wider exploration.
Order
Do this next
Why it matters
Do not jump ahead if
1
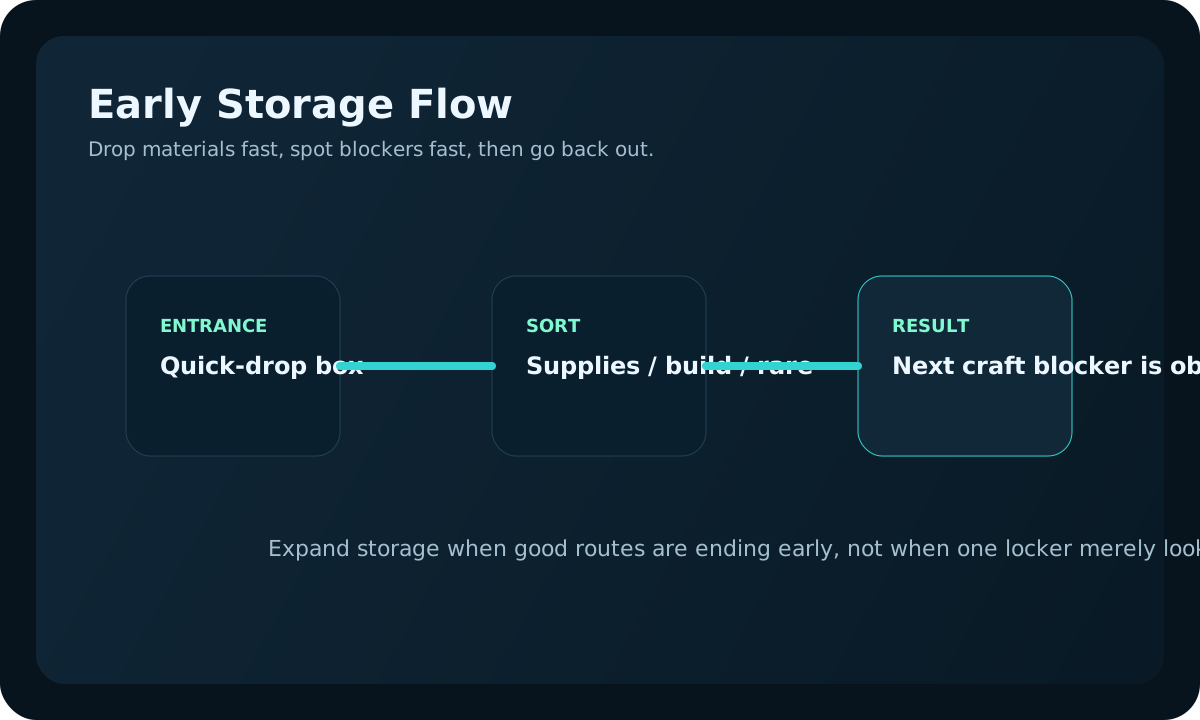
Fix storage and drop-off flow
You need to see what the next blocked craft actually is.
Returns still end in item chaos or duplicate runs.
2
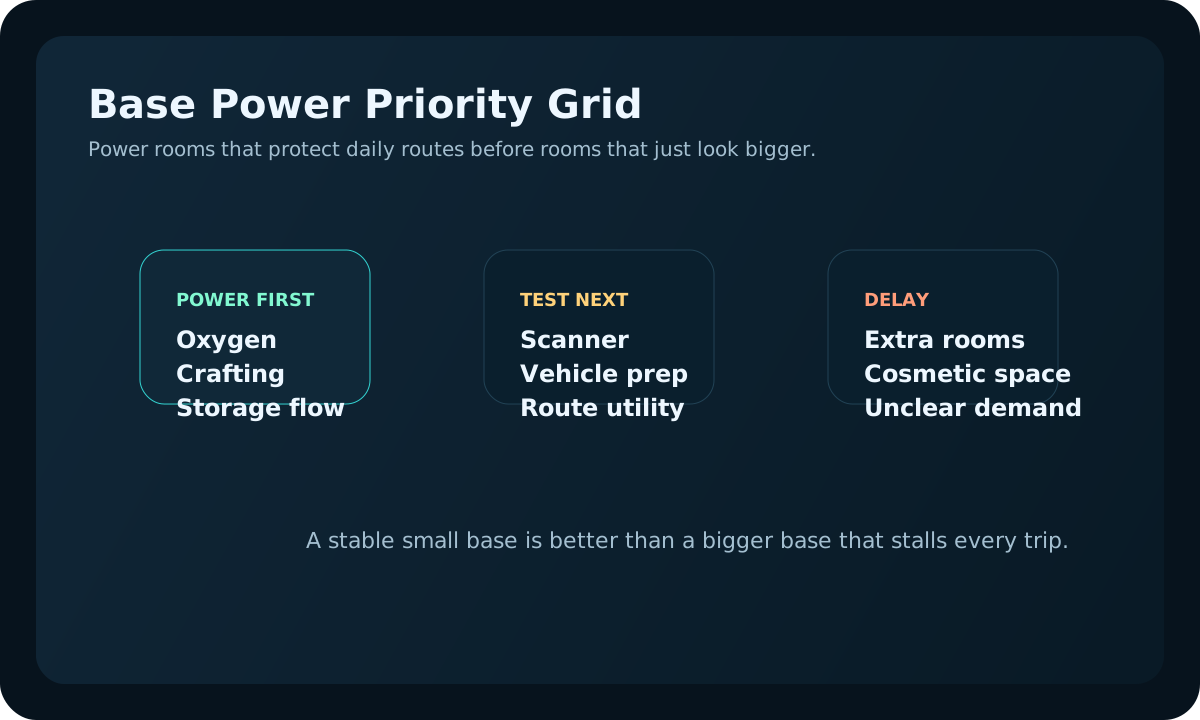
Stabilize power
Power makes later crafting, scanner use, and route prep dependable.
The base still feels temporary or badly placed.
3
Choose one follow-up target
One named goal prevents random expansion and wasted material runs.
You still cannot tell whether the blocker is materials, scanner support, or route range.
4
Run a focused material or fragment loop
The base should now support cleaner prep and calmer returns.
You are still leaving with mixed objectives.
5
Expand or go deeper only with purpose
Growth should follow the solved blocker, not curiosity or empty space.
Power, storage, or route safety are still unstable.
Post-base checklist
If these are not true yet, your first base is still not doing
its job.
Practical next steps after the first base
Sort storage so you can immediately see which material is actually slowing progress.
Make power dependable before adding systems that create more demand.
Pick one target: scanner support, a material run, a base utility upgrade, or one deeper route clue.
Test one improved route from the base and check whether returns feel calmer than before.
Only expand the footprint or push deeper when the current base loop feels boring and reliable.
First 20 minutes after placement
This is the moment when many bases start looking impressive but
still do not solve the player's problem. Keep the first follow-up
session small and test whether the base actually saves time.
Minute
Action
Success check
If it fails
0-5
Label storage by next craft or material type.
You can name the missing material without opening every locker.
Stop expanding and fix storage first.
5-10
Confirm power can support normal crafting and returns.
Power stops being part of the decision.
Stabilize power before scanner or extra rooms.
10-15
Pick one material, fragment, or route clue.
The next trip has one sentence of purpose.
Use the material priority guide before leaving.
15-20
Run one short loop and deposit immediately.
The return feels faster than before the base existed.
Move the route target closer or improve drop-off flow.
Choose this follow-up when
If this is happening
Next move
Why
Next guide
You cannot tell what materials matter most
Run a priority-based material loop
The base should clarify the next craft, not hide it.
You can identify the next real blocker in seconds after coming home.
Power and storage are no longer part of every decision.
One route from the base now feels worth repeating.
The next expansion is solving a real friction point instead of filling empty space.
The first base should reduce decisions, not create more
A weak first base often looks impressive but does not help the
next trip. If every return still starts with sorting confusion,
power worry, or "what was I doing again?", the base is not a
route hub yet. The next upgrade should remove one repeated
decision: where materials go, which craft comes next, which
route repeats safely, or which system deserves power first.
Use the first base as a checkpoint between runs. Come home,
deposit the current batch, craft the planned item, and choose
the next route before leaving again. If that rhythm works, the
base is doing its job even if it is still small.
July 31 post-base review note
This page was rechecked to make the first base feel like a route
hub instead of a decoration project. The next step should reduce
one repeated decision: storage, power, scanner timing, or the
first deeper route.
If the base does not make the next route easier to start, fix flow before expanding.
If the base works, choose one follow-up system and test it before adding another.
If co-op deposits are messy, sort shared storage before assigning broader routes.
Three-session plan after the first base
The first base becomes more useful when the next few sessions
have different jobs. One session cleans up the base, one
session proves a repeatable route, and one session turns that
route into a real upgrade.
Next session
Goal
When to stop
Session 1
Clean storage, power, and the base room order so returns stop feeling messy.
When every item has a home and the next craft is obvious.
Session 2
Run one repeatable material or scanner route that the base can support.
When one route starts paying for itself without extra panic.
Session 3
Convert that route into a base upgrade, depth push, or safer co-op handoff.
When the new upgrade clearly shortens the next trip.