Quick answer
The best early layout is the one that keeps movement short, essentials close together, and future expansion easy. Early bases should be efficient and stable before they try to be impressive.
Base-building guide
A good early base layout should shorten daily movement, keep essentials close, and leave one clean side open for the next useful upgrade.
Layout priorities matter less if room costs or power pressure shift, so recheck after base-system balance changes.
The best early layout is the one that keeps movement short, essentials close together, and future expansion easy. Early bases should be efficient and stable before they try to be impressive.
Page media
Use the cleanup and location pages when layout choices need to shorten daily movement instead of becoming decoration planning.
Visual read
A strong first layout has a readable entrance, short storage walk, stable utility lane, and one open side for the next real system instead of a decorative sprawl.
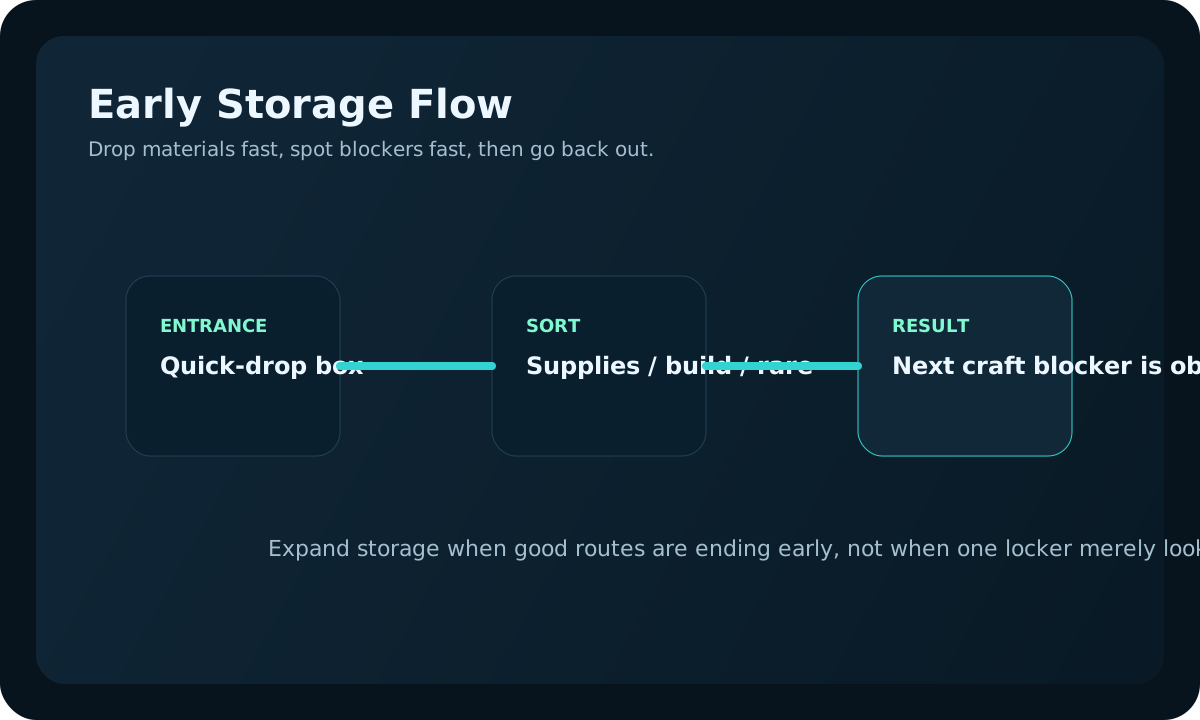
The entrance, storage, and crafting lane should reduce swimming time before extra rooms are added.
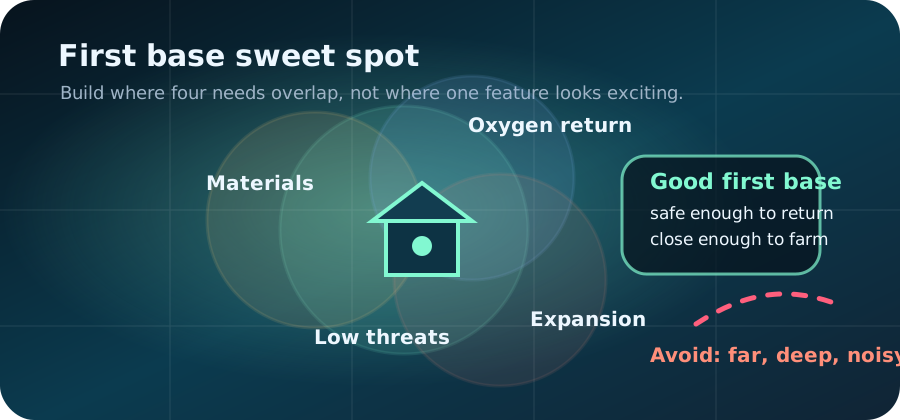
Leave a readable path for scanner, storage, or vehicle support so the first base does not trap later upgrades.
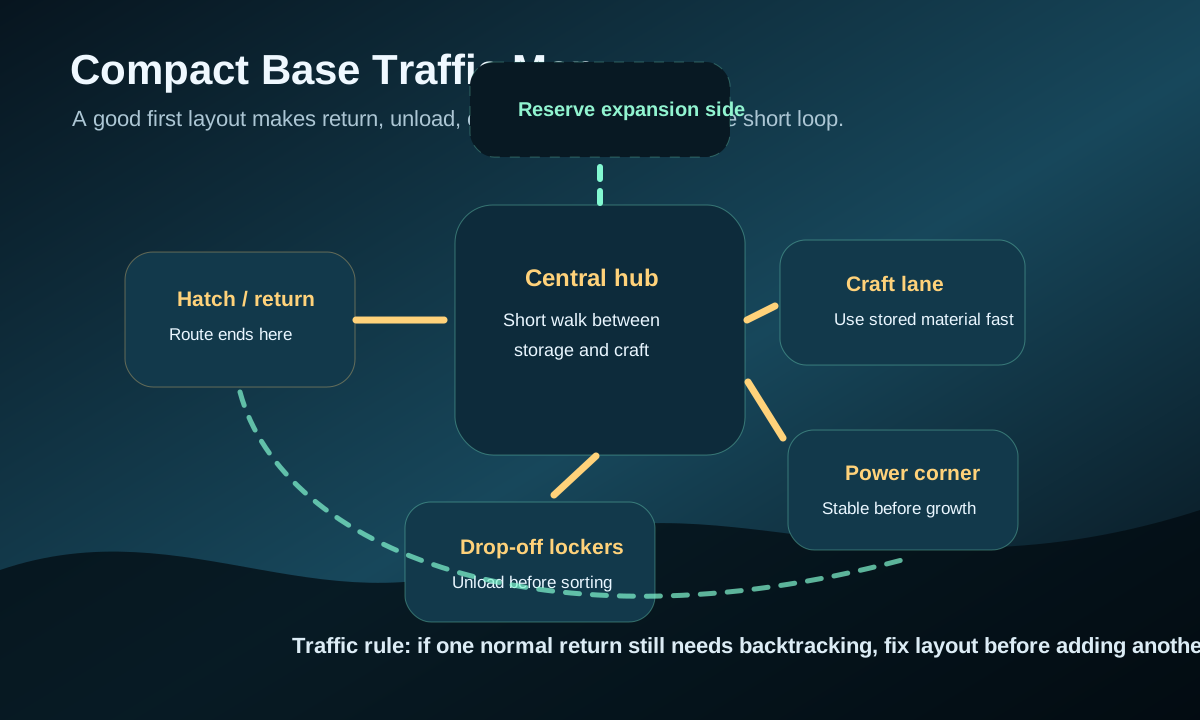
Use this table to keep the first base compact, useful, and easy to expand.
| Base area | Place early | Why | Avoid |
|---|---|---|---|
| Entrance | Close to safe return route | Fast drop-offs make every material loop cleaner. | Putting the hatch far from storage. |
| Storage | Near the entrance and crafting lane | Prevents inventory clutter from blocking upgrades. | Sorting by perfect categories too early. |
| Power | Before scanner or expansion rooms | Stable systems matter more than a bigger footprint. | Adding rooms before power feels reliable. |
| Expansion side | Reserve one clean direction | Leaves space for scanner, storage, or vehicle support. | Blocking every side with early rooms. |
Keep the first base compact: a central hub, nearby storage, close crafting, stable power, and one open side for scanner or future expansion.
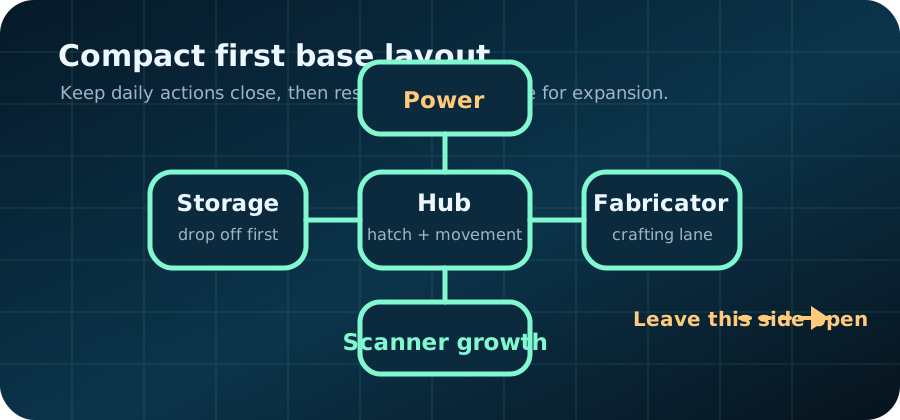
Most early layouts improve once the base has only three clear jobs: entry, craft, and support. If a new room does not strengthen one of those zones, it usually adds friction instead of removing it.
| Zone | What belongs there | Bad sign |
|---|---|---|
| Entry zone | Fast drop-off, survival refill, and the first obvious locker. | You return home and immediately walk past useful storage to unload later. |
| Craft zone | Common materials and the next-craft items near the main build point. | One craft requires a lap around the whole base. |
| Support zone | Power, scanner, and expansion pieces that only matter after the first two zones work. | Support systems are growing while simple returns still feel messy. |
Test the layout with two normal returns before decorating it. If the base cannot save time twice in a row, the footprint still needs work.
| Return test | What to watch | Good layout signal | Fix before expanding |
|---|---|---|---|
| Material loop return | Unload speed and craft access. | Materials move from inventory to next craft with little wandering. | Move drop-off storage closer to hatch or fabricator. |
| Survival restock return | Food, water, power, and route prep. | You leave again without searching every locker. | Create one visible restock lane before adding rooms. |
| Scanner or utility check | Whether systems have room to grow. | One side remains open for scanner, storage, or vehicle support. | Clear an expansion side before the base locks itself in. |
| Co-op drop-off | Whether two players can unload without confusion. | Shared storage labels make the next role obvious. | Separate public drop-off from personal clutter. |
A larger base can make a weak layout worse. Before expanding, use the last two normal returns to identify whether the base needs a better entrance, storage lane, utility side, or co-op drop-off plan.
| Layout friction | What it means | Small fix first | Expand only when |
|---|---|---|---|
| You enter, cross the base, then cross back to craft. | The hatch, storage, and fabricator lane are not aligned. | Move drop-off storage closer to the first useful craft point. | One normal return turns into a craft without wandering. |
| Every system gets its own corner too early. | The base is organizing by theme instead of by route flow. | Group early storage, power, and crafting around the repeated return path. | The main loop feels boring enough to support a new utility side. |
| Scanner, vehicle, or power support has no clean growth direction. | The first footprint boxed in future systems. | Reserve one side for utilities before decorating or widening rooms. | The next system has a named job and a clear place to live. |
| Co-op players unload into different places. | The layout is not communicating shared progress. | Create one obvious public drop-off lane before personal storage. | Two players can return and deposit without asking where things go. |
A layout is good when routine movement feels boring. Run this quick test before adding another room.
| Test | Good layout signal | Layout problem | Fix before expanding |
|---|---|---|---|
| Return from a material loop | Hatch, storage, and crafting are reached without extra swimming. | You cross the base twice before materials are useful. | Move drop-off storage closer to the entrance. |
| Prepare the next route | Food, water, tools, and target materials are easy to check. | Prep items are split across decorative rooms. | Create one visible route-prep shelf. |
| Add one support system | There is one clean side for scanner, power, storage, or vehicle support. | Every expansion direction is blocked by early choices. | Stop decorating and reserve a utility lane. |
The first base is mature enough when it shortens routes instead of creating new errands inside the base.